How to Hand Paint a Gingham Design
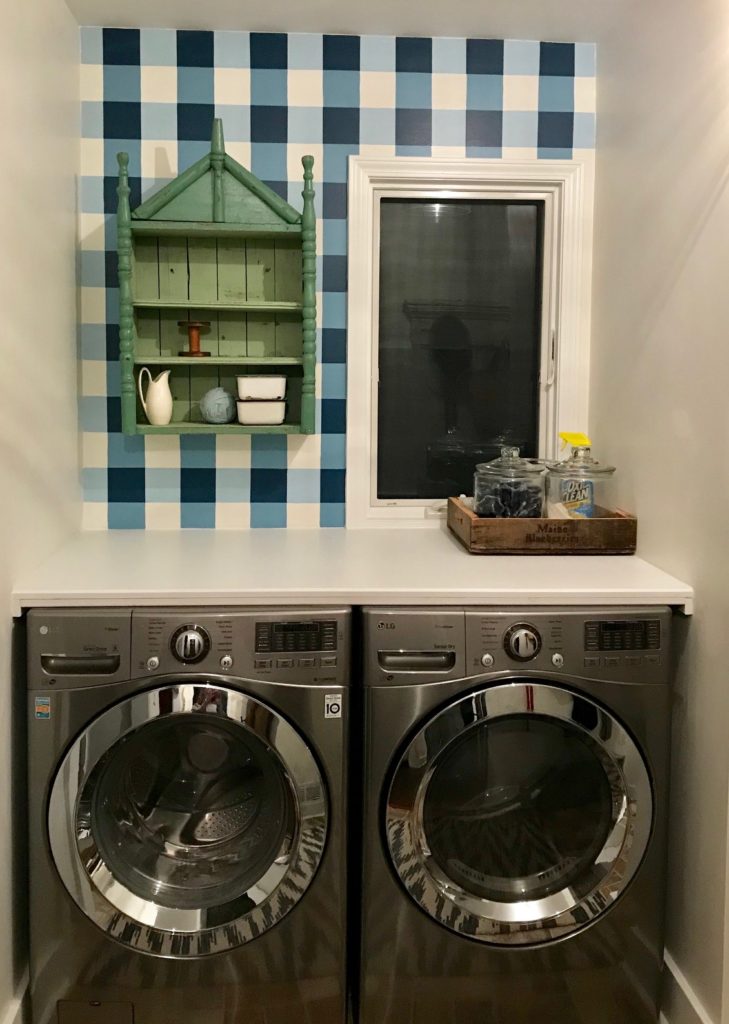
Everybody loves gingham, whether it be large or small. There’s just something so classic and fresh about those little shaded checks. I was feeling like a needed to add some pizazz to my laundry area, so I painted some gingham. There are many ways to do it, but here is how to hand paint a gingham design.
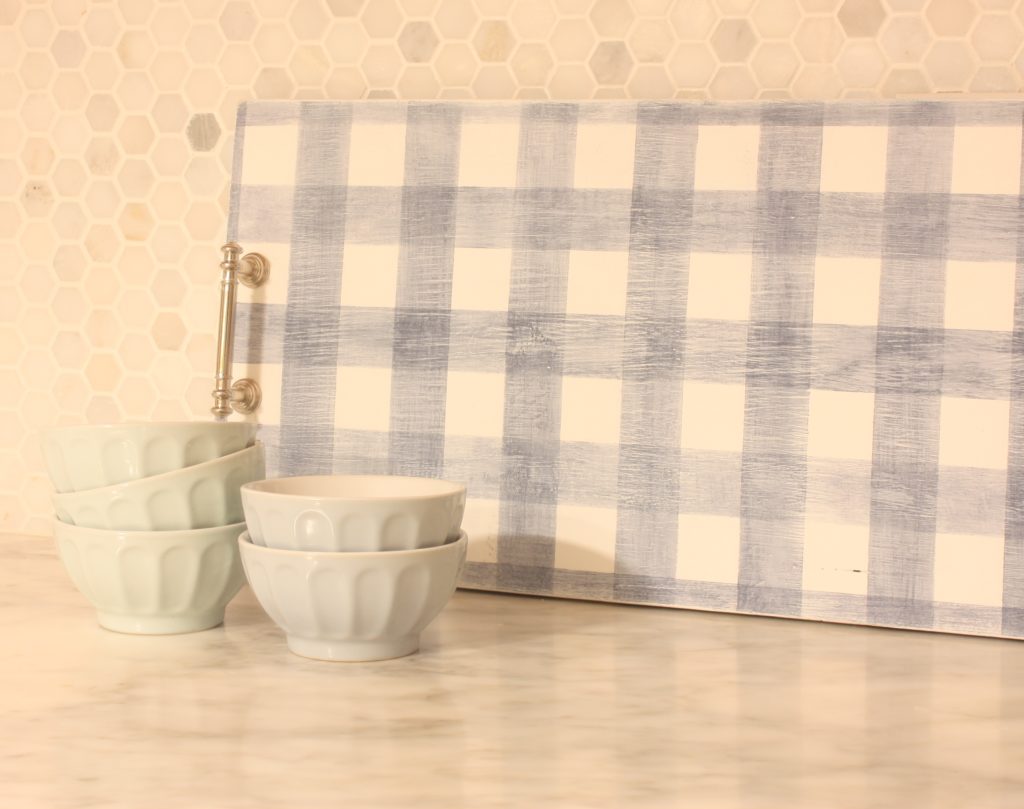
This little gingham project was just what I needed. We had made this cute and simple gingham tray a few seasons back by using a stencil brush and dry brush technique, but I was looking for something a little bolder. Check out that project here.
There was just a small space above my laundry area, but if you look down the hall after entering my house, you can see it. So leaving it plain and boring wasn’t an option.
Hand Painted Gingham on Furniture
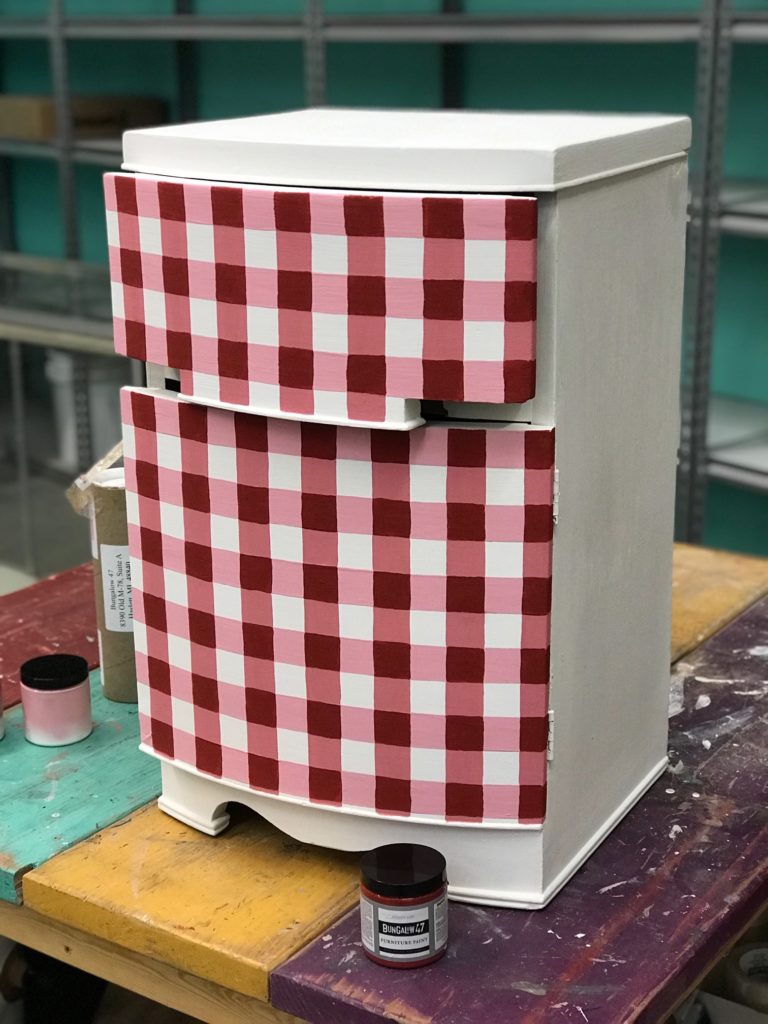
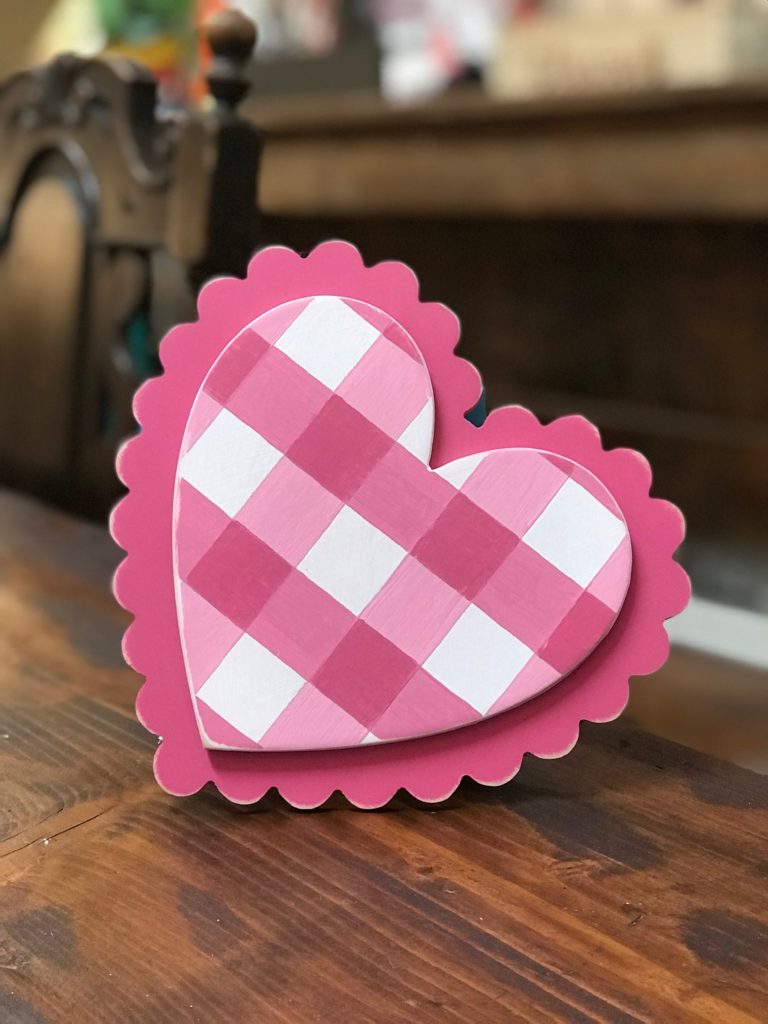
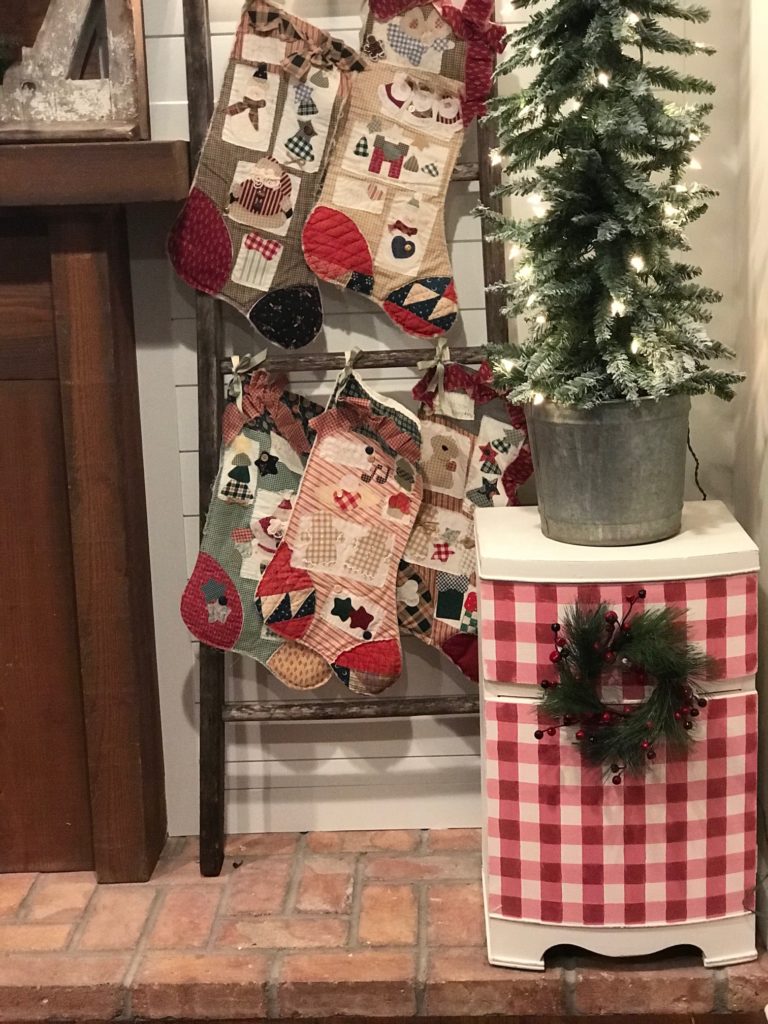
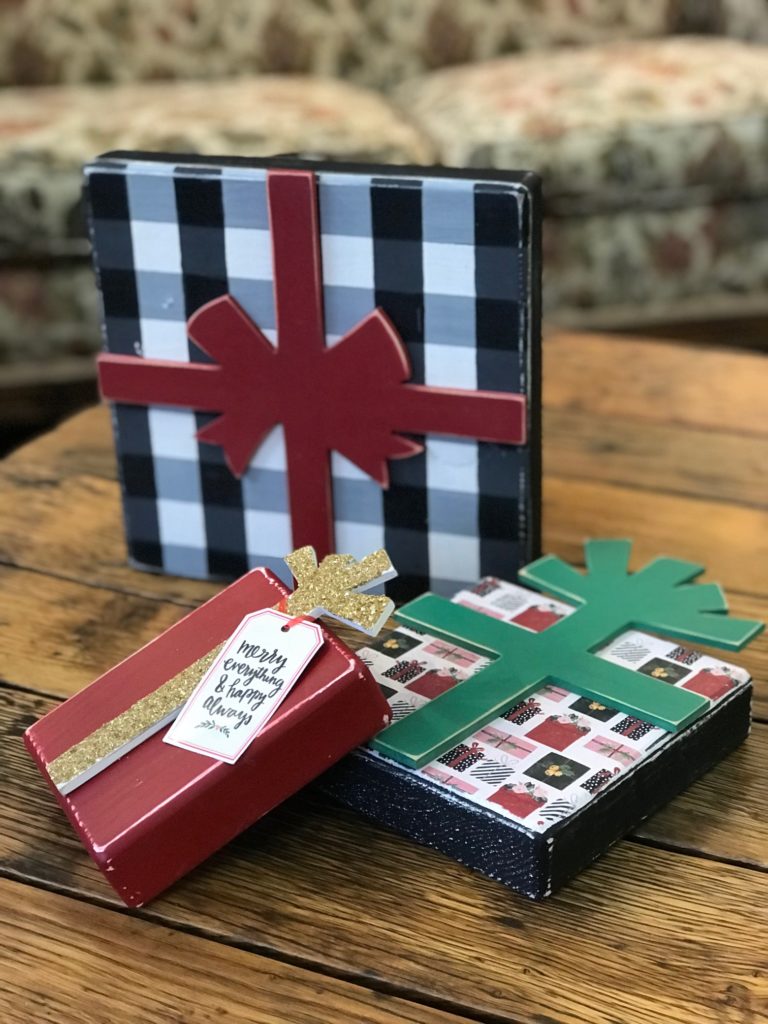
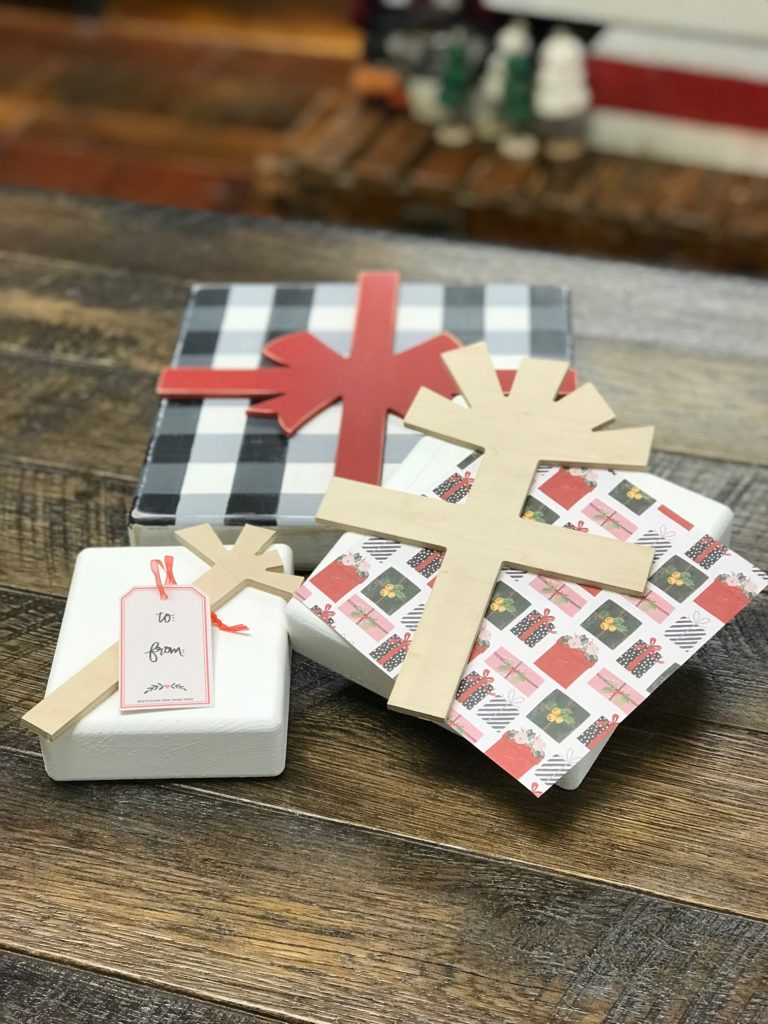
After completing my hand painted gingham wall, I was looking to try it again. Chantelle and I decided to gingham a little cabinet I had been hoarding in the warehouse, and after that we were hooked. She went crazy too, painting checks on every craft project she was making. You can too! Here’s the few simple steps you need to know to create this look.
Gingham Size Matters
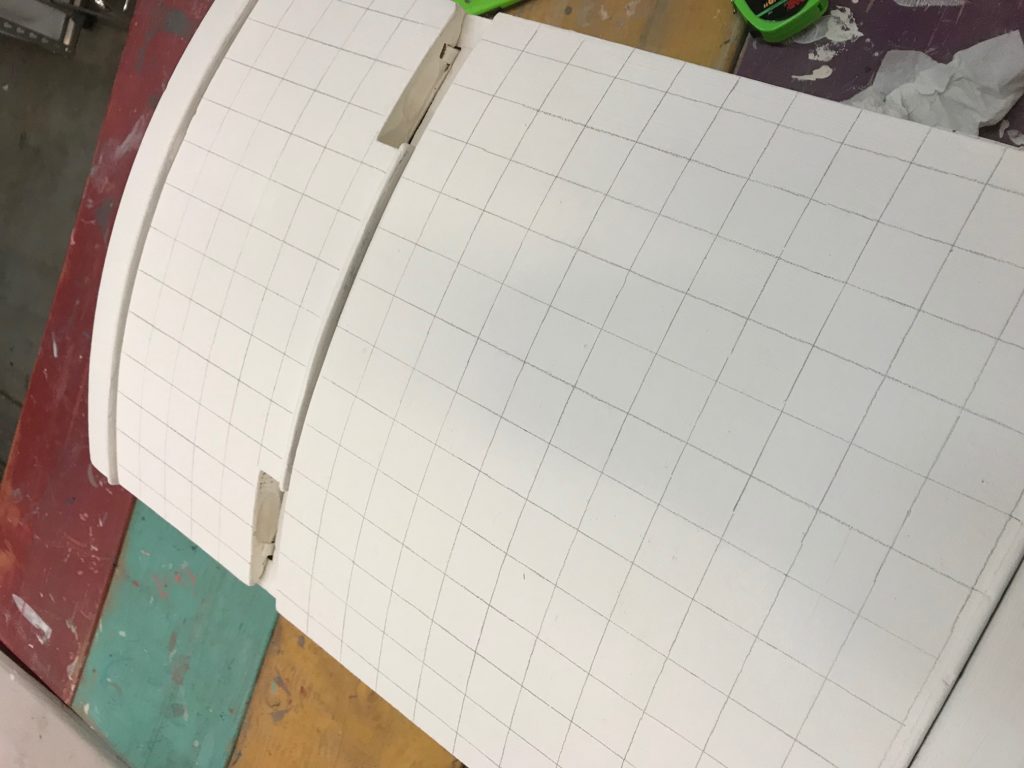
First, determine the size you would like your checks to be. Take into consideration WHAT you are painting, and scale accordingly. Also, measure height and width of your surface, and make sure the measurement works so you don’t end up with one small sliver of a check. I did a 4 inch check on my wall over the laundry counter. The small cabinet was done at 1-1/8 inches.
Keep it Straight
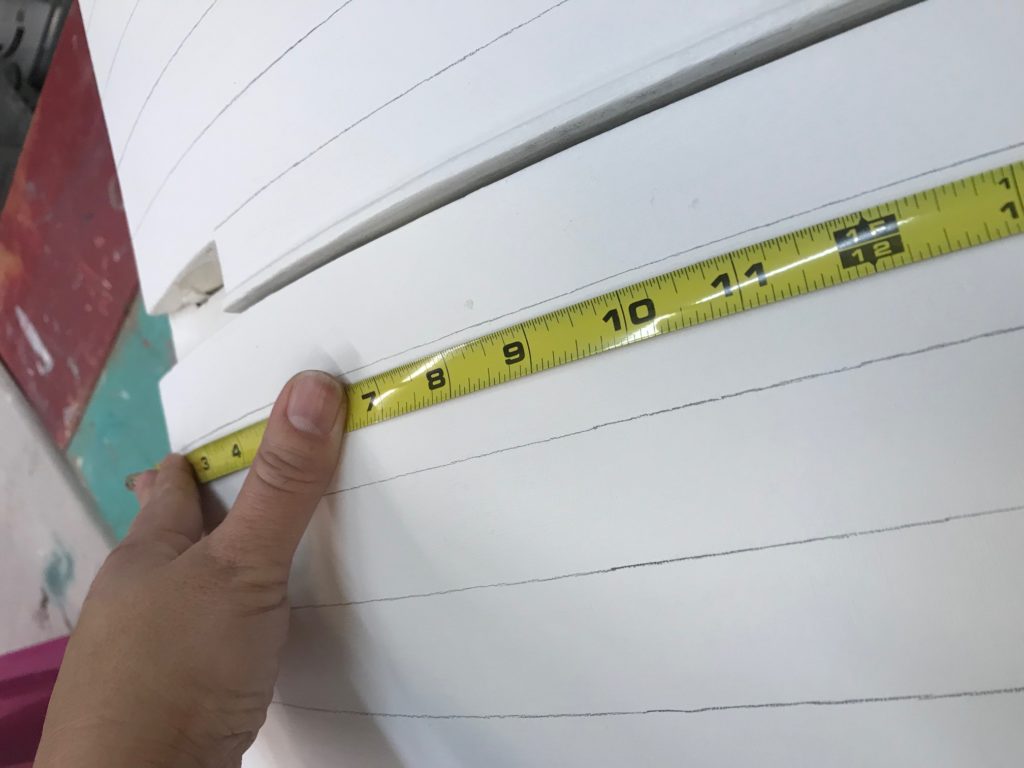
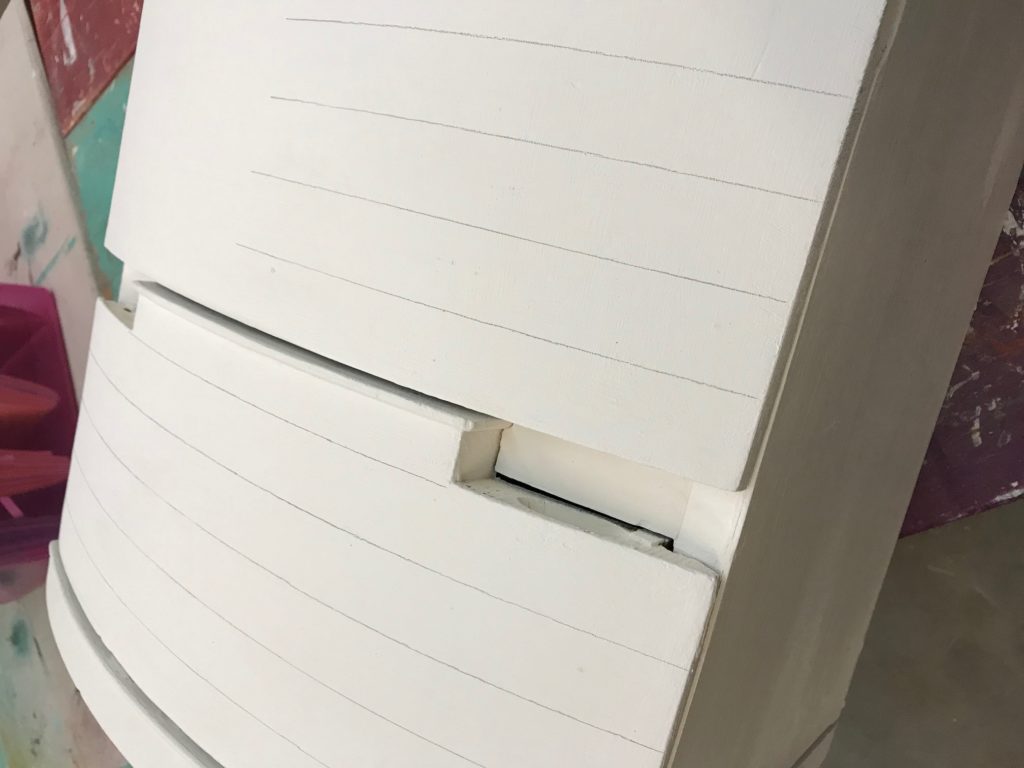
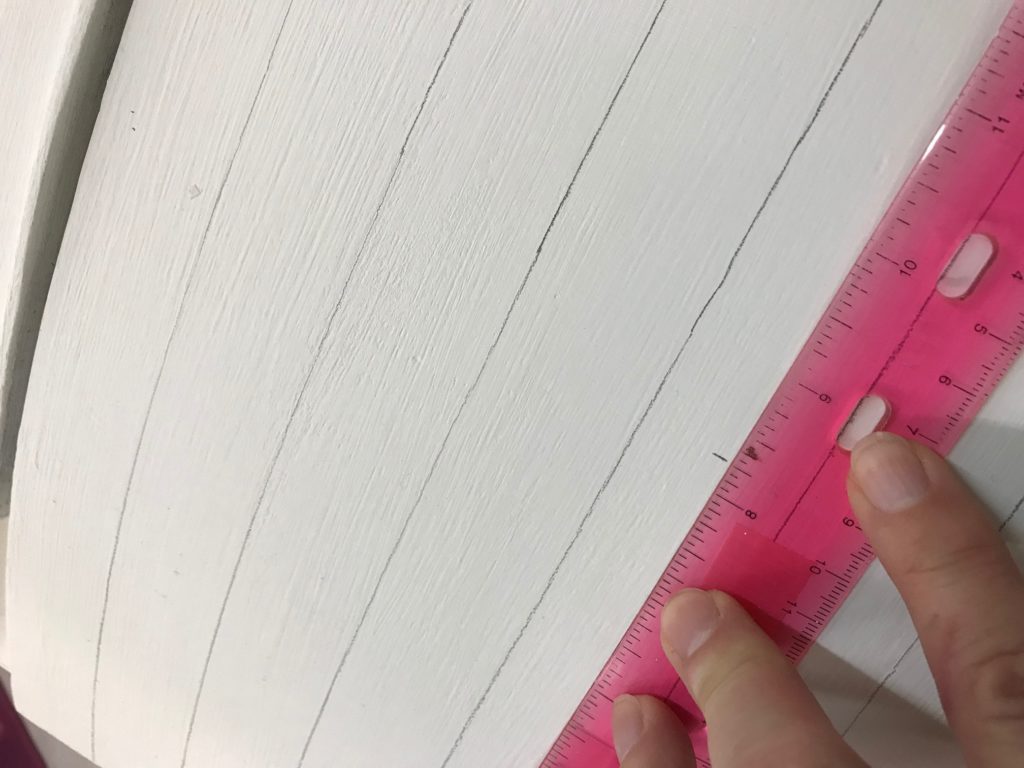
Next, using a level (for a wall or large surface) or ruler (for a small item), draw grid pencil lines all over the surface to paint. Gingham is pretty busy, so use in smaller doses. Try the face of a cabinet or one focal point wall. Center your lines on your surface, both vertically and horizontally.
Color Mixing the Paint
Now the fun part, color mixing! Decide what color you want your gingham, and you will need some white. We started with Front Door Red and used Subway Tile as our color mixing base.
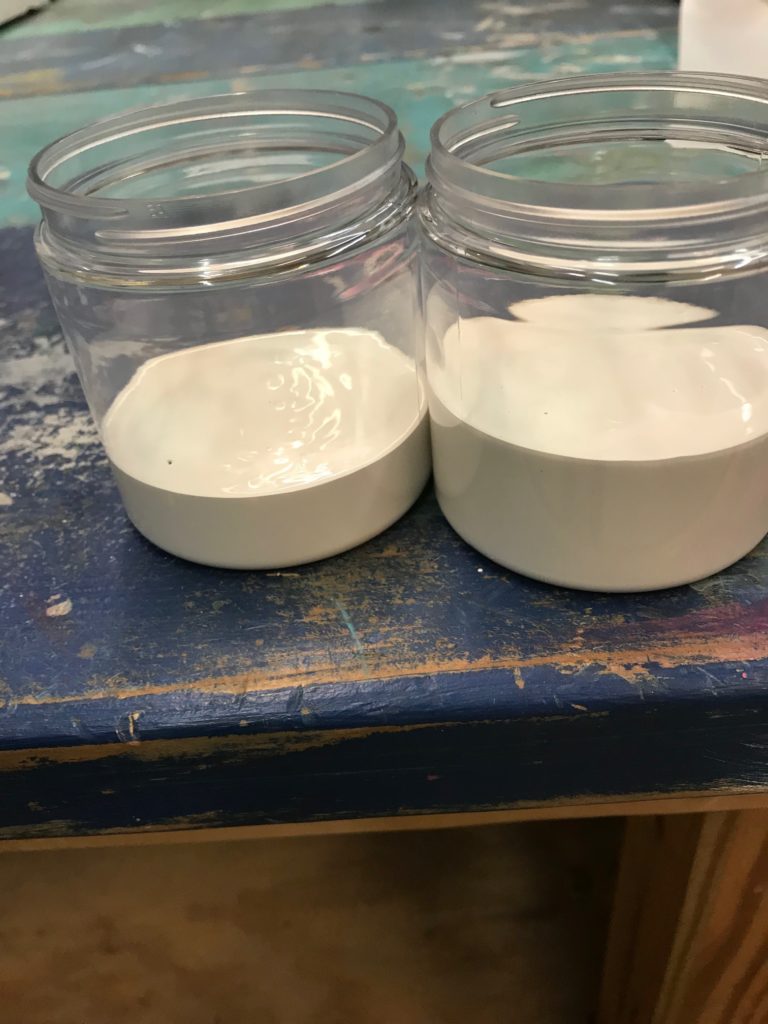
You will need 3 shades of your color: full strength, a lighter version that serves as the double cross over color, and then a lightest version that is the single shade color. There’s no hard and fast recipe for this, as I tend to “eyeball” things, but a good rule of thumb would be the lightest shade at 3 parts white to 1 part color, and the medium shade at 3 parts white to 2 parts color. Just think of those colors crossing over each other, and match the intensity you like for light, medium, and full strength.
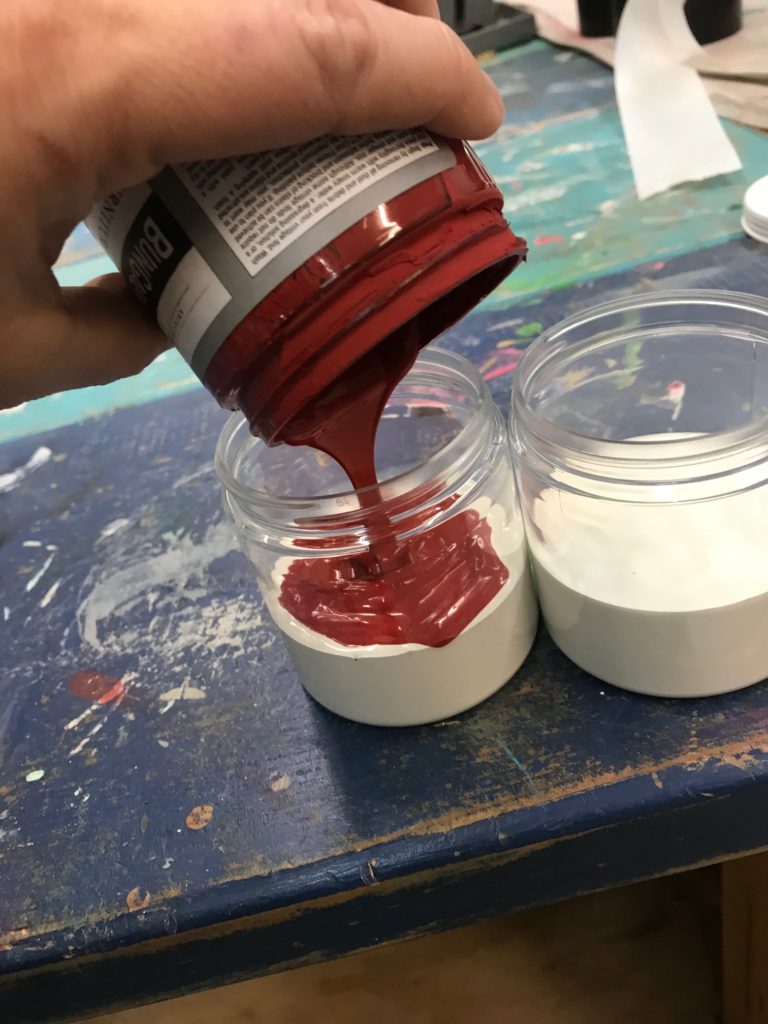
Remember to take into consideration what you are painting for the quantity you need. This requires very little paint!
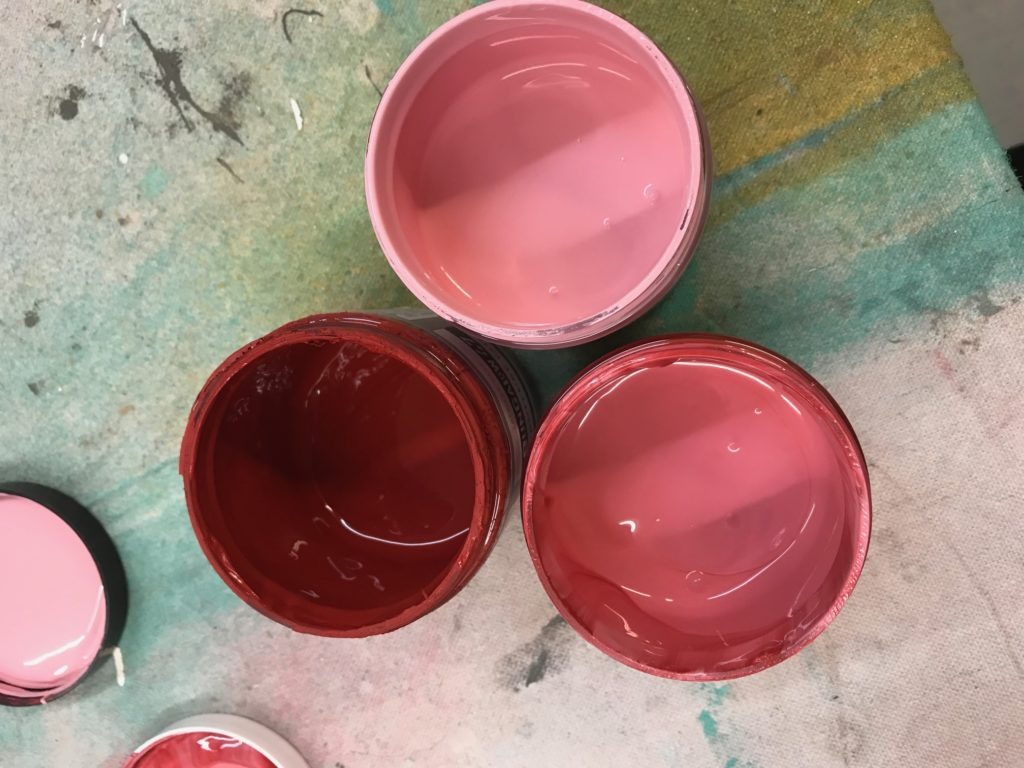
With any project, your tools are key, so you will need the right size brush! For the lines, I used a synthetic 1 inch angled brush. The final full strength square will require some precision painting, so use a flat edge, small craft brush. Paint every other horizontal line in the lightest shade. Allow to fully dry. Next, paint every other vertical line with the medium color.
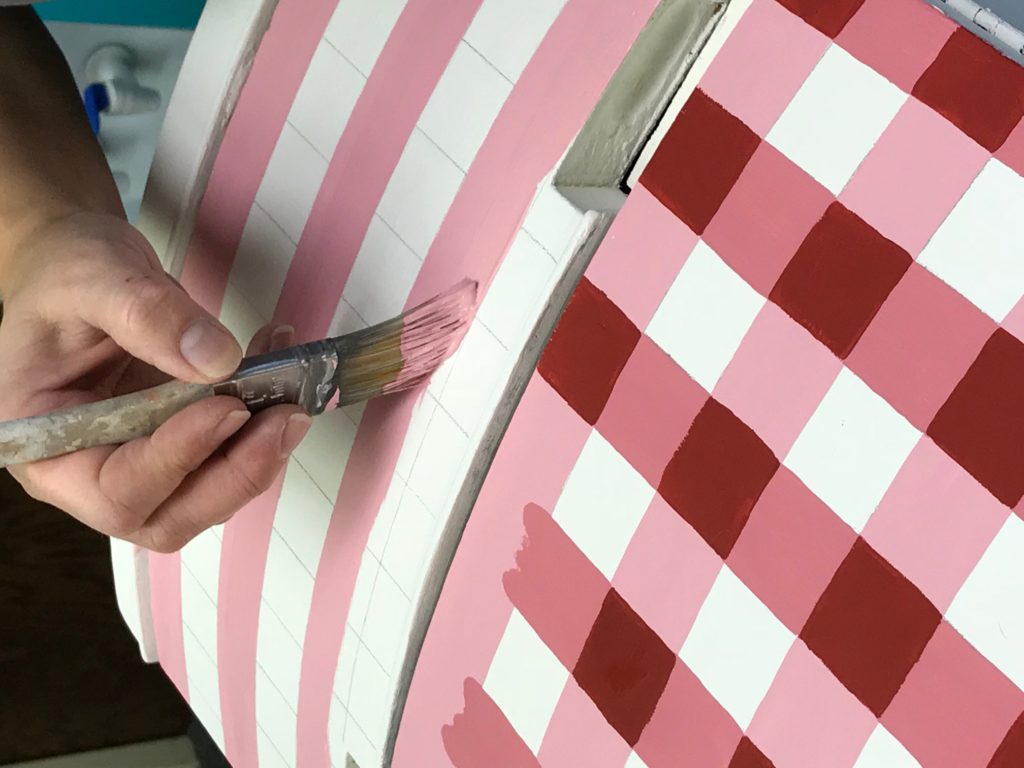
You can see from the above picture that the square where the two colors cross over is the one that will need to be painted with your full strength color. With most colors, you should still be able to see your pencil lines. For this small one inch square, I hand painted using a small craft brush, by first painting the edges like a coloring book outline and then filling in. I appreciate the imperfect lines of hand painting, but realize for some, this may drive you insane. You can use tape if needed. For my larger wall project, I hand painted the lower half of the wall, and then decided the upper half would be easier done by taping.
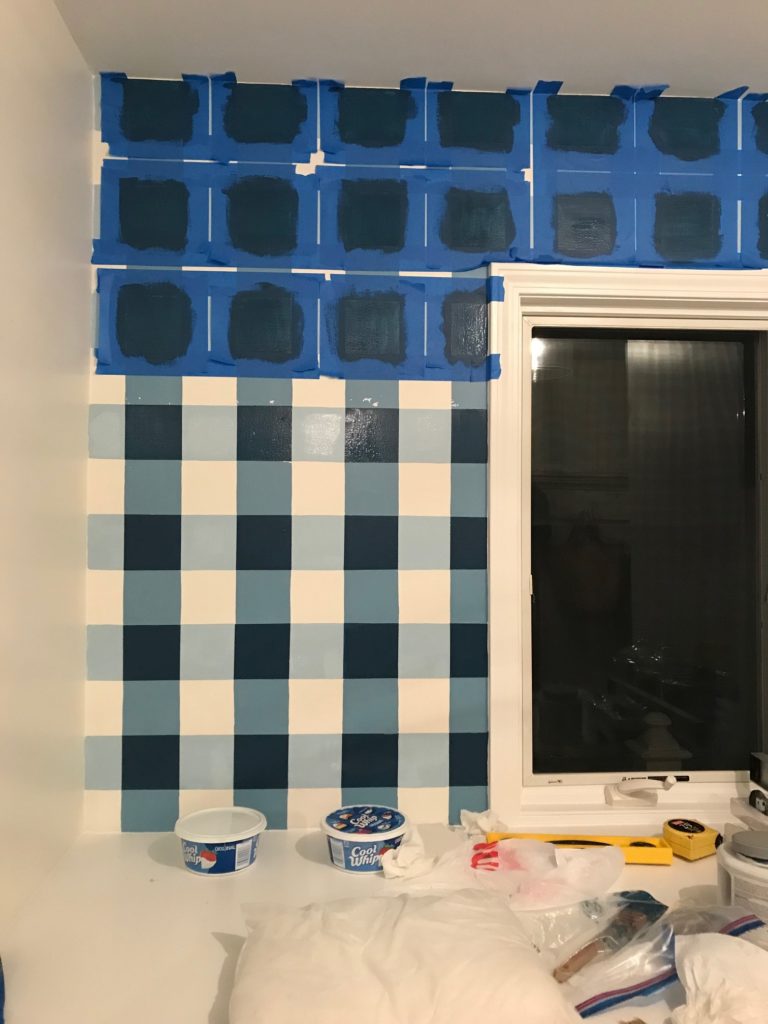
After doing it both ways, the hand painting was easier for me. Taping takes a bit of time, and I wanted this project done all in one day, so the tape peeled off a bit of the paint since it wasn’t fully cured. Nevertheless, that was easily touched up, but if I do this again (especially in a large area) I will always hand paint. Others will find that taping off your project will make them more comfortable. Either way, gingham is a fun and easy way to add some design to your furniture painting and craft projects!
Happy Crafting, Jill and Chantelle
