How to Create a Gift Wrapping Station
If you’re like most people, wrapping gifts is probably not your favorite task. But it doesn’t have to be a chore! Let’s talk how to create a gift wrapping station for the holidays.
I have too many memories of late night, last minute frantic gift wrapping, and that doesn’t make the holidays very fun. But with a little bit of organization, you can turn gift wrapping into a breeze.
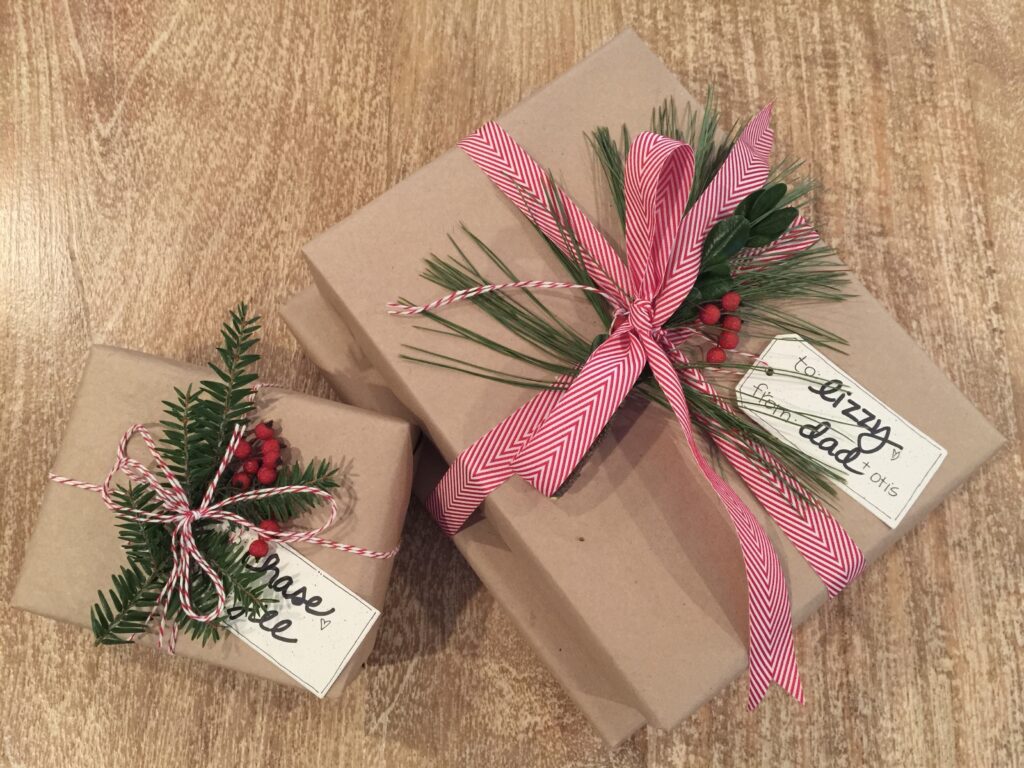
What do you need for a gift wrapping station?
To create a gift wrapping station, you need all the gift wrap stuff! This can be so handy year round, not just at the holidays.
Most of these things, you probably already have in your home. So to create your gift wrapping area, it will only take a quick run through to gather those items.
Once you have your gift wrap area together, you will totally want to go out and shop for some new cute wrapping paper. No worries there! Keep reading and I’ll tell you all the things you will need to gather for gift wrapping and where to find the cutest paper for a bargain.
How to make a Christmas gift wrapping station?
This can be as simple an idea as setting up a table or counter in a spare room or corner of your house. One way to create a dedicated gift wrapping station is think of a “pop-up shop” .
Here, you can store all of your gift wrapping supplies in one place. This includes wrapping paper, gift tags, ribbon, tags and anything else you might need.
Let me show you how I set up a seldom used area in my basement, and created a fun place to wrap all those holiday gifts. This may even become joyful, as it should be!
And it’s something you can do quick and easy. I had my gift wrapping station pulled together pretty quick, and have left it up to wrap gifts throughout the year.
Best part is, when it comes time to wrap a gift, simply bring it to your gift wrapping station and get to work. No more hunting down wrapping paper or tape.
Having everything you need in one place will make the process much quicker, and gift wrapping will be fun again.
How I created my gift wrap station
It is best to have a designated area that can become your gift wrapping station for the season. Don’t worry if you’re short on space, I’ll share some tips of how you can pull things all together even without square footage. Obvi, not everyone just has a spare room lying around.
Here are some ideas of where you might be able to eek out some space in your home:
- A guest room or space no one is using
- A passthrough area such as a large upstairs hallway or loft
- A basement nook or cranny
- On the back of a closet door (possibly a coat closet, linen closet, or door in a utility space)
- A dining area that is not used daily
- A laundry room
- If you don’t have space, then we’ll talk about rolling carts in a minute
I was able to setup my wrapping station in the basement, outside an unfinished area that I use to store my crafts. This area is like a little foyer, at the bottom of the basement stairs, and a passthrough as you go to the family room where my littles hang out when they come over.
It had become a dumping ground for a pile of crap, and every time I walked by it, I thought about what a great idea it would be to turn into an organized gift wrap station, instead of just a pile of junk.
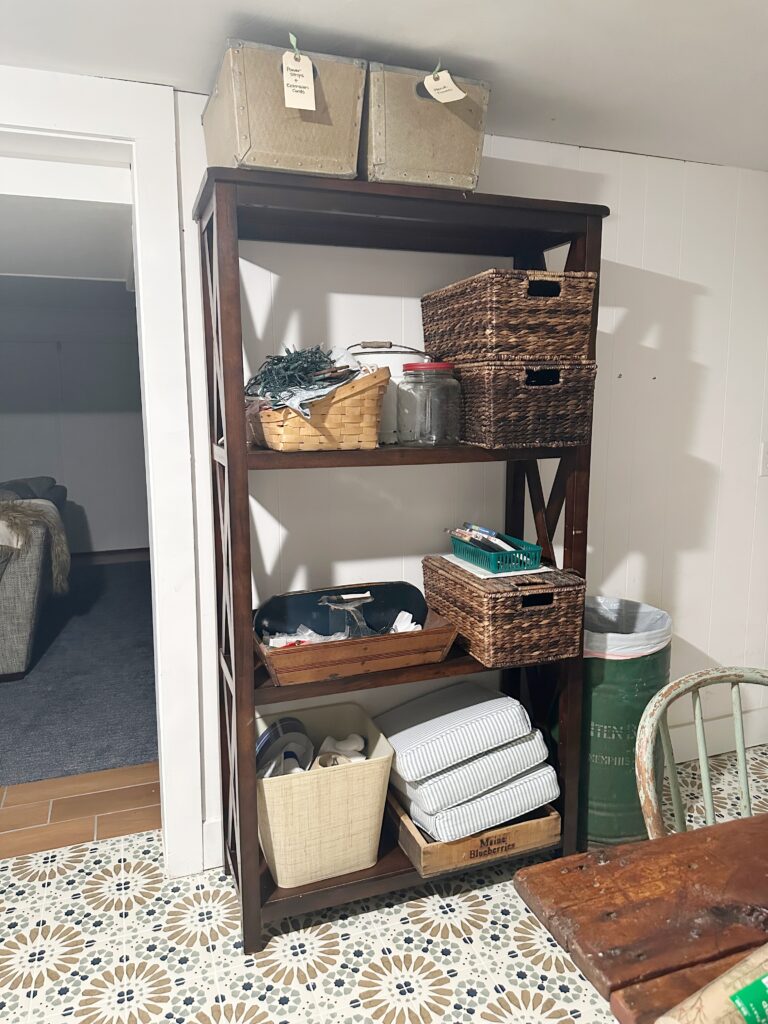
I’ve been thinking about doing this for awhile now, but now that wrapping presents will take center stage in the next few weeks, I thought I better get on it.
When I finally decided to do it, it took less than an hour to grab all my gift wrap supplies. I’ll soon be wrapping gifts in style!
Collecting wrapping paper and all the things
Look, I’m not gonna lie, I’ve been called a hoarder before (well, technically ORGANIZED hoarder). I’m not exactly ready for an intervention, but I do have some stuff.
In my defense, in my past, I owned a scrapbooking store and rubber stamp crafting store. I also designed product for over a decade for several craft companies, so I do have a large stash of said crafting supplies, but I keep all the things organized.
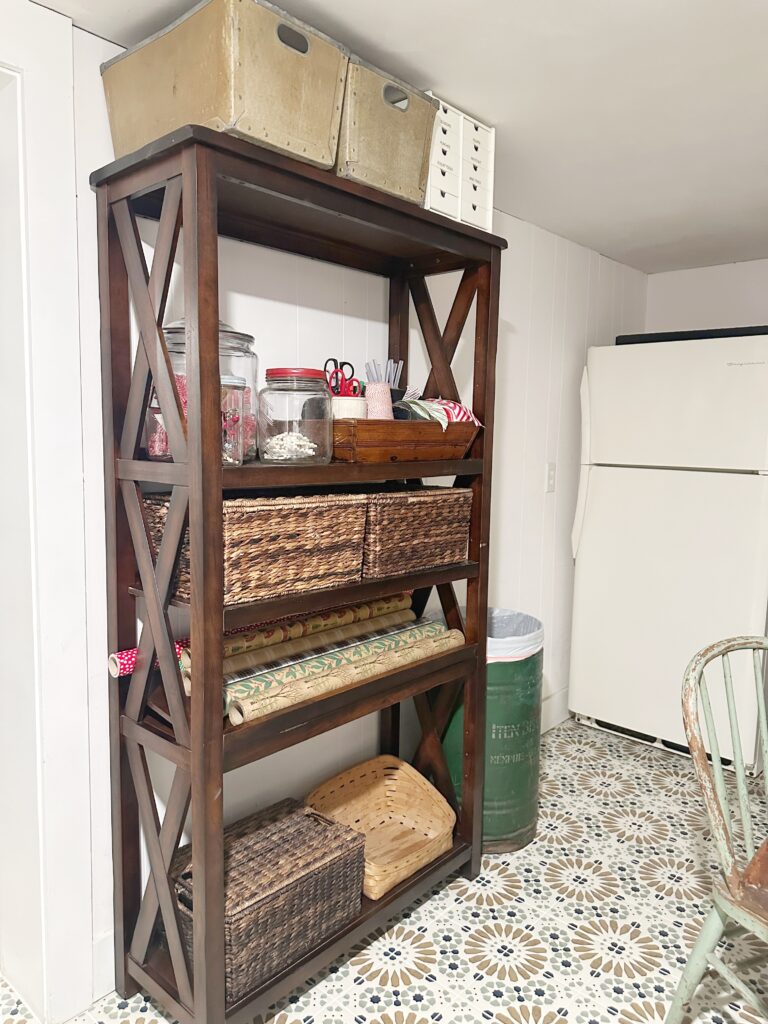
I was able to grab all my stuff and move it to one spot, but if you aren’t a craft supply/wrapping paper hoarder, a quick trip to Hobby Lobby or your local craft mega store will do the trick. Here’s what you’ll need:
- several rolls of wrapping paper
- scissors
- clear tape
- gift tags
- pens
- ribbons and twine
- trash can
- nearby table or flat surface to work on
Tissue, tags, gift bags and more
Since we’re all about admitting current hoarding status, I would like to say that I’m a bit of a recycler too. This means it’s good for the planet (and a pocketbook) so it ain’t all bad, there’s hope for me.
Nevertheless, haters gonna hate. But when I’m needing to wrap a quick gift, and I can do so without breaking a sweat, who’s laughing now? Hoarding has it’s payoffs.
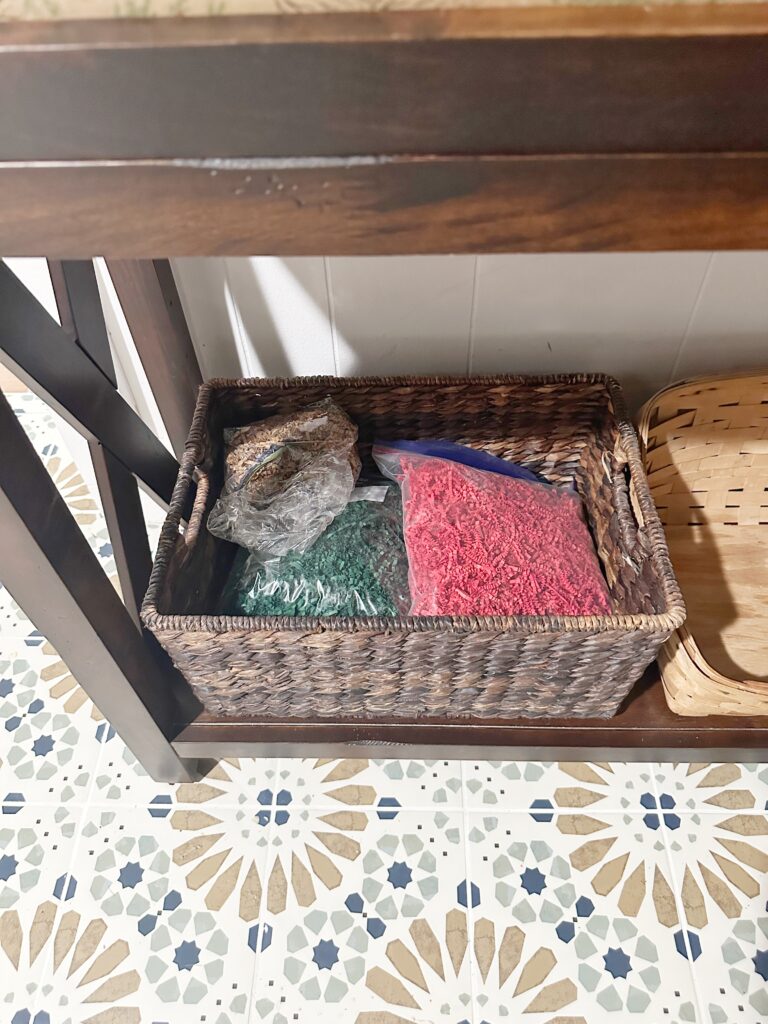
You’ll get bonus points from the Gift Wrap Organizer Fairy if you compile these items as well:
- gift bags
- tissue paper
- shredded paper or other box filler
- recycled holiday boxes or tins
- cellophane or other see through bags
- small cardboard boxes or other gift boxes
- glue gun and sticks
- trims and trinkets for toppers
- any other ready made gift wrap organizer you already have
How to organize your gift wrapping area
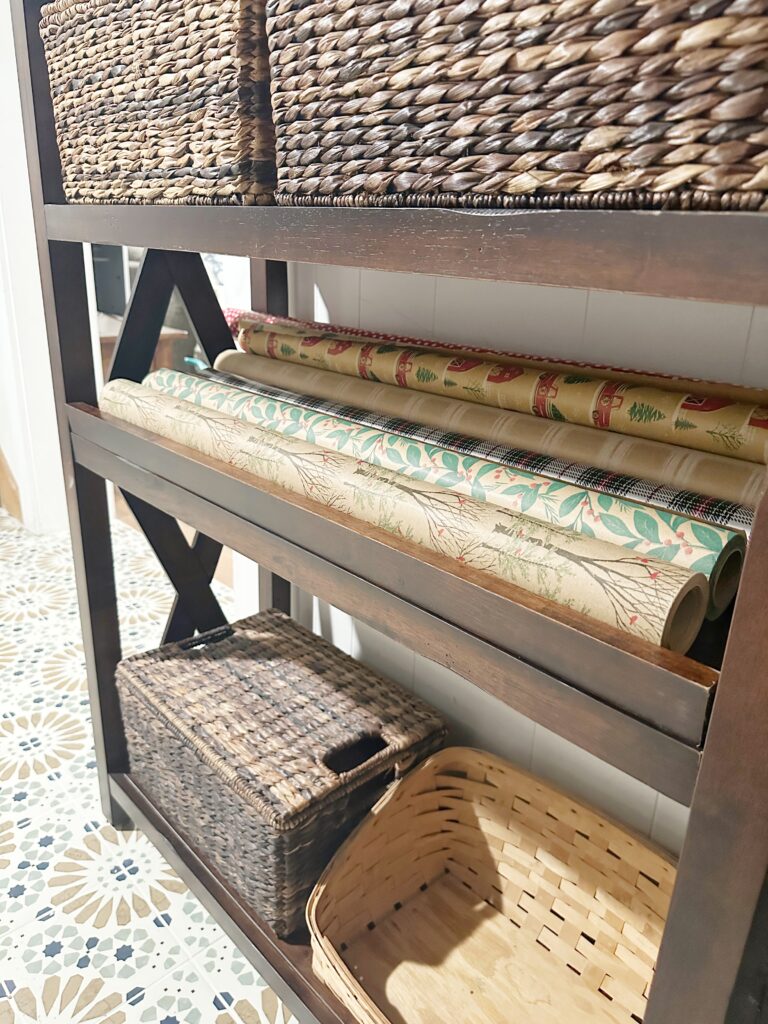
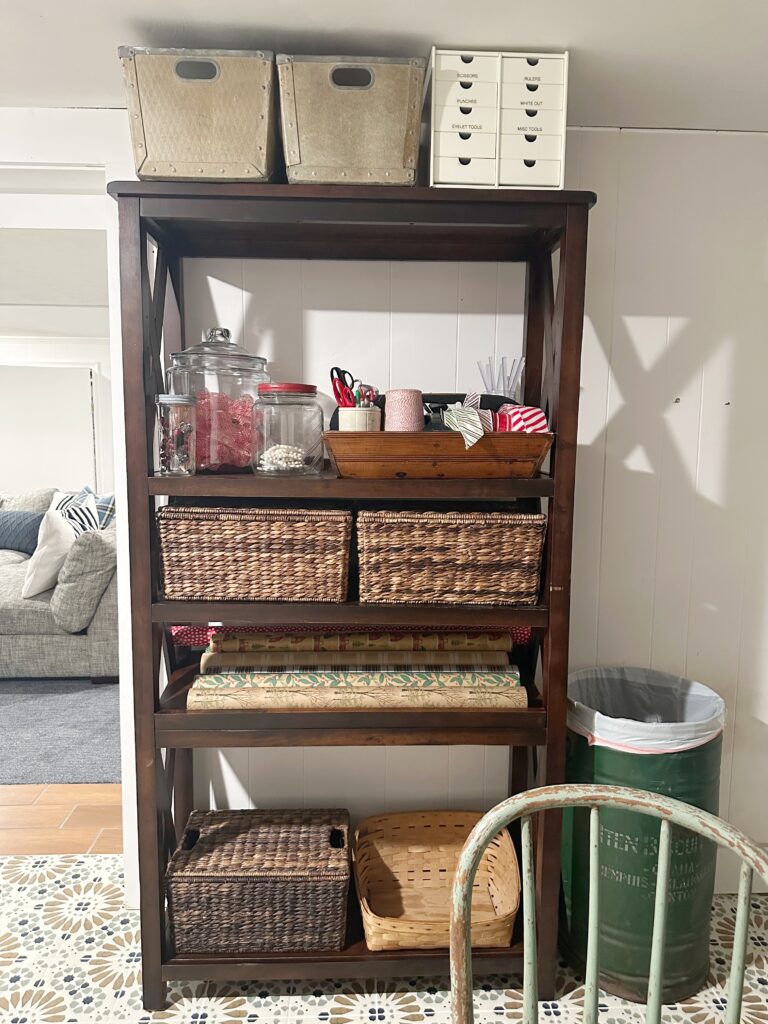
In my space, I am using a bookcase for my gift wrapping station. This is one of those pieces that we had leftover from my hubby’s past home offices, but it just didn’t fit in this house. It ended up in this catch all area downstairs.
But you could begin your gift wrapping station using an old dresser, bookcase, back of a door, or simply a portable rolling gift wrap cart.
Of course, if you are short on space, the rolling cart will be the best option. You can compile all the things in one spot, then simply roll it away into a closet, pantry or garage. There are also pocket organizers that can hang on the back of a door. These would work with an addition of a vertical bin to hold rolls of wrapping paper.
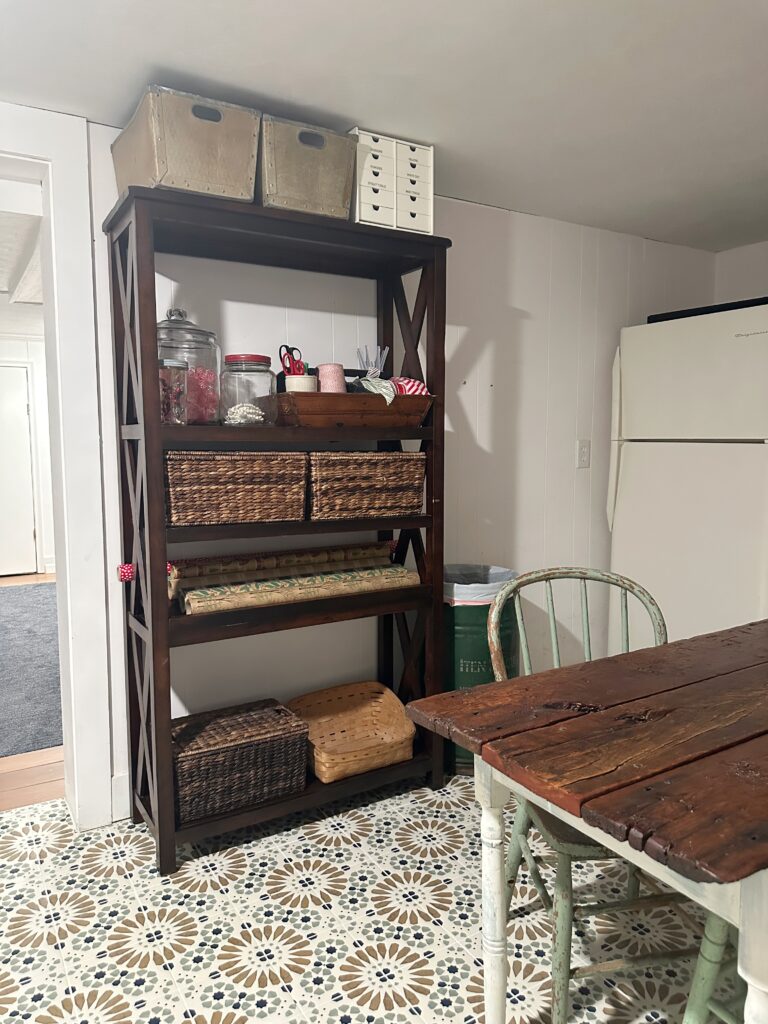
But if you have more room, a piece of furniture will work nice as a starting point for organized gift wrapping. Just walk around your house for inspiration of where to set up a wrapping station. Remember that you will need it near a table or surface to wrap those gifts.
Gift Wrap Organizer
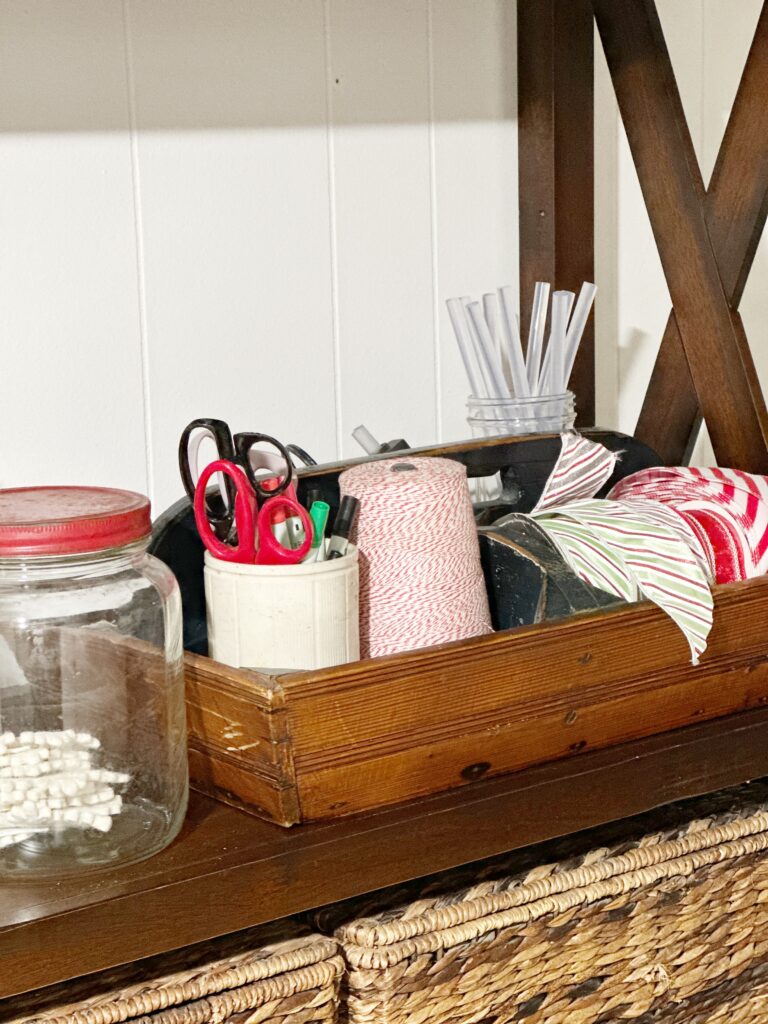
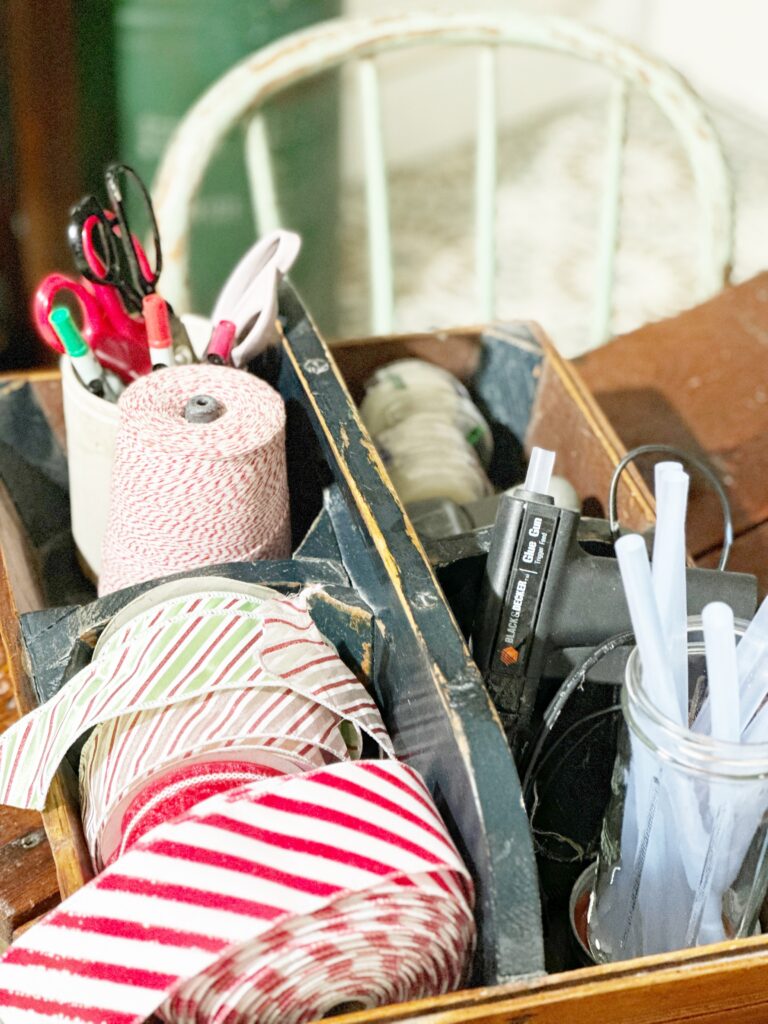
I’m using this vintage wood tray for my necessary gift wrapping supplies. Besides wrapping paper, items that need to be available to quickly wrap presents are; scissors, tape, and ribbon. These I’ve placed on a higher shelf.
Although we are empty nesters, we frequently have our little ones visit, and the basement is where they head first because that’s where the toys are! So I will keep the dangerous stuff up high.
My favorite thing is this Baker’s twine! I have it in like 4 colors and use it to tie tags on, and tie up gift bags etc. I am obsessed with it. If you want to check it out, click the link and it will take you to Amazon.
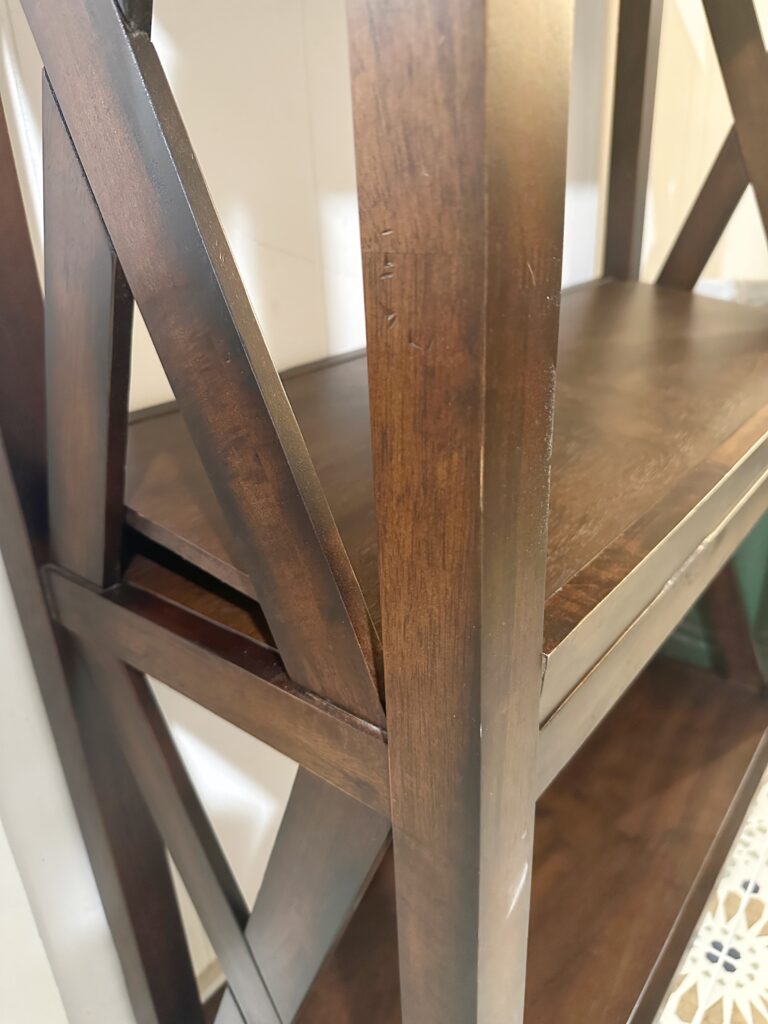
I had extra shelves for my bookcase, so I turned a shelf around backwards, which created a nice incline for my wrapping paper rolls. These can also be stored vertical in a basket or other bin. My bookcase ended up holding everything I need to quickly wrap presents.
If you choose a rolling cart for your gift wrapping station, make sure the wheels are sturdy. There are many great cart options out there that will organize all the things in one spot.
Covered baskets and jars for more supplies
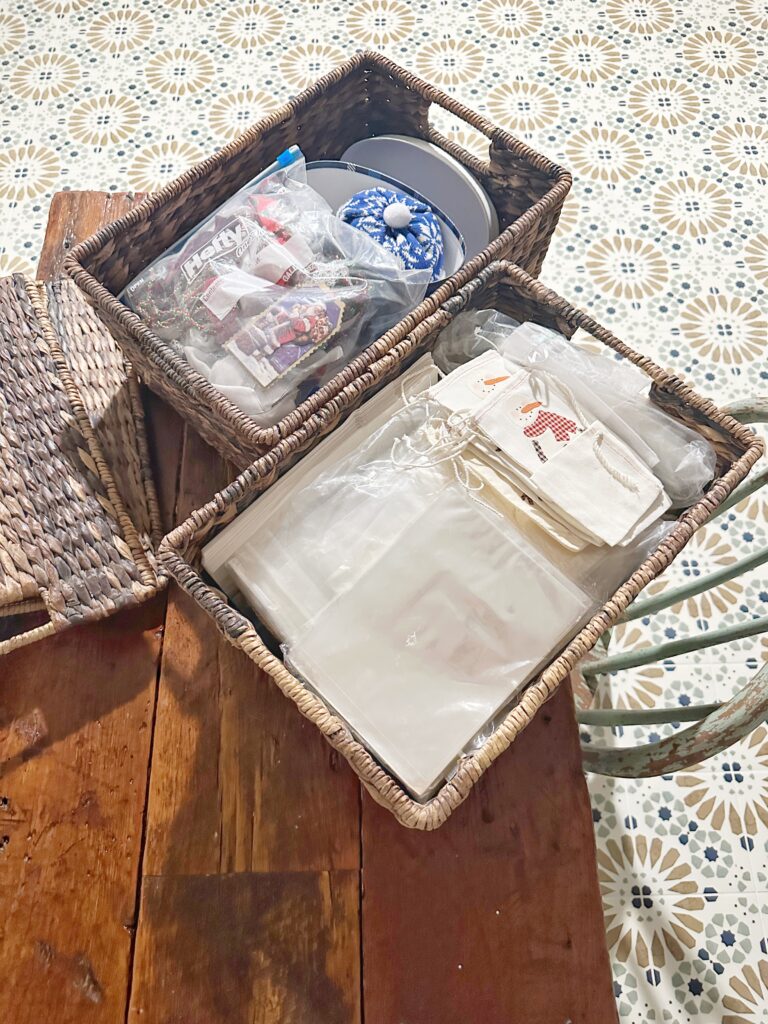
In baskets is where you could hide all the additional gift wrapping stuff like; gift bags, tissue paper, clear bags, recycled ribbons and gift toppers, etc. As I said, I save a lot of random stuff that might be cute as a gift topper, and also love to recycle good ribbon. I love wired ribbon!
If you use a dresser for your gift wrapping station, keep your drawers organized by storing supplies in smaller bins inside each drawer. The main thing is having everything handy, neat, and in proper containers. Wrapping presents quickly is the key, so you want things accessible.
I also wanted to use some glass jars to store some ready-made ribbons, cause they look so pretty. If I am ever shopping after Christmas, and lucky enough to get items on drastic discounts (like 90% off!), I will stock up.
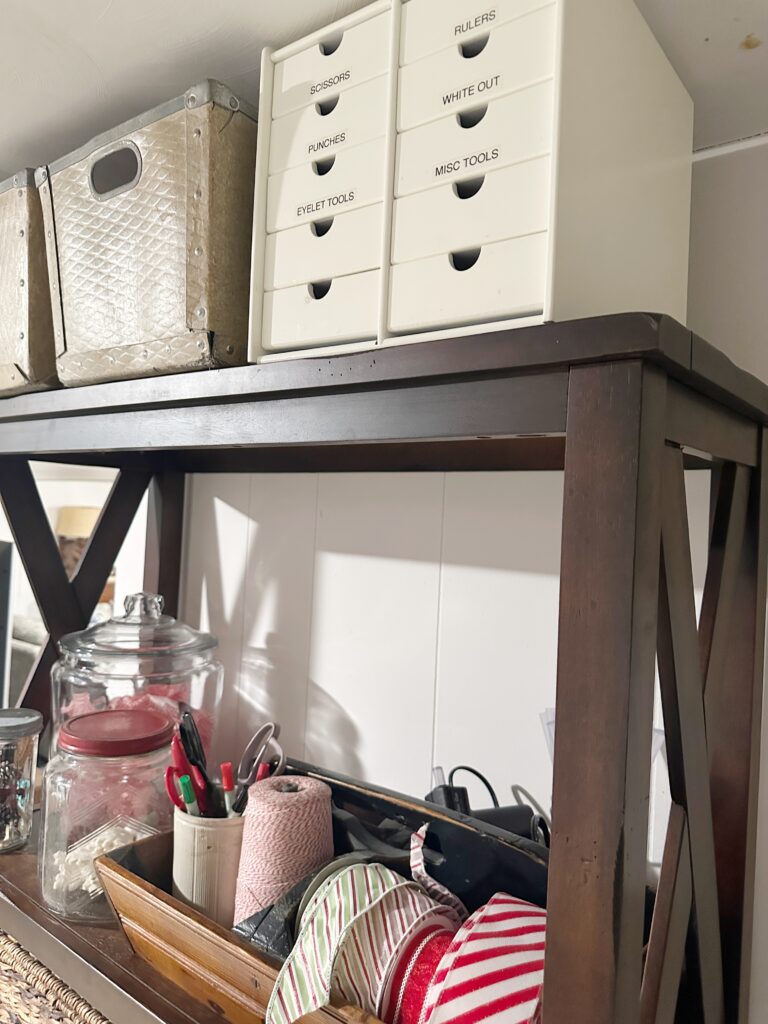
But as I said, I owned a scrapbook store for a decade which sold vast amounts of ribbon by the yard. I may or may not have kept a few bolts after we closed. My house may be a bit of a giant craft room with way too much ribbon, as I do love to create! But luckily, I love to organize too.
More ideas for your gift wrapping station
Outside of wrapping paper, pull together whatever you already own that would make your gift wrapping fun and easy. This will be an area where you can create and be inspired for Christmas, and to make that present look extra special. Other items you might need include:
- craft punches
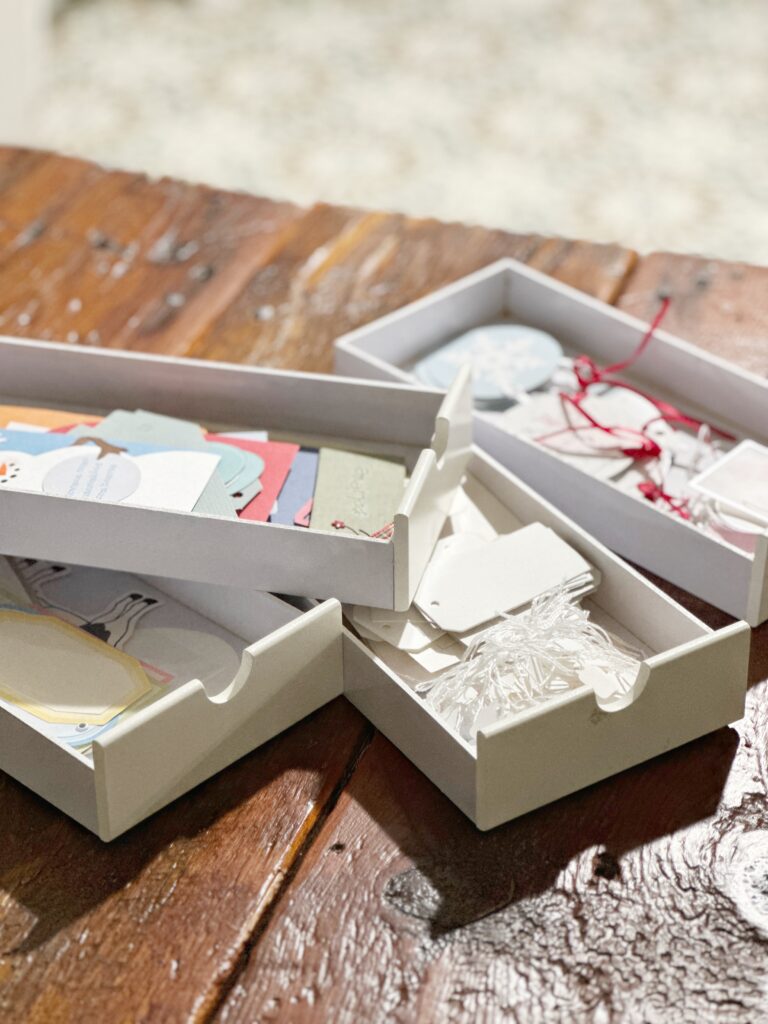
- cardstock or scrapbook paper for tags
- vintage ephemera for toppers
- Specialty Christmas paper for notes
- Empty toilet paper rolls (make cute candy shaped gift for small items inside tube)
- roll of patterned washi tape
- magazine for inspiration with ideas for gift wrap
- plain gift bags to decorate
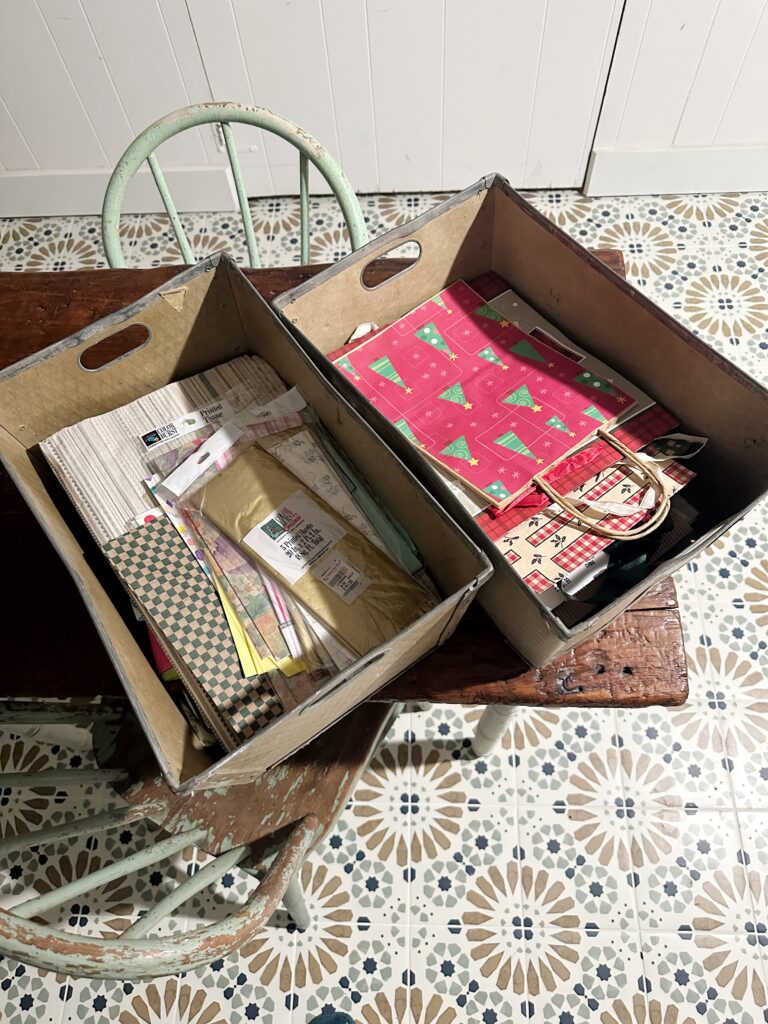
Wrapping up this wrapping station
I always appreciate a good pun, hope you do too! Wrapping…..wrapping station. Get it? LOL But seriously, creating a little wrapping station where you can have everything organized, where you can feel inspired, will be so helpful and handy for the holiday season that you may just want to keep it up all year!
It’s a fun idea to get you feeling inspired about organizing too. For more ideas, read this post about creating your own creative space.
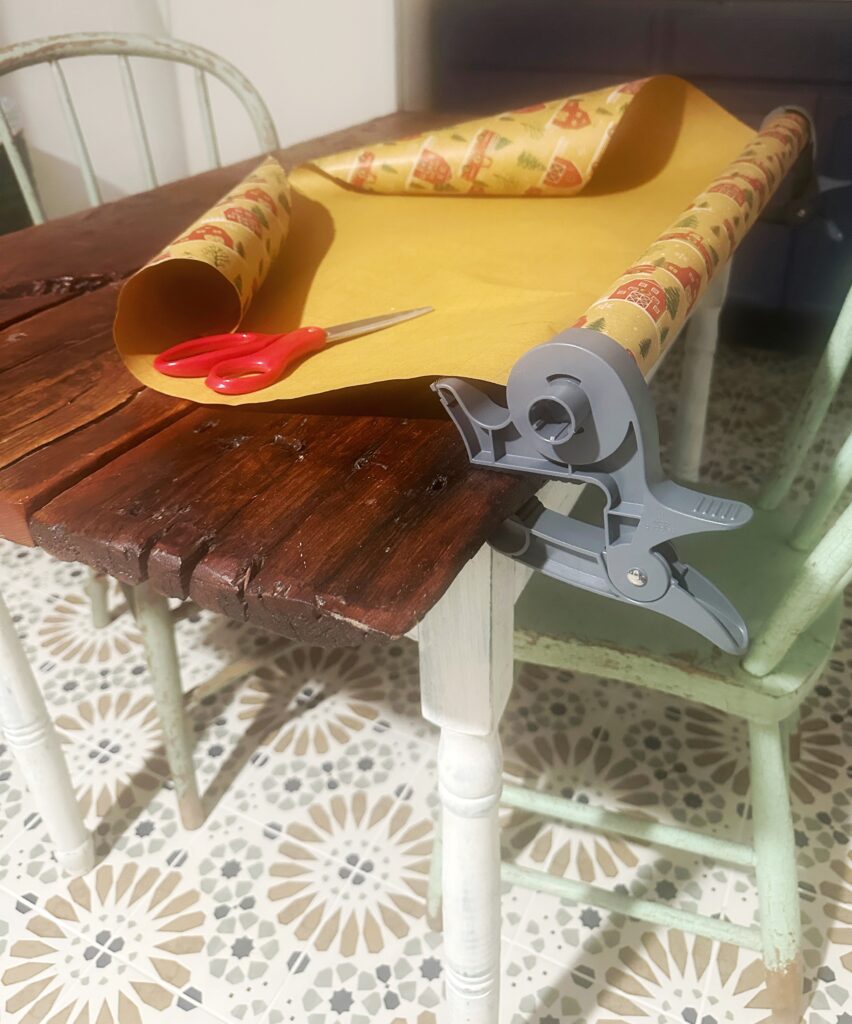
The other thing I’m obsessed with are these clips that you can put on the edge of your table, and attach a roll of wrapping paper too to easily roll out. They are super cool and make wrapping easy.
Once I started pulling all my wrapping paper together, I began getting other ideas of ways I could organize for all my holiday crafts. It gave me more ideas of ways to prepare for the season and now I’m pumped! Check out my Amazon storefront for all the fun things you’ll need.
I hope this post has been helpful. Drop me a comment below if you are feeling inspired to have a place to wrap a present or two (or twenty). I’d love to hear your ideas for your wrapping station.

On my blog, I may sometimes use affiliate links, which means a small commission is earned if you make a purchase via the link. Don’t worry, the price you pay will be the same whether you use the affiliate link or go directly to the website using a non-affiliate link.
Save this photo to your holiday gift wrapping inspiration board so you have it for later!
