Adorable Gingham Tray Using Bungalow 47™ Furniture Paint
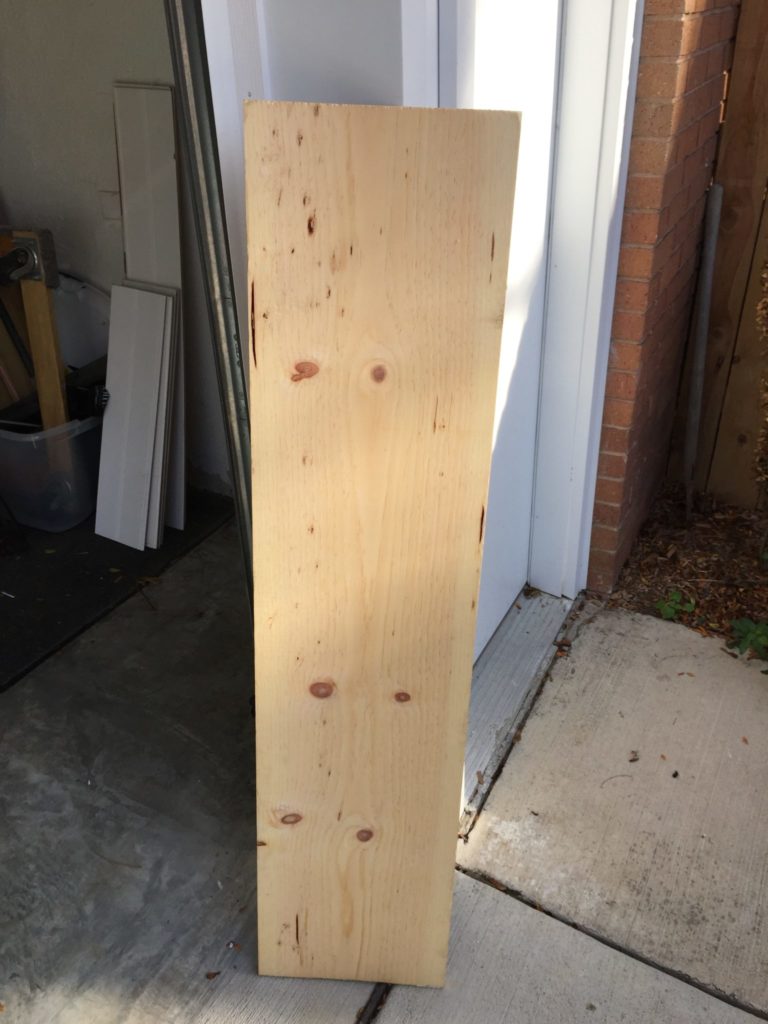
Remember our board we began with last week, when we made our wood chargers? We had leftovers. This week, this simple board was made into an adorable gingham tray using Bungalow 47™ Furniture Paint!
This project is easy to do, is budget friendly, and uses just a small amount of paint. Using a dry brush technique, makes this gingham easy to do with just one accent color. So let’s get started making an adorable gingham tray using Bungalow 47 Furniture Paint.
Here’s what to do if you’d like to try making one.
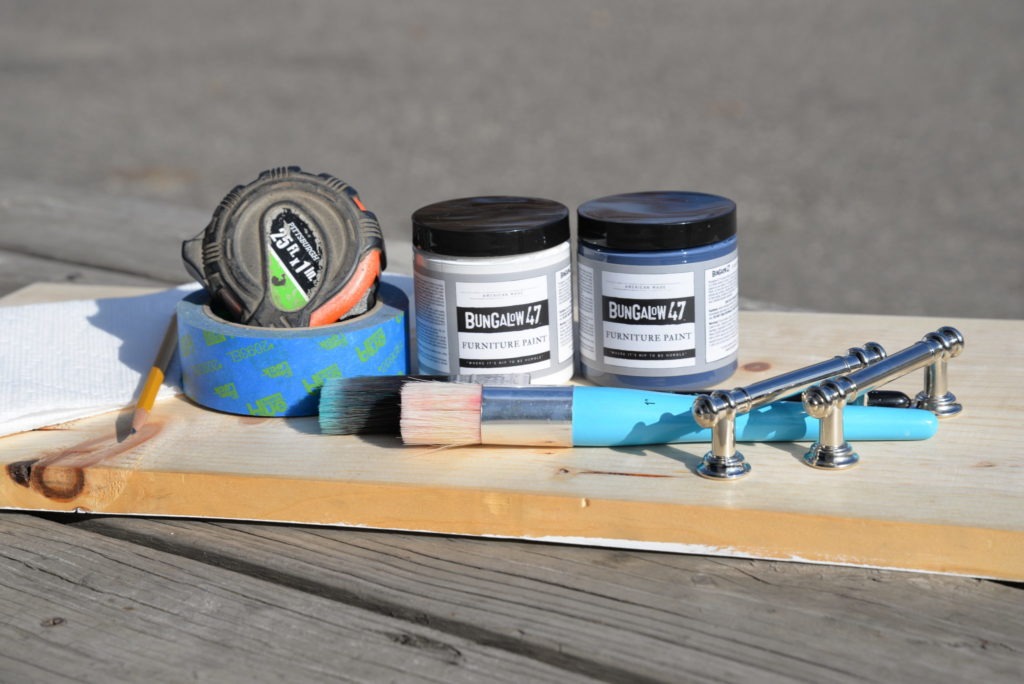
First, gather supplies:
You will need:
A pine board cut to your desired size. We chose a board that was 12″ wide.
Bungalow 47™ Furniture Paint in two colors. We used Farmhouse Sink and Nautical Stripe.
Painter’s tape in a desired width for your gingham stripes. We used 1-3/8 inch.
A measuring tape.
A pencil.
2 metal drawer pulls for handles.
Paper towels.
Paint the Base Coat for Your Gingham Pattern
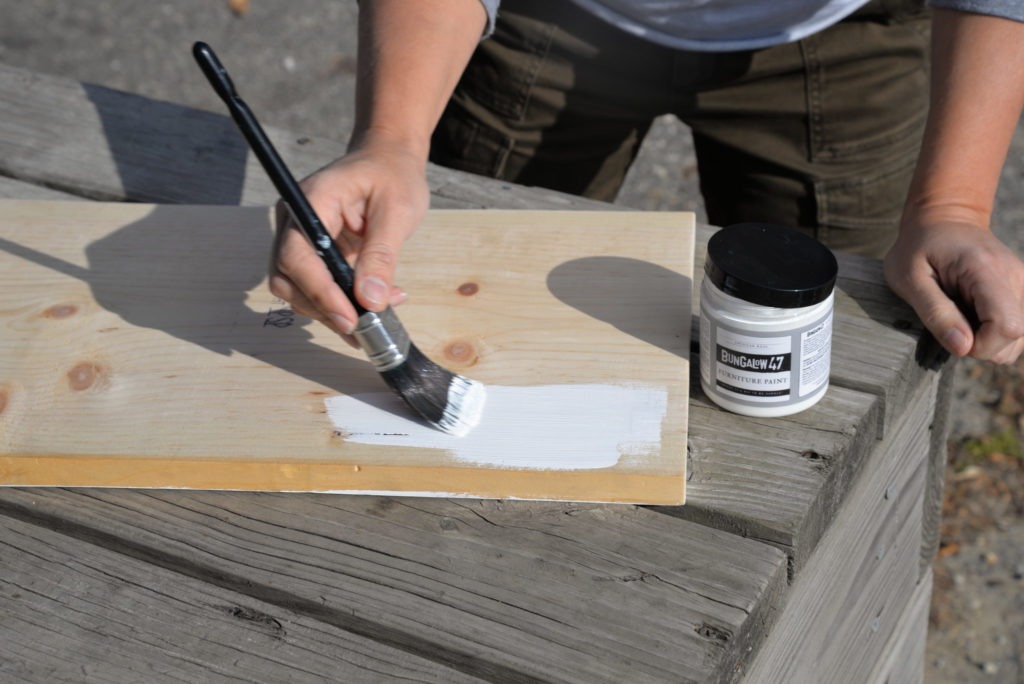
Next, this project began by base-coating both sides of the board with our bright white color, Bungalow 47™ Furniture Paint’s Farmhouse Sink. This is your background color for your gingham.
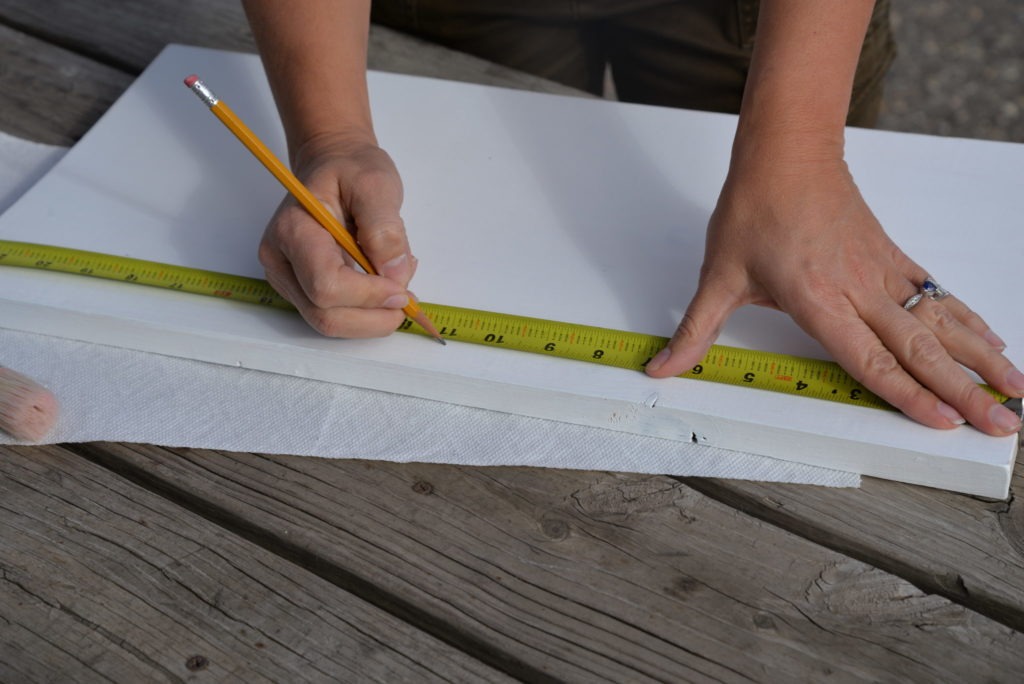
We get excited when we are doing projects, as I’m sure you do too. However, it’s super important to make sure you allow your paint to dry thoroughly before this next step since it involves painter’s tape! We used a tape that was 1-3/8″ wide. Whichever size you decide to use, mark the center of your board at both ends. This will establish the center of the plaid gingham design so you end up in even amounts on either side.
Creating the Adorable Gingham Pattern
Tear a piece of tape long enough to cover your length and wrap the edges, because you’ll be painting the pattern down the sides as well. This piece will serve as your guide. Fold it in in half the long way, with the adhesive on the outside. This will help you center your pattern, and you will repeat this in the other direction as well.
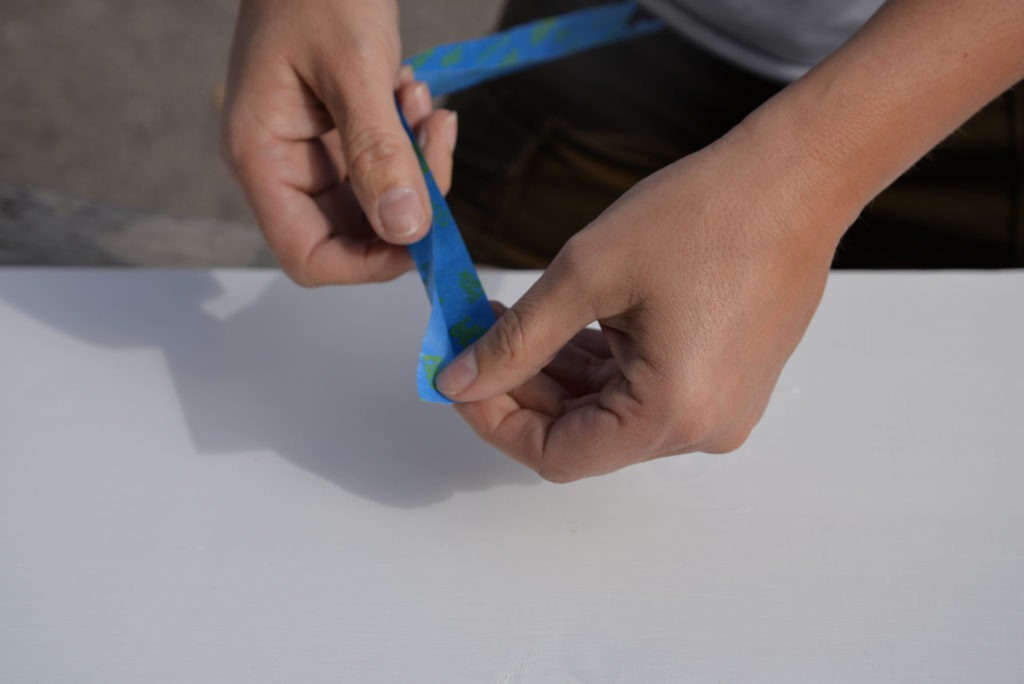
Next, place your center tape guide with the folded side against your center markings.
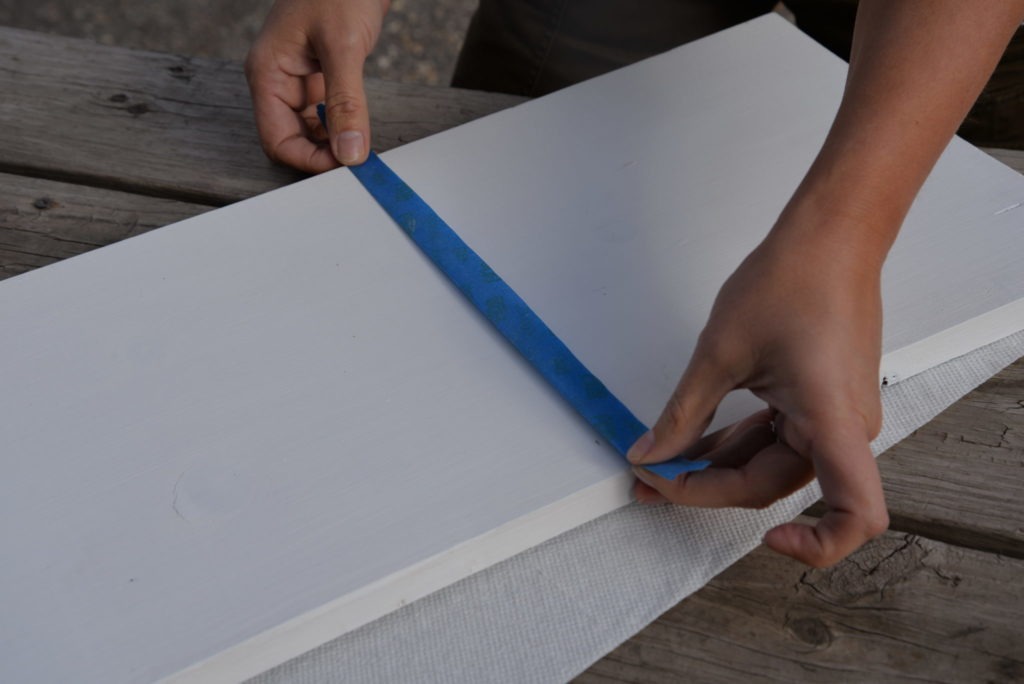
Unfold the tape: this is your guide to start your pattern.
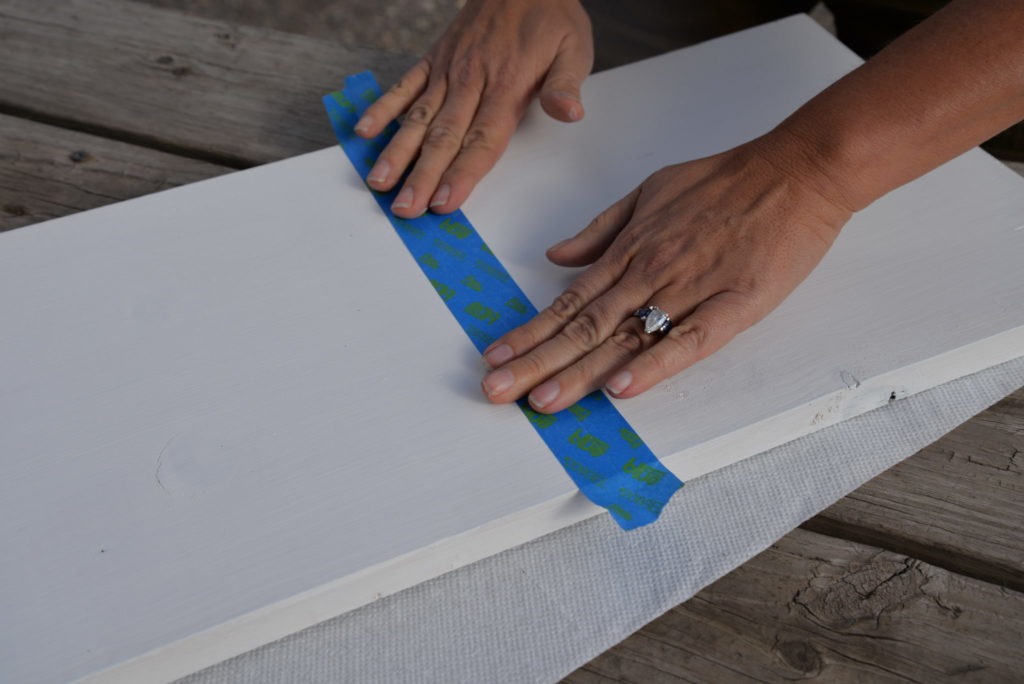
Begin by butting your next tape pieces on either side of your guide, then pull away your tape guide. Then replace it on the opposite side of your tape.
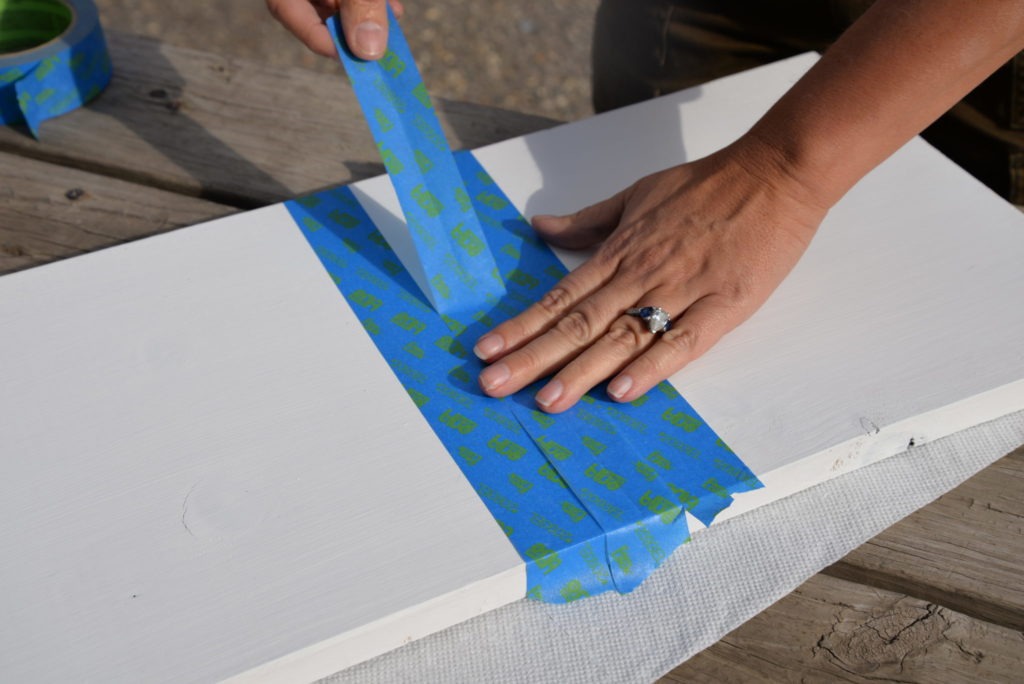
Continue doing this, moving your guide as you go until you have done the whole piece in one direction. Then, finish down the other side. Burnish your edges nice and tight using your thumb to run the full length of the board and the edges. You will be using a dry brush technique and crisp lines are key!
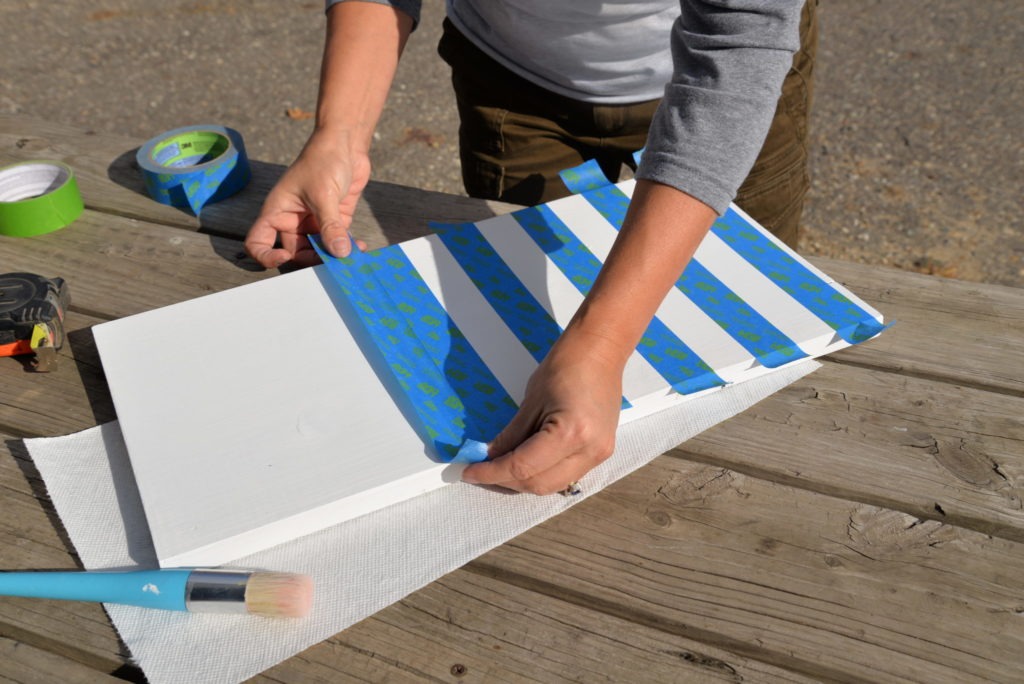
Painting the Checked Gingham Lines
The white space left is where you will be dry-brushing on your accent color. We used our navy (Nautical Stripe), but we are also itching to try Front Door Red! Red gingham would be especially cute for a Christmas craft!
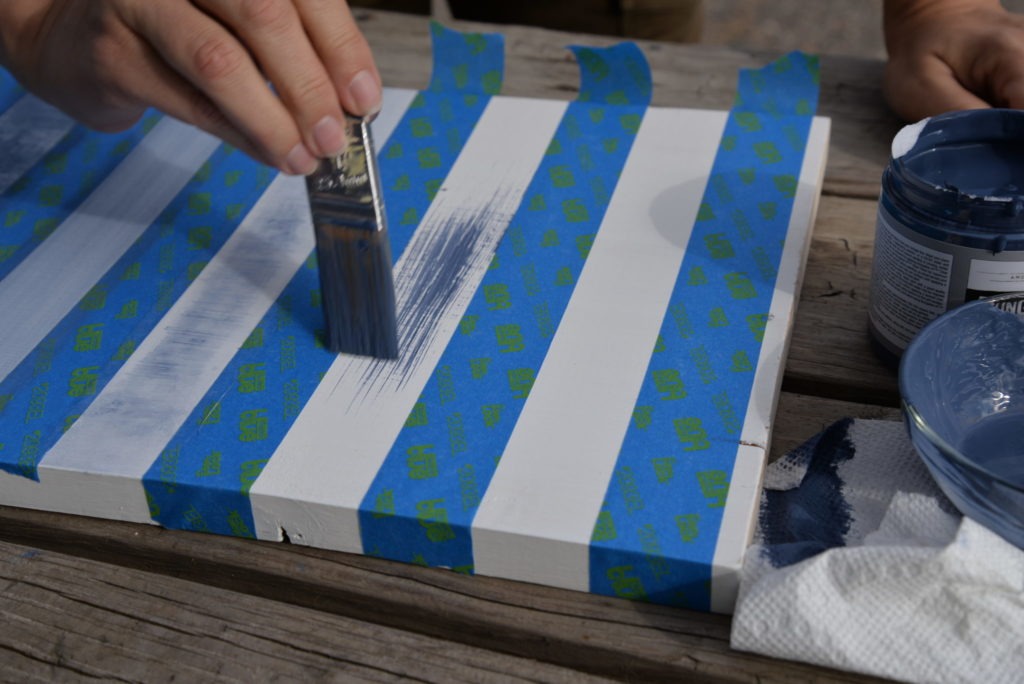
The key to a successful dry-brushing is using a little paint thinned with a dab of water, and keeping your brush very sparse and dry. A bit was dabbed on, then rubbed to the edges using a barely damp paper towel. Keep a nice big stack of paper towels handy.
Pro tip: I washed my hands and dried them with the towel, then used it for the blending process. How’s that for repurposing? 🙂
Allow this first row of gingham to thoroughly dry before starting in the other direction. Dry brushing uses such little paint that your paint should be dry quickly depending on your climate.
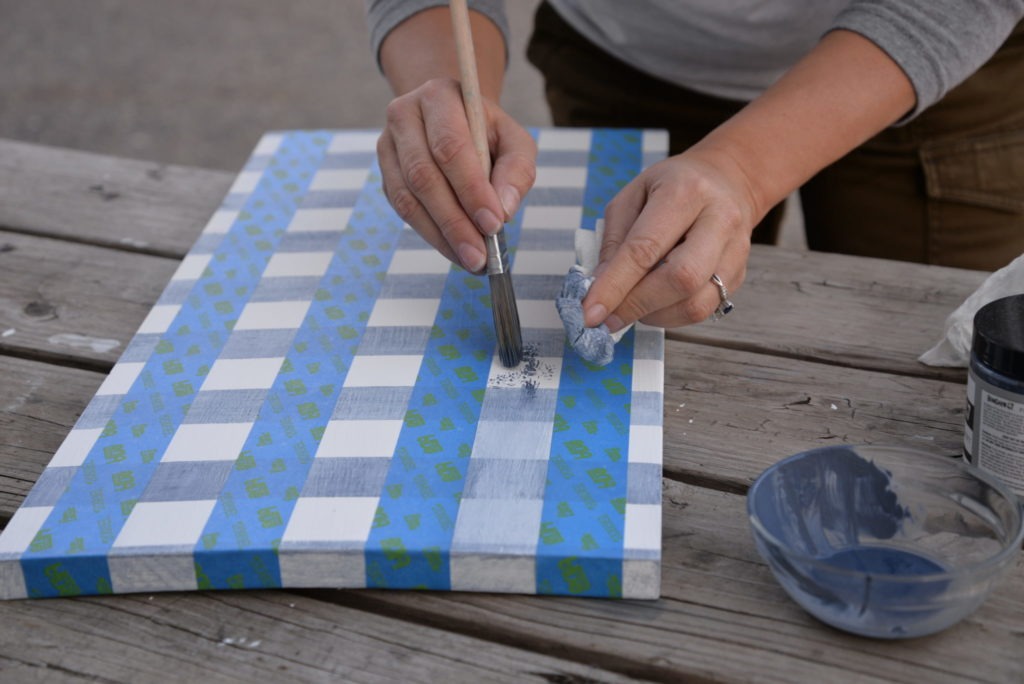
Heading in the Other Direction to Create the Gingham
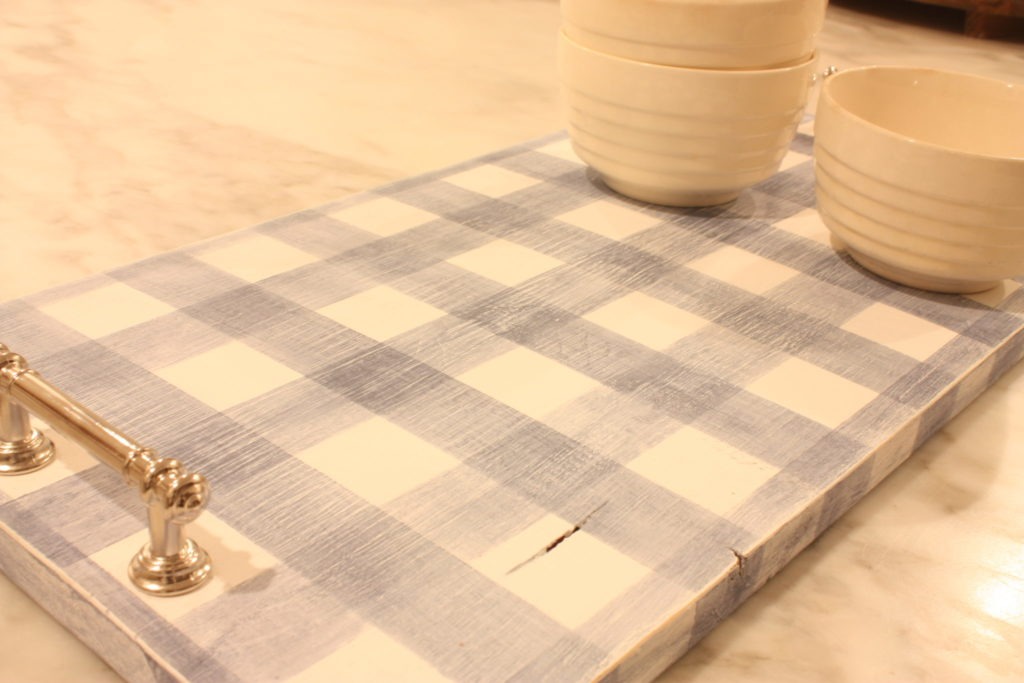
Once you have completed one whole side, do the measuring and taping process going the opposite direction, and begin dry-brushing your gingham design in the opposite direction. You can see, when crossing over the lines going the opposite direction, that block will darken as it now has two coats of dry-brushing. This creates that great checkered pattern we all love gingham for.
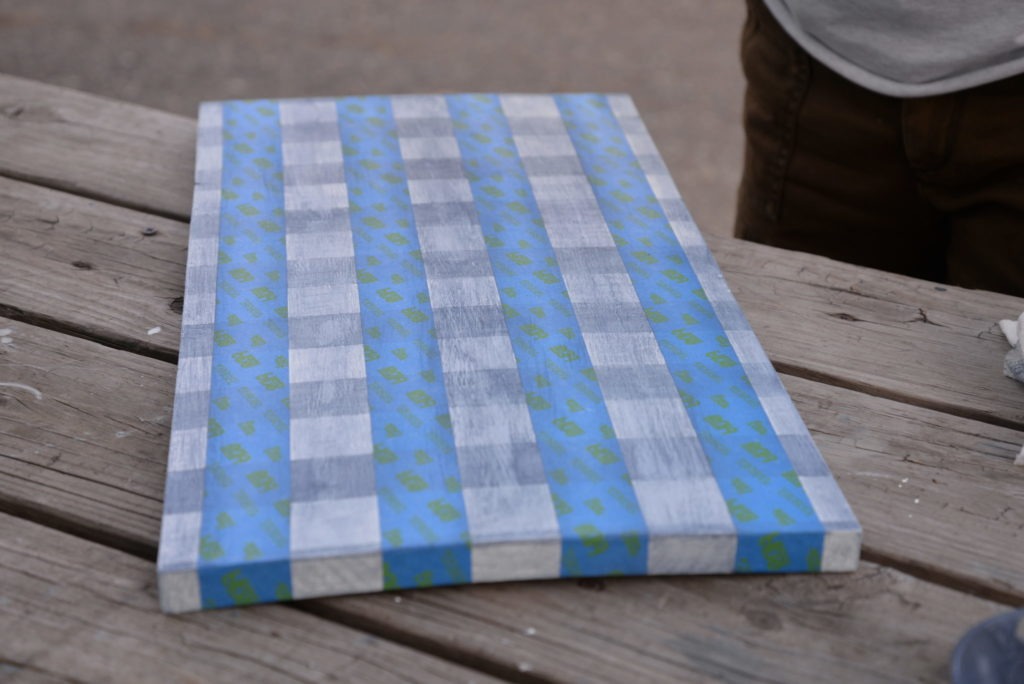
When dry, pull the tape off and drill holes for your hardware! Make sure to make all necessary measurements to place in the center and fit the span of the handle design.
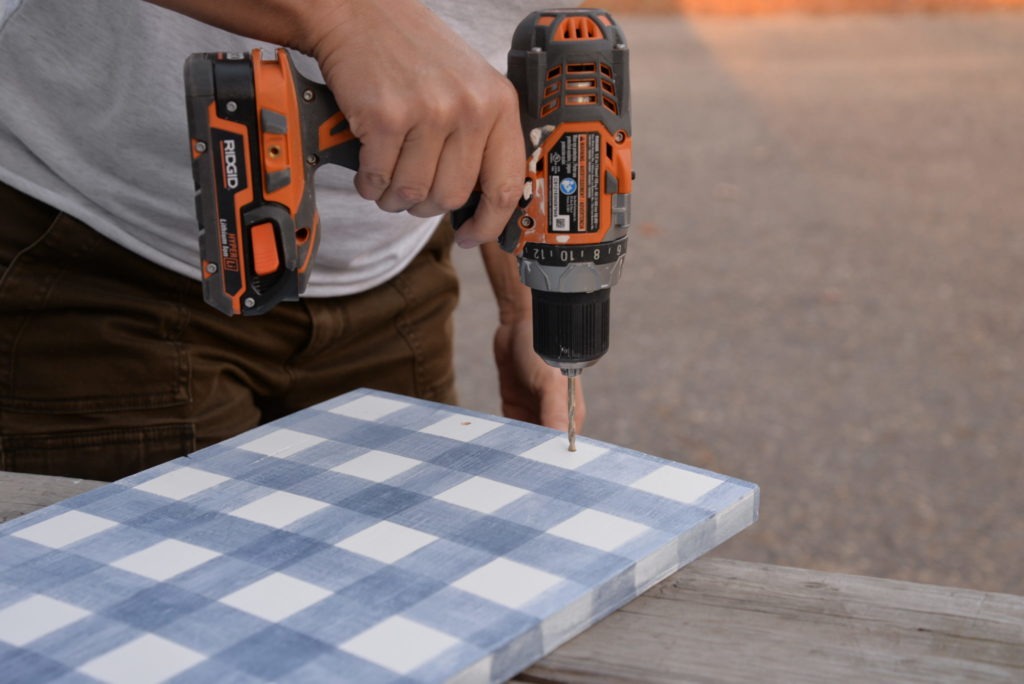
Finishing Your Project
Attach the hardware. Using this type of hardware creates a totally different look than the front screw hardware we used on last week’s wood chargers.
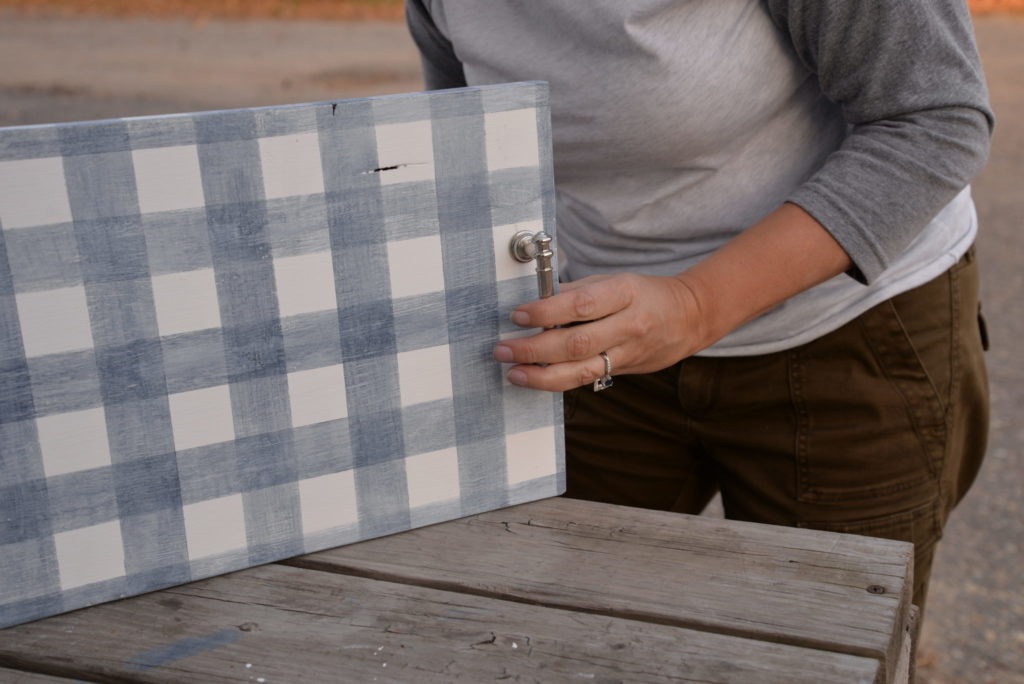
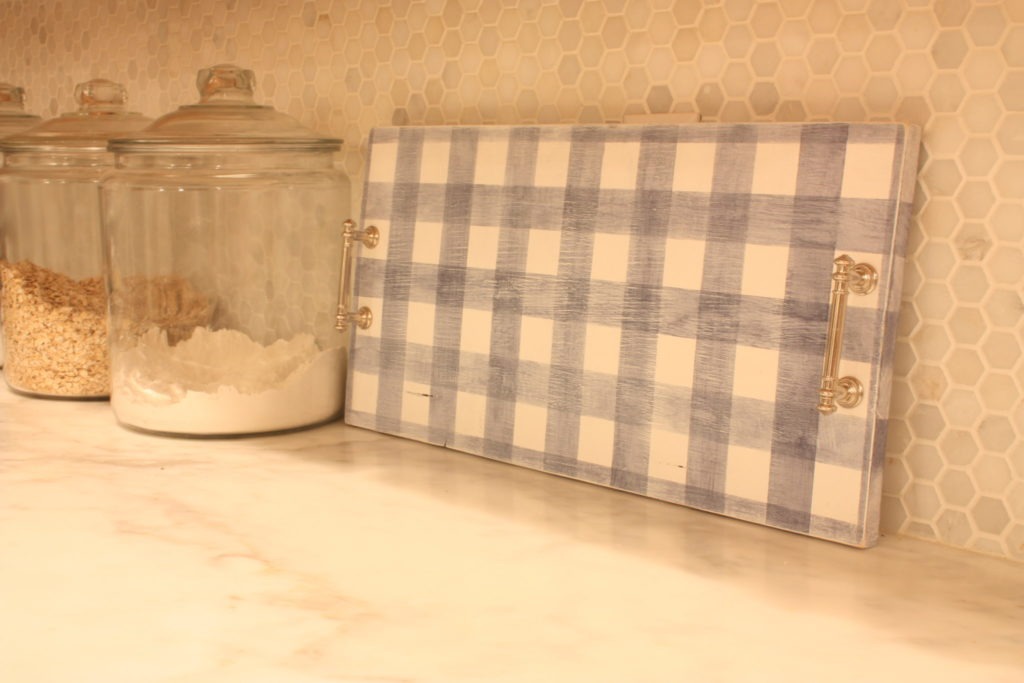
Isn’t this cute? This gingham technique would also be so cute done on drawer fronts on a dresser or on a table top. But this adorable gingham tray using Bungalow 47™ Furniture Paint is one of our favorite and quickest projects we’ve done lately.
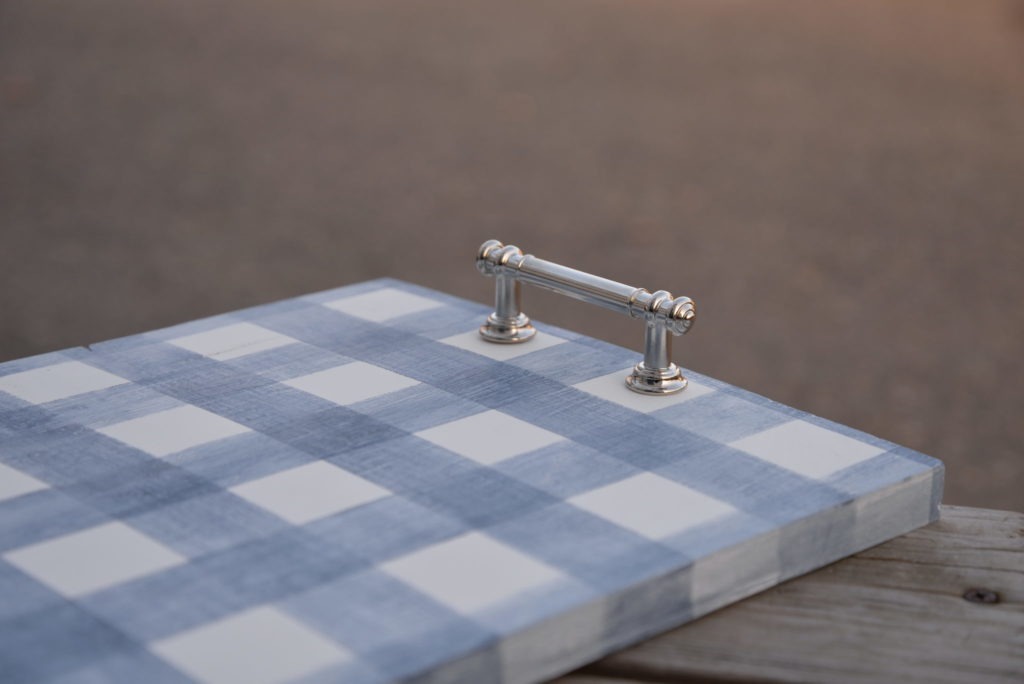
I’m not sure what’s more fun—doing the project, or finding fun ways to use the tray?
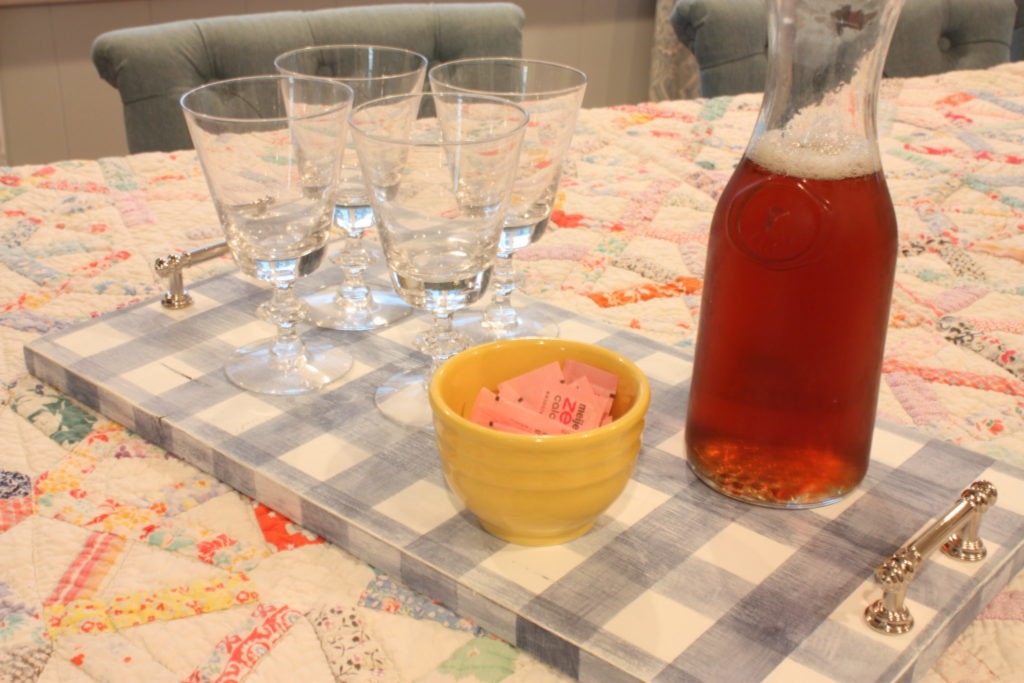
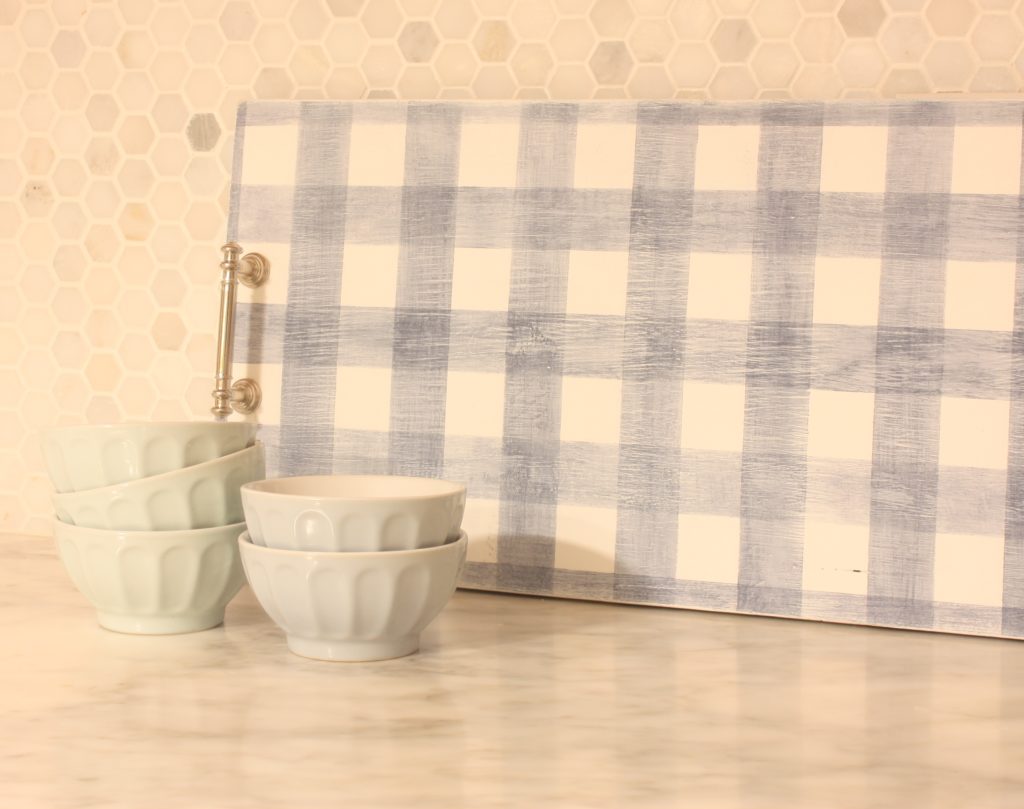
A checkered gingham is the perfect accent for these patchwork dishes.
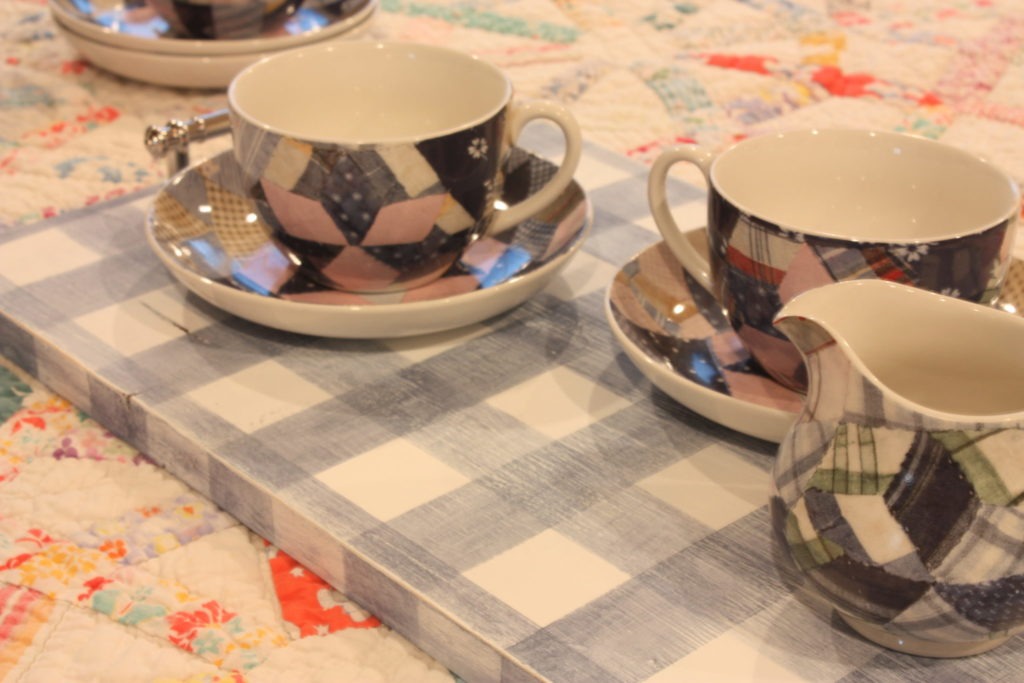
When it’s waiting to be used, it adds decor just sitting on a kitchen counter.
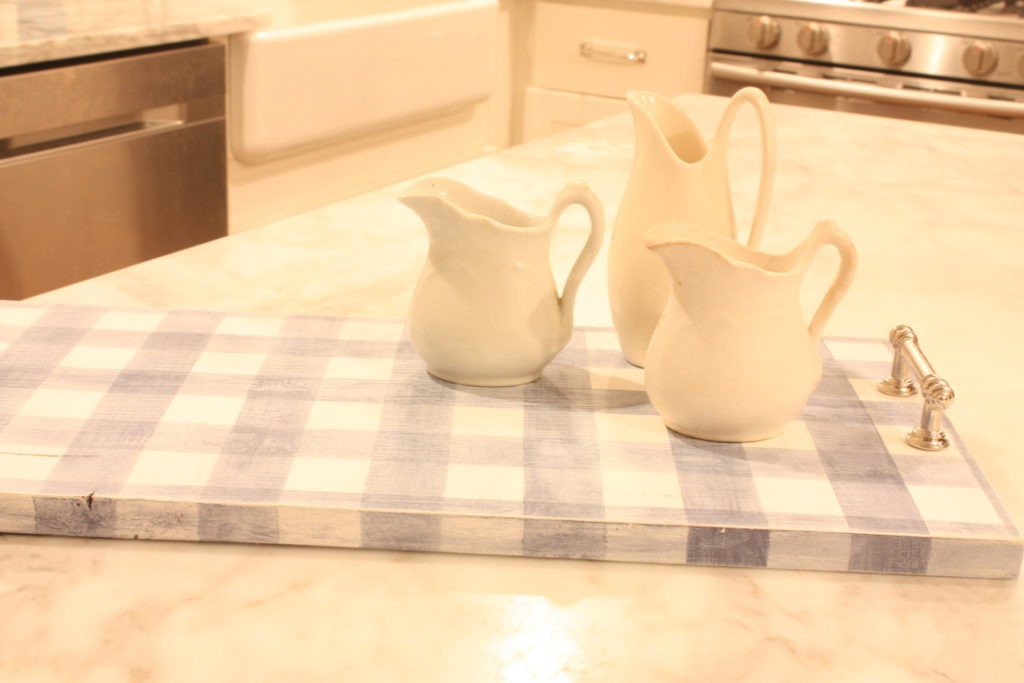
Wouldn’t this make a great hostess gift for the holidays? With a single board and the help of Bungalow 47™ Furniture Paint, you can have this done in no time. Now you’ll know how to make an adorable gingham tray using Bungalow 47 Furniture Paint.
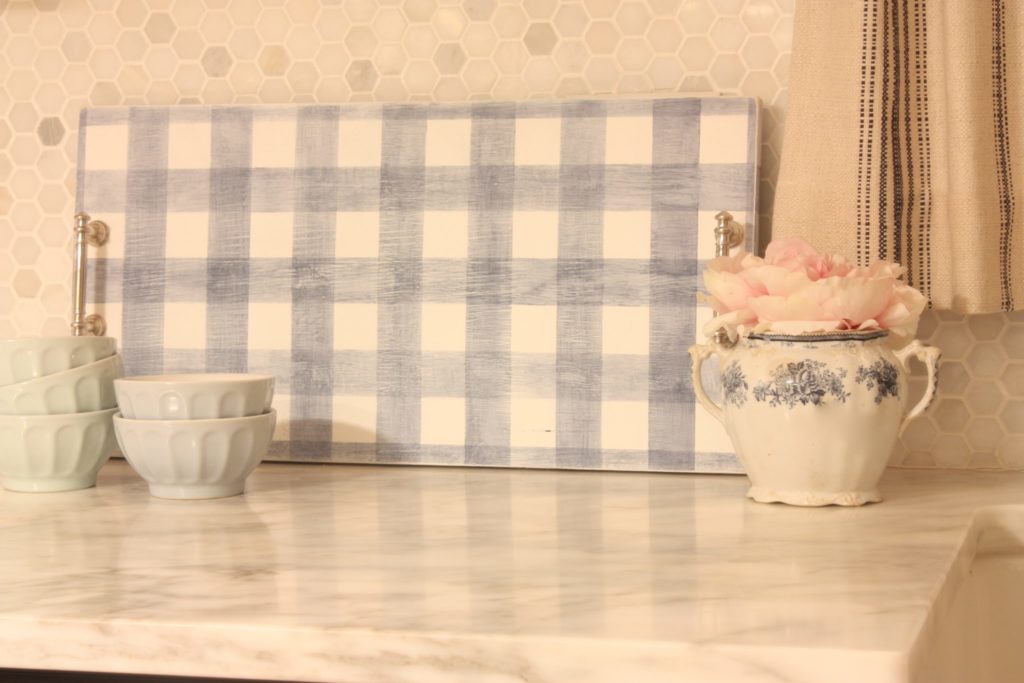
Stay tuned for more ideas using Bungalow 47 Furniture Paint. Also, check out our Pinterest boards for more painting and styling inspiration. Check out this other technique we’ve also used to paint gingham.
Have a happy holiday,
Jill and Chantelle

I love,love,love this ???????????? Thanks for the tutorial on the gingham technique
Painted Lady by Barbara Boyles