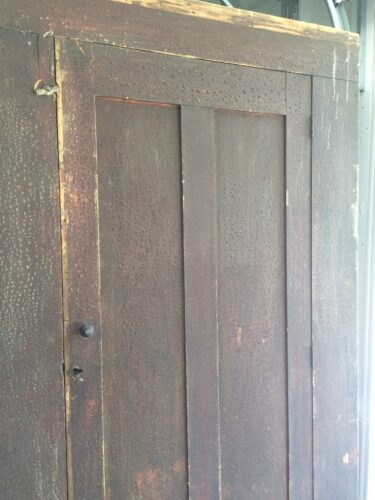
An Old Cabinet Gets a Makeover
Recently we purchased a much smaller house for our empty nest. I was in need of a storage cabinet for the dining room, to store my milk glass collection. The search was on. As luck would have it, Chantelle and I ended up at an estate sale. I had seen a primitive cabinet in the photos online that looked kind of the size range I was searching for, but you never know until you see it. When I walked into the garage, I can’t remember if I was first horrified or excited. It was time for an old cabinet to get a makeover.
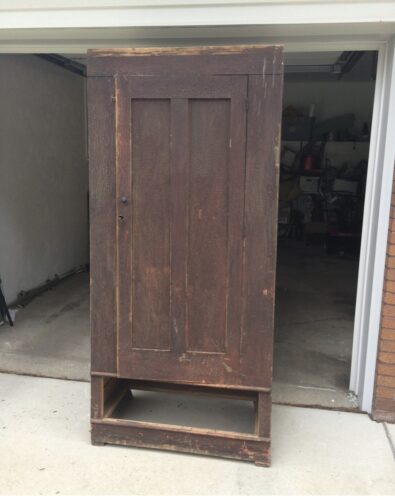
The cabinet was covered in dust and grime, with the drawer in a pile of pieces, but the size was perfect and when I opened it, the inside patina on the wood made my heart skip a beat. The estate sale guy yelled out, “Do you need a project?” I smiled weakly, not really, but YES. We loaded it in the van. I paid $20 for it.
When I brought it home, I was pretty sure my hubby would freak out when he saw it. Let’s just say, his imagination isn’t as exercised as mine and this cabinet looked diseased, but he saw the paint color I had chosen, Paddleboat, and he got all excited. All of the sudden, I had an assistant! It also had the same shaker door style as the cabinets in our new kitchen so I figured it was meant to be.
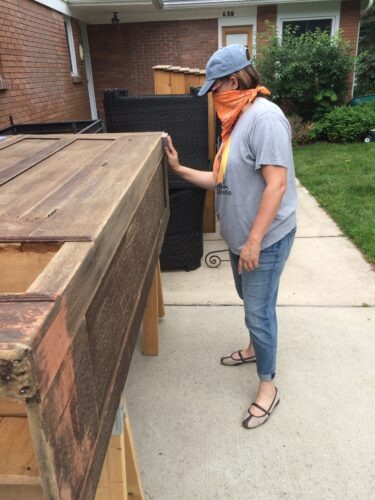
Cabinet Makeover Begins
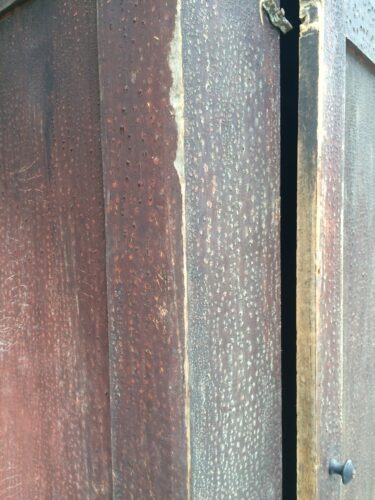
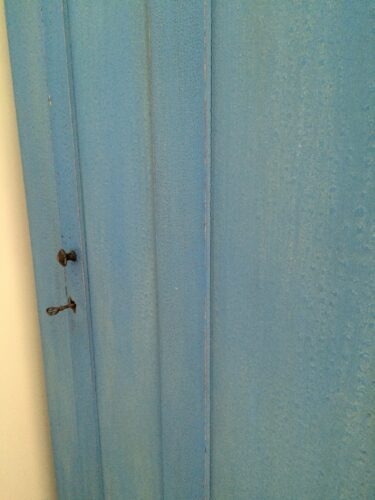
First, I needed to knock down some of this texture, so I scraped and sanded it down. Yea, this calls for a mask of some sort. I have no idea what the heck this was, but it looked like some previous finish that had bubbled up over the years from the heat of the garage. Whatever it was, it was gross. But I was confident that texture would look good when painted.
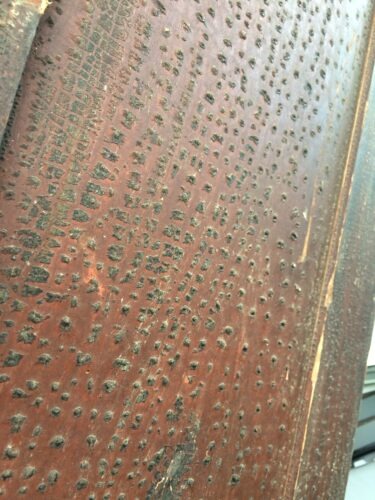
Chantelle had painted this really cool cabinet the same color, and it had a lot of texture, so I was pretty sure I was going to love the outcome.
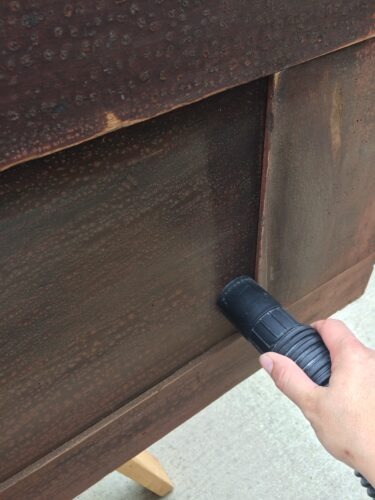
After sanding with a power sander, I vacuumed it with the shop vac. I wanted to be as thorough about getting all the dust out of there.
Next, came the scrubbing and this piece really needed it. I used a little Dawn liquid soap to cut through some of the grease.
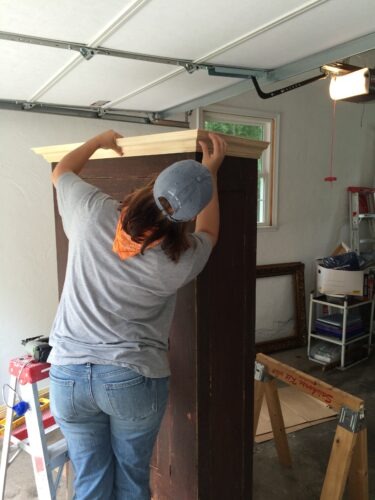
Adding Crown Moulding to the Cabinet
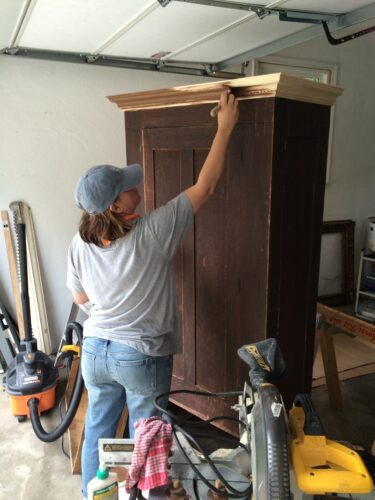
Next, it needed some crown moulding. It was missing it’s original and it just needed that detail. The crown moulding would really bring it back to life and make it a bit fancy for it’s humble beginnings.
I ended up painting the crown moulding with the color Wood Beam to give it the same base color as the rest of the piece. That way, when it was distressed, you would see that brown color instead of brand spanking new pine wood.
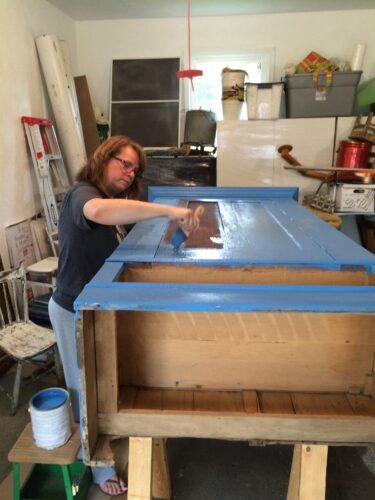
I was finally ready to paint the body of the cabinet! Since it was so tall, I laid it across two sawhorses so I could paint it quickly. Using our Bungalow 47 Furniture Paint, it only needed one coat! I ended up using what was less than a pint of paint on this huge piece (I was painting out of our shop gallon).
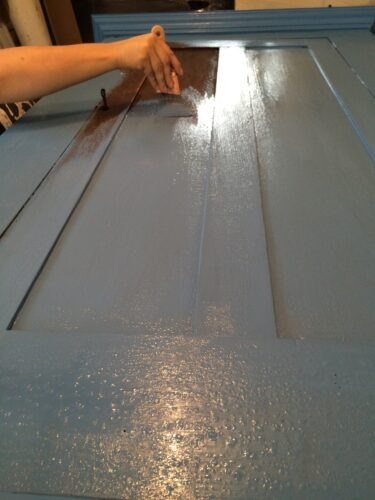
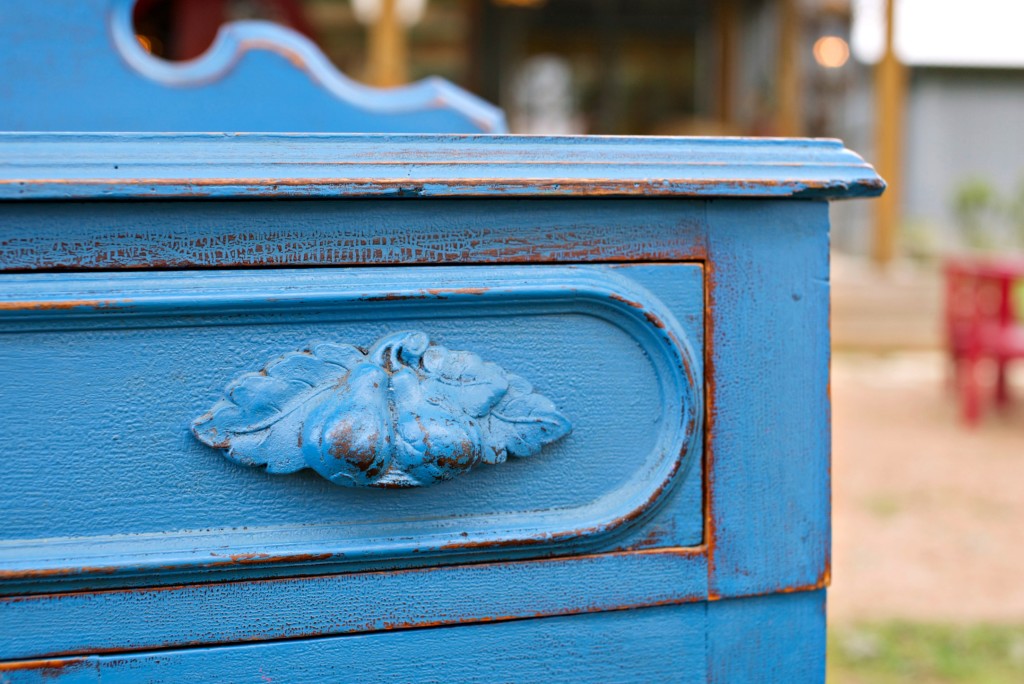
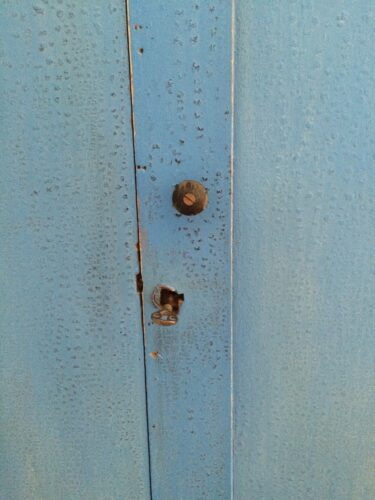
I distressed it, using a wet distress technique. Since there was so much texture, the dampness of the rag really worked the paint in and around the texture that I wanted to highlight.
The cabinet was originally a closet, and I built a few shelves inside sized to what I needed to store. I decided to cover the shelves with wrapping paper for a little fun! The interior natural wood was so pretty and I didn’t want the newness of the pine shelves to stand out.
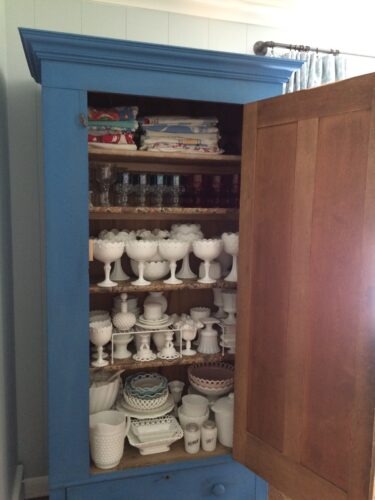
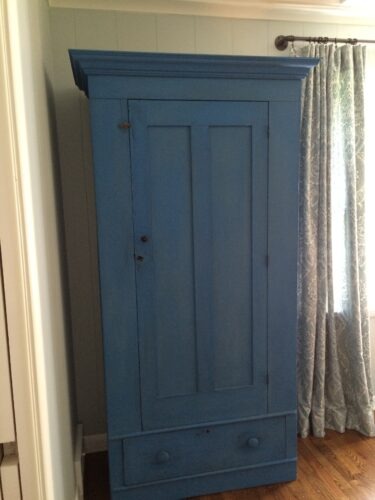
She now sits pretty in the corner of the casual dining area. Every morning when I walk in, the color just makes me smile. Using the was so easy and made the project go quick. I had the cabinet done in a day and the next morning we brought it in and filled it up with 15 boxes of milk glass unpacked from the storage unit!
I have many other projects I’m waiting to share, I better get busy! Stay tuned. For inspiration for furniture makeovers and other decorating, check out our Pinterest boards. Be happy, Jill

