How to Transfer Images to Furniture
Have you ever wondered how all those DIYers are able to transfer printed images onto painted furniture? Well, now we have an easy way to show you, thanks to one of our amazing paint retailers in Missouri. We recently spoke with her and she shared her step by step to how to transfer images to furniture.
Meet the Artist
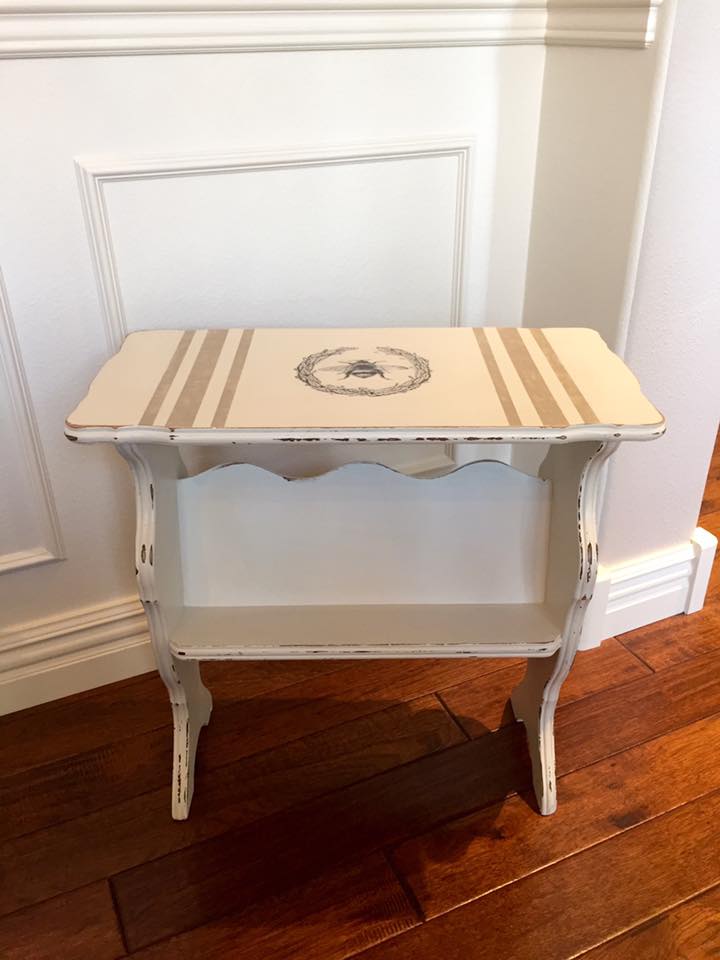
Tristan Taggart is an artist and furniture painter who sells her wares at Blue Moon Boutique Market in Joplin, Missouri. She’s super creative and is a lover of our paint products! Recently she painted this little end table featuring a few transferred images, and we couldn’t wait to show you how it’s done!
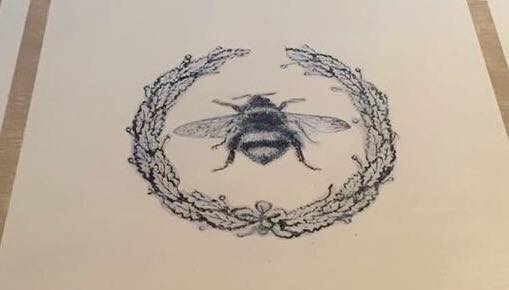
Here’s a close-up of the top, with the bee image. That image started out on simple copy paper.
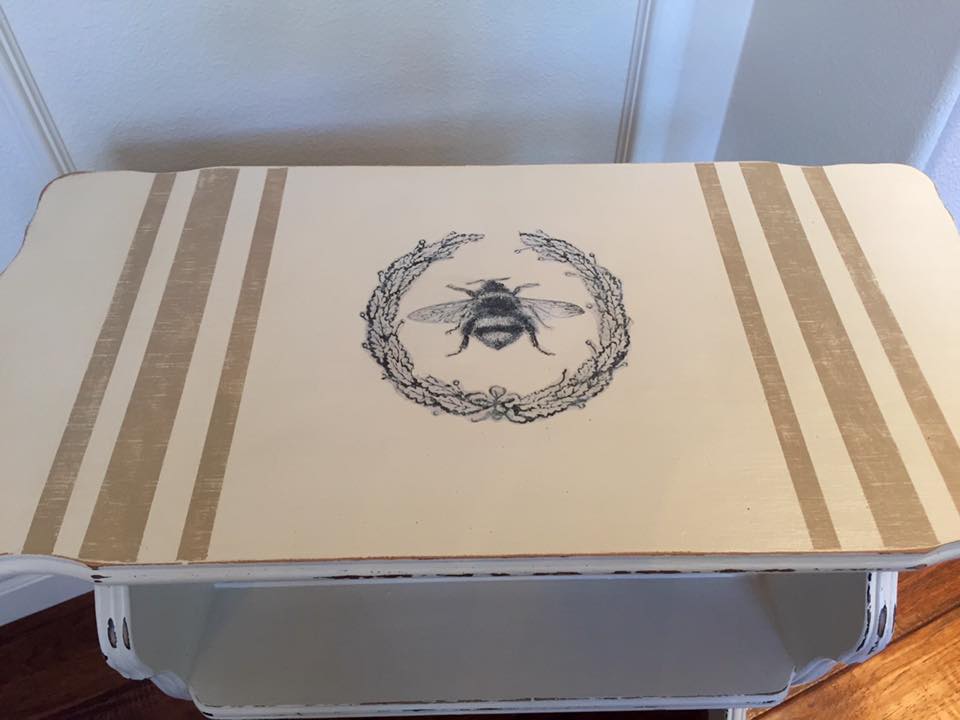
Tristan told us how this little table made her fearless. It had so many issues, but so much potential. She painted it with our private label paint we did for Shabby Chic®. The color similar to Marble Island, in the current Bungalow 47 Furniture Paint line.. The grain sack stripes are Fire Pit.
Making it Her Own
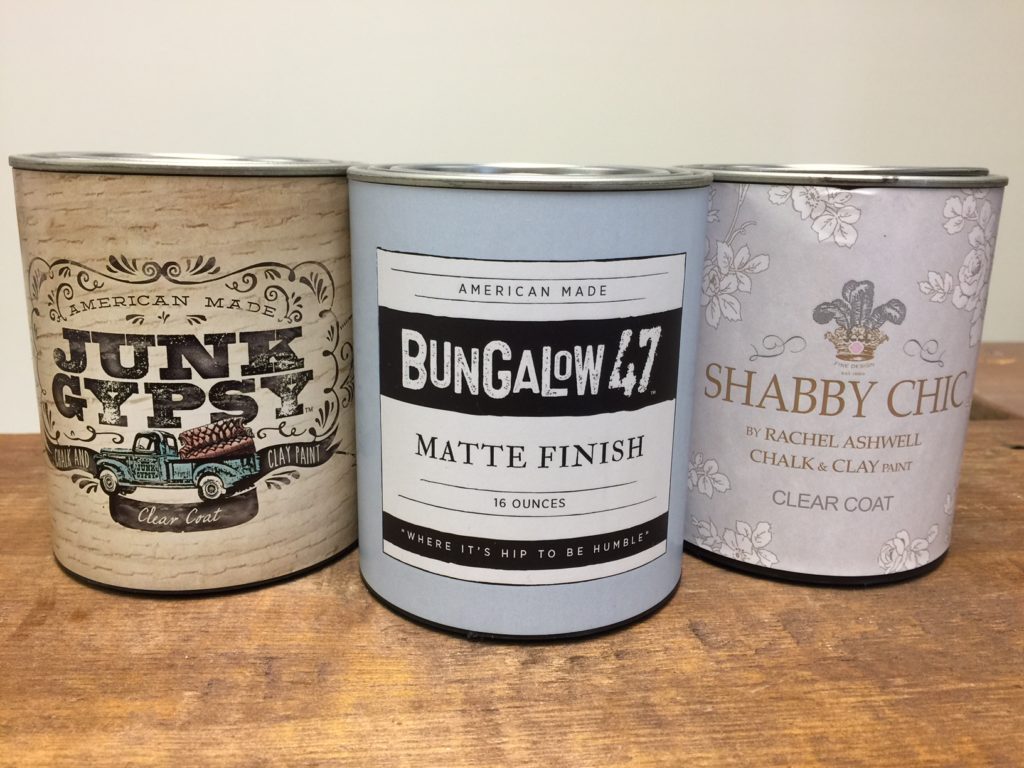
She had seen a product by another company used to transfer printed graphics to furniture, and wondered how it would work. So she tried it using the Bungalow 47™ Matte Finish. It gave her a great result and was so easy.
Our Clear Coat finish product dries with a matte finish and is a water and chemical-resistant finish. Therefore it’s perfect to protect your painted surface!
Here is Tristan’s step-by-step process. Hopefully, this will spark a bit of creativity for your next project to try something fun and new! We always love to hear how retailers are being creative using our paint products.
First: Choose Your Image
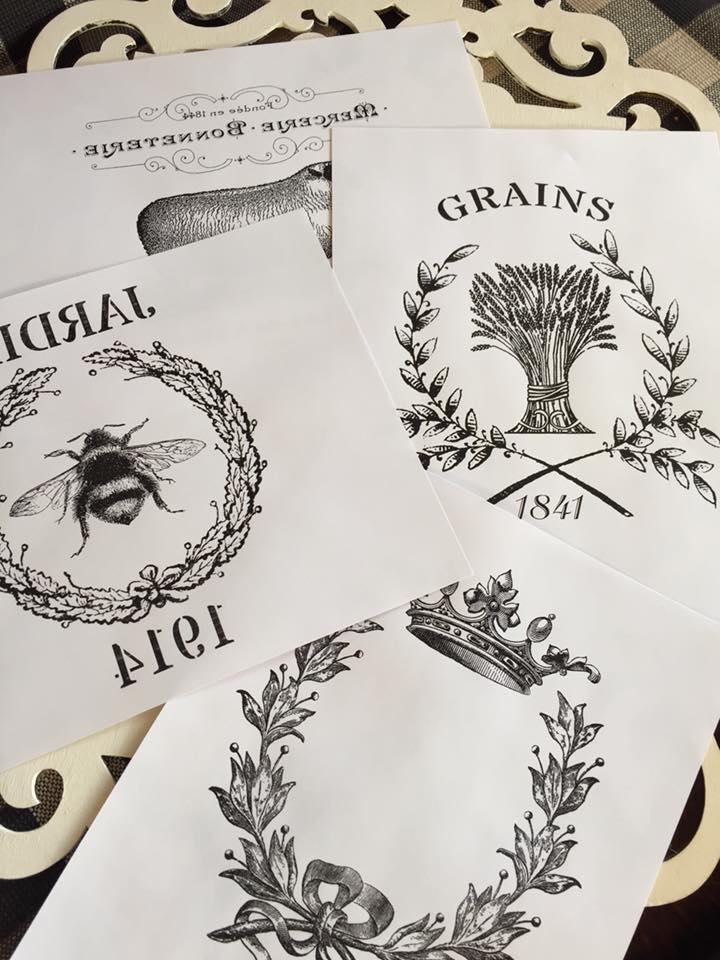
Choose your image and print it using an ink jet printer. Laser print will not work. Tristan suggests finding great free images at Graphics Fairy.”
Next: Cut Around Your Image
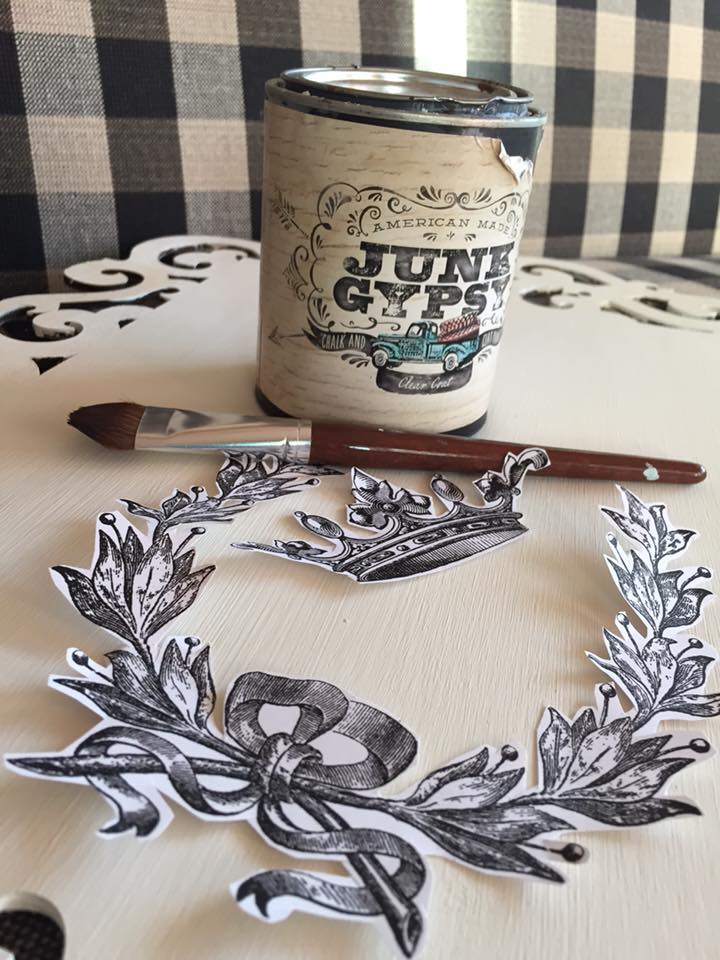
Cut around the image to remove most of the white paper. If your image has more than one component, cut those apart. You can customize placement or leave an element out entirely.
Apply Matte Finish
Apply matte finish to the PRINTED side. This is an important step. This will adhere it to the surface.
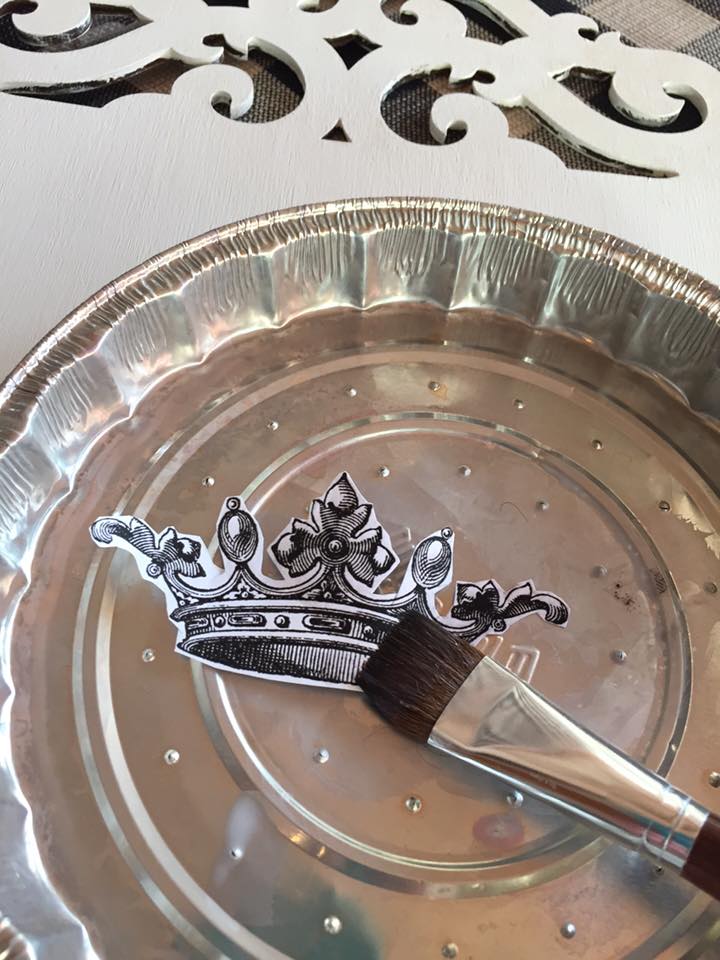
Next, place printed side down and allow to dry well.
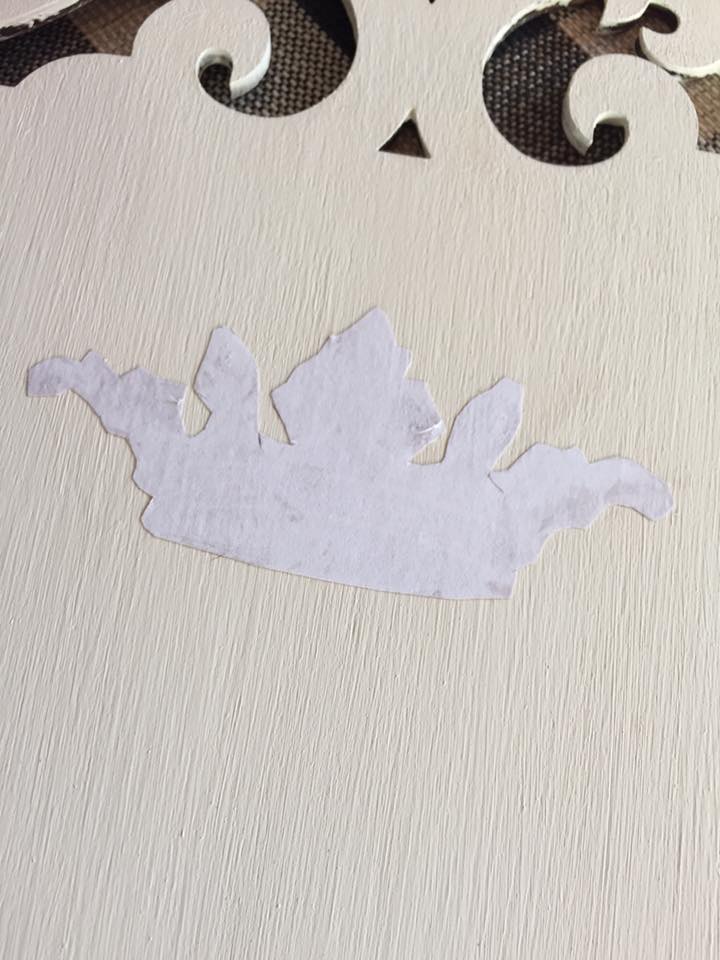
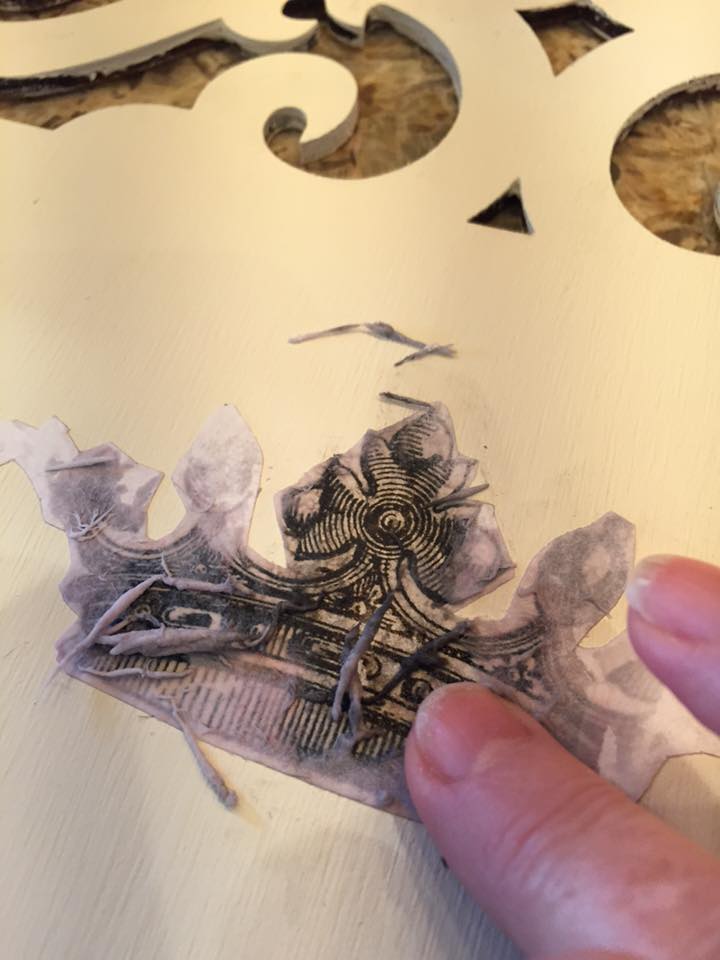
Removing the Paper
Put a little water on your fingertips and gently rub away paper. Tristan shares that she’s tried other tools for this step, but fingers work best. We trust a girl who is willing to get messy for her art!
Finishing
Apply Matte Finish over the image, and, voila! Feel free to admire how easy that was.
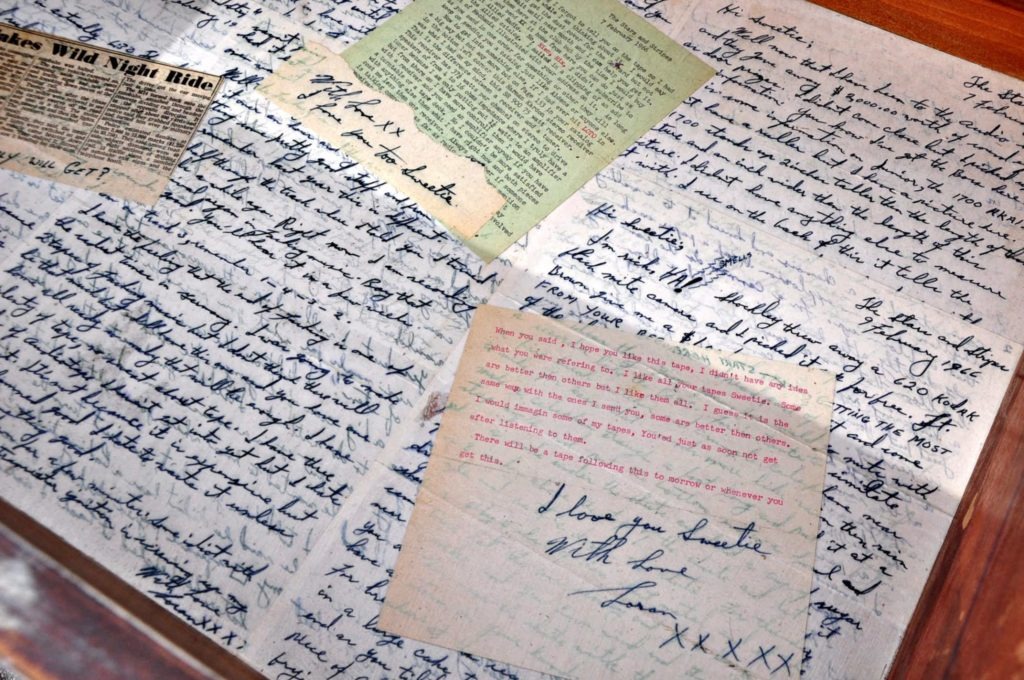
Our Matte Finish can also be easily used to decoupage images. You could use patterned paper, tissue paper, old letters, or sheet music right onto your painted piece. It’s a great way to add a little surprise inside a drawer. Check out this post to see what we did with a buffet.
We are always so inspired by all the creative people we work with, especially all of the paint retailers around the country. A big thank you to Tristan Taggart for sharing her project with us, and we hope that next time you are needing an awesome paint to update your flea market finds, you’ll think of us. Bungalow 47™ Furniture Paint is available in 40 on-trend colors!
Thanks for stopping in, and we’d love to know how crafty you’re feeling! Leave us a comment, and tell us about your next project.
Thanks,
Jill and Chantelle

I was just talking with my daughter about trying something similar with mod podge but now I can use B47 clear coat! I’m super excited and can’t wait to do this!!!