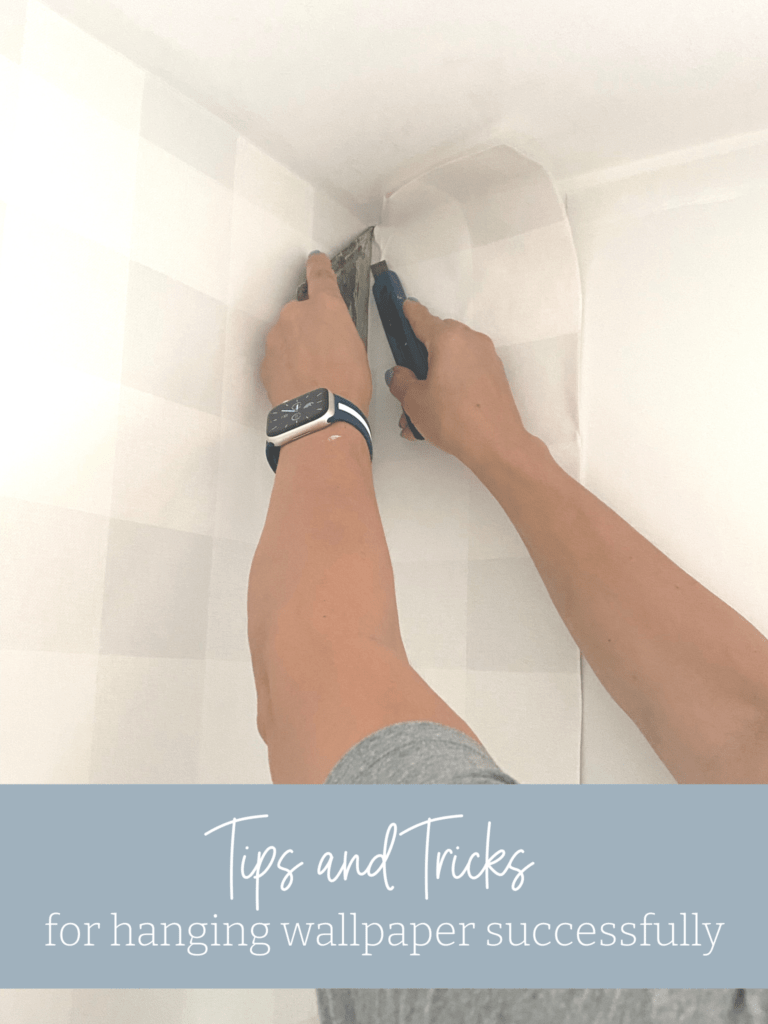
How to Hang Wallpaper
Knowing how to hang wallpaper is a useful skill. I am thrilled that wallpaper is now on trend, because it has been a favorite of mine for many decades and I can’t get enough of it!
Wallpaper is one of those layers in a room that I think really adds to the overall look, as it possesses a lot of power. It can make or break a space.
I’d love to share with you my best tips for applying wallpaper successfully.
Hanging wallpaper is not a difficult task
Although the actual wallpaper install is not difficult, it does require a bit of finesse along with proper prep.
An eye for detail and exactness in execution will provide you with a successful outcome as well. Once you do it, I swear, you will be running around your house trying to figure out what you can wallpaper next. Everything will seem like a blank slate waiting for wall paper.
I have a long history of wallpapering closets, and for some reason, this makes me incredibly happy. Who says a closet interior can’t be decorated? There are no closet police. Frankly, it should be decorated, and once you do it, you will be hooked!
Tips and Tricks
I will share with you my most important wallpapering how-to’s and tips so you can avoid those small mistakes that often happen when installing wallpaper.
There is so much to this art, and I feel it’s important to share the insider secrets, rather than an actual video of me hanging a strip of wallpaper.
I’m sure a video like that can be easily found on You Tube, but I’ll share with you all the trade secrets below.
What tools are needed?
Wallpaper tools are inexpensive and you may already have a few of them laying around. This is a great kit. Here’s what you should pull together to complete your prep and wallpaper project.
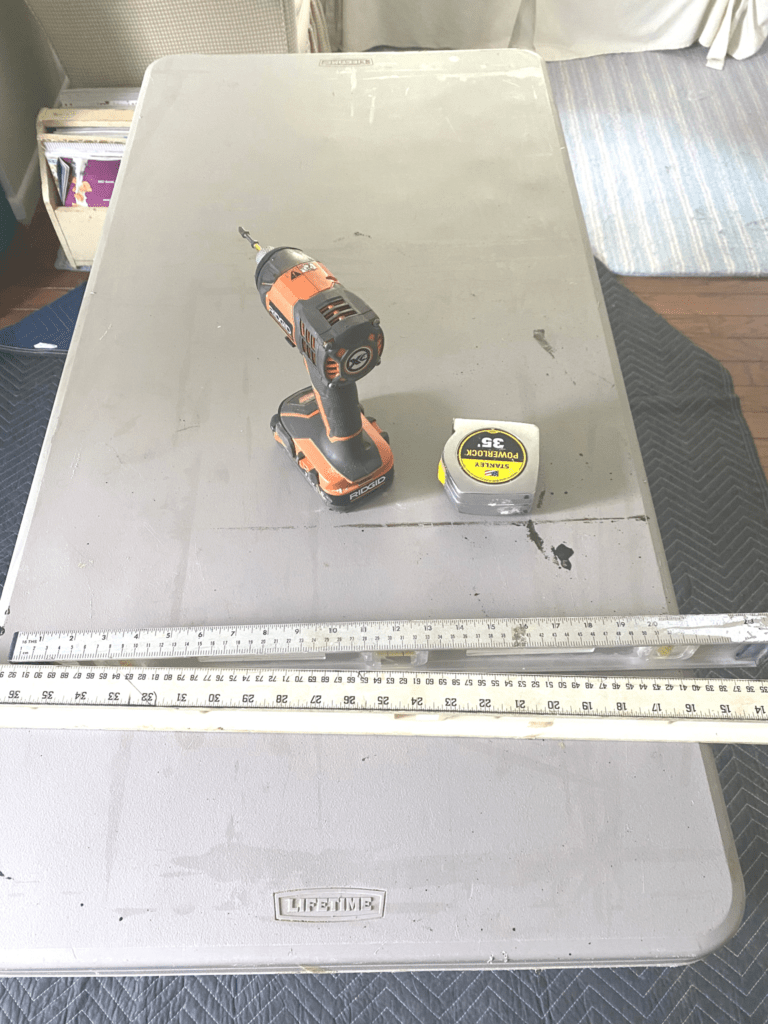
Protect your floor as well if you don’t want to have to mop wallpaper paste off if it right after.
And duh, a Diet Coke is very important tool as well.
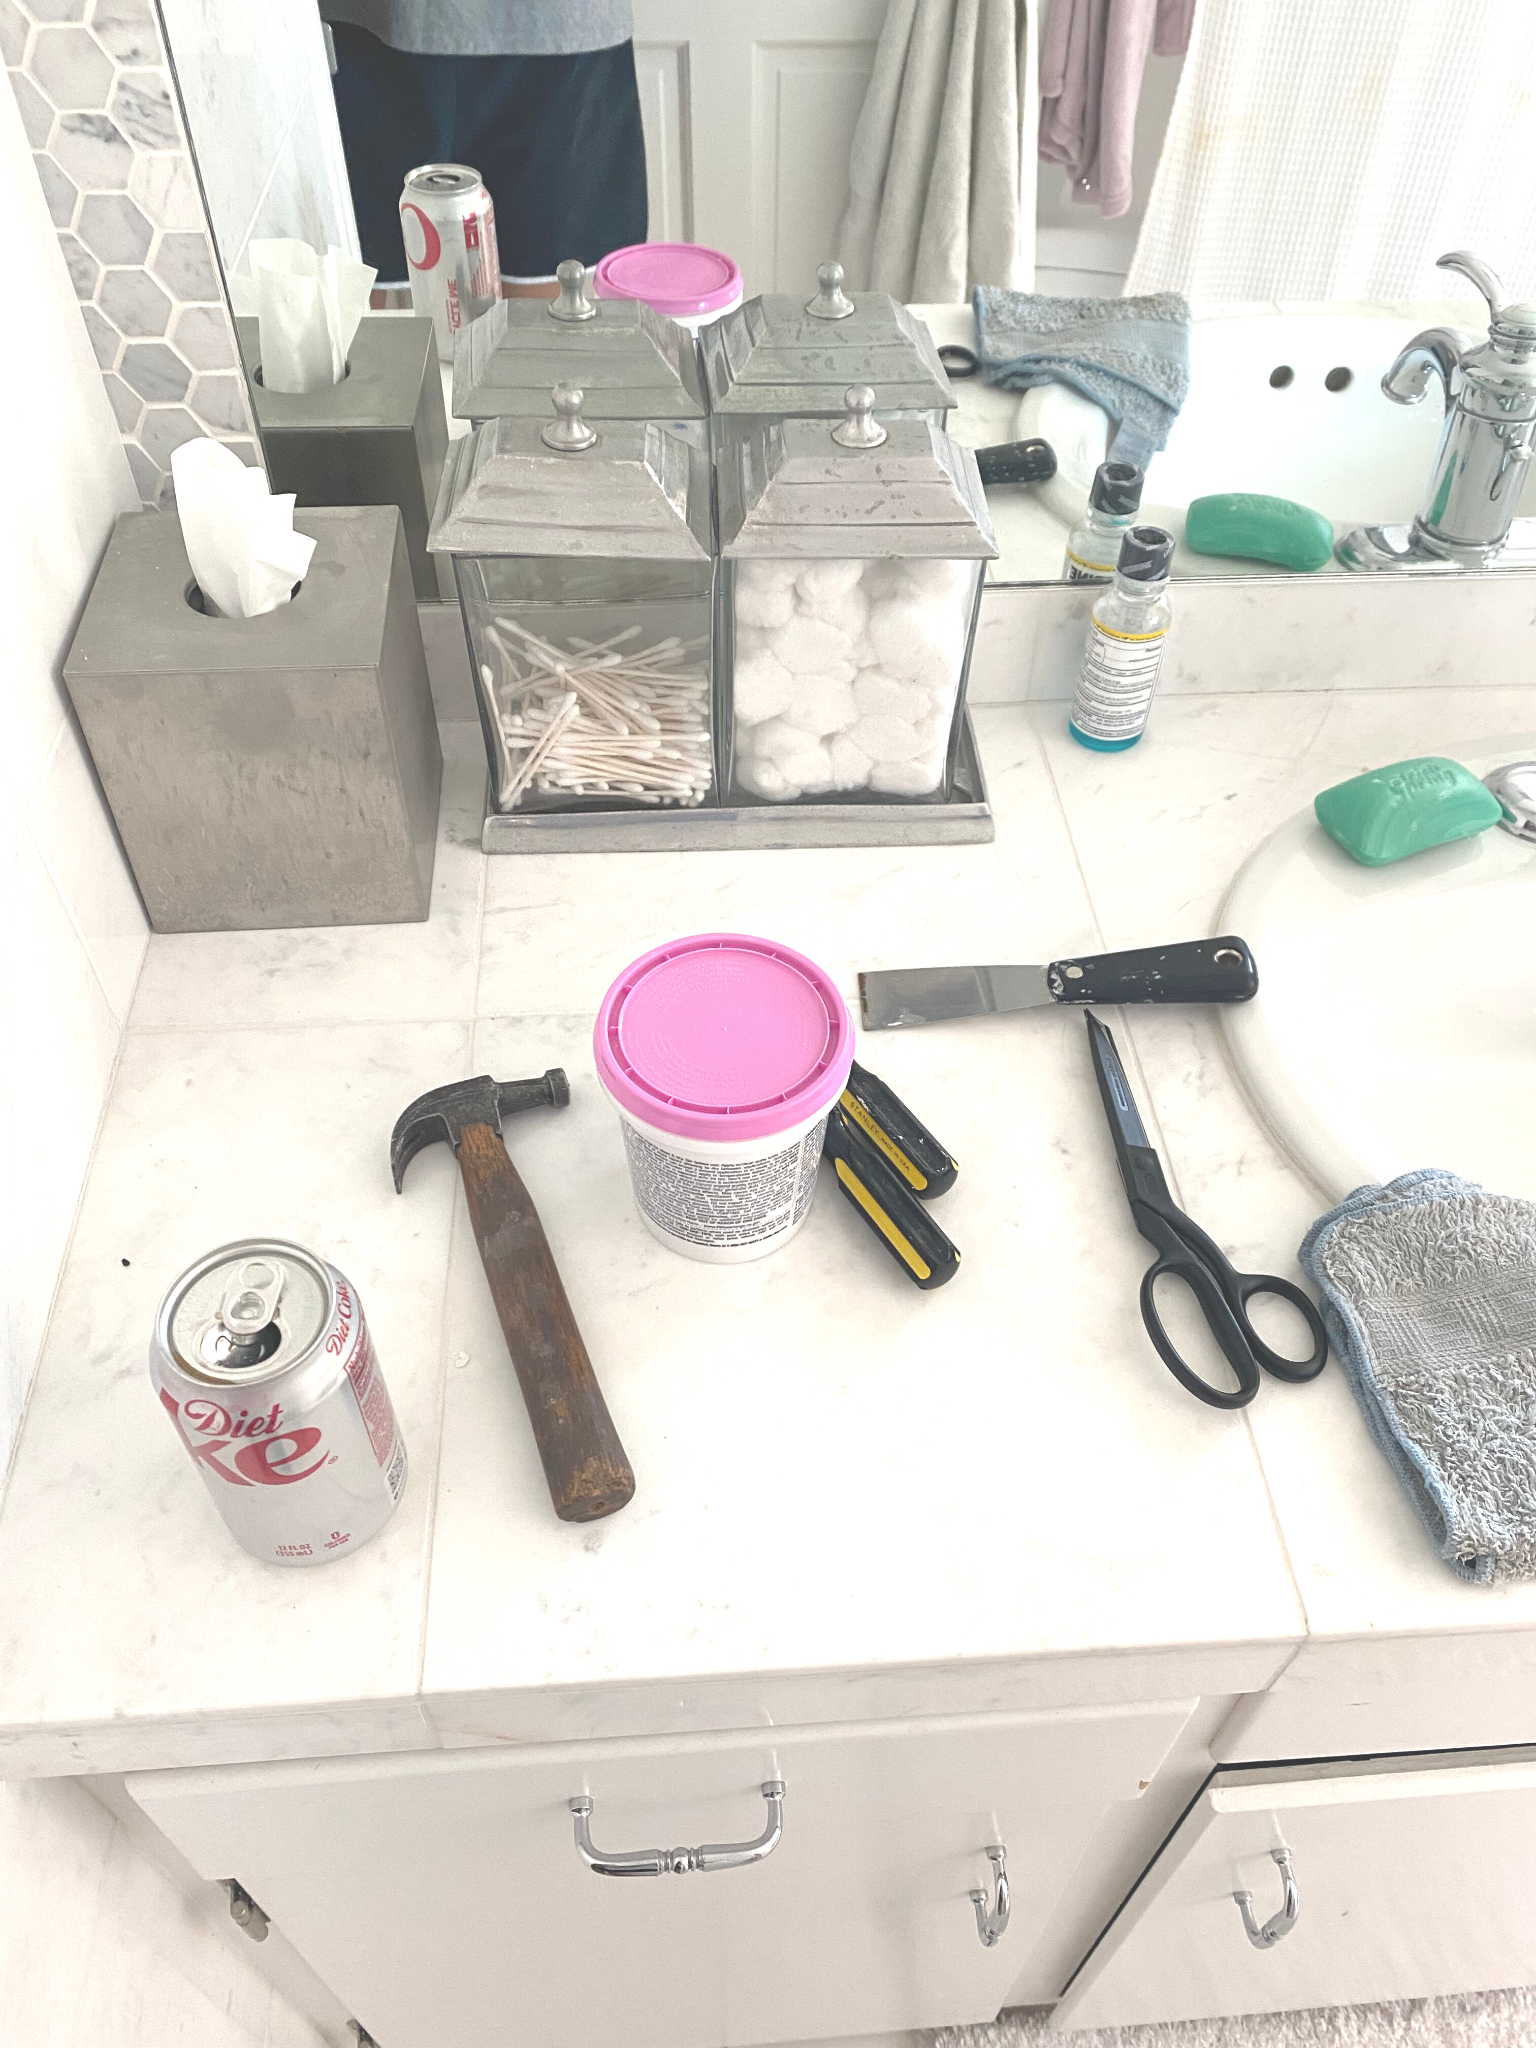
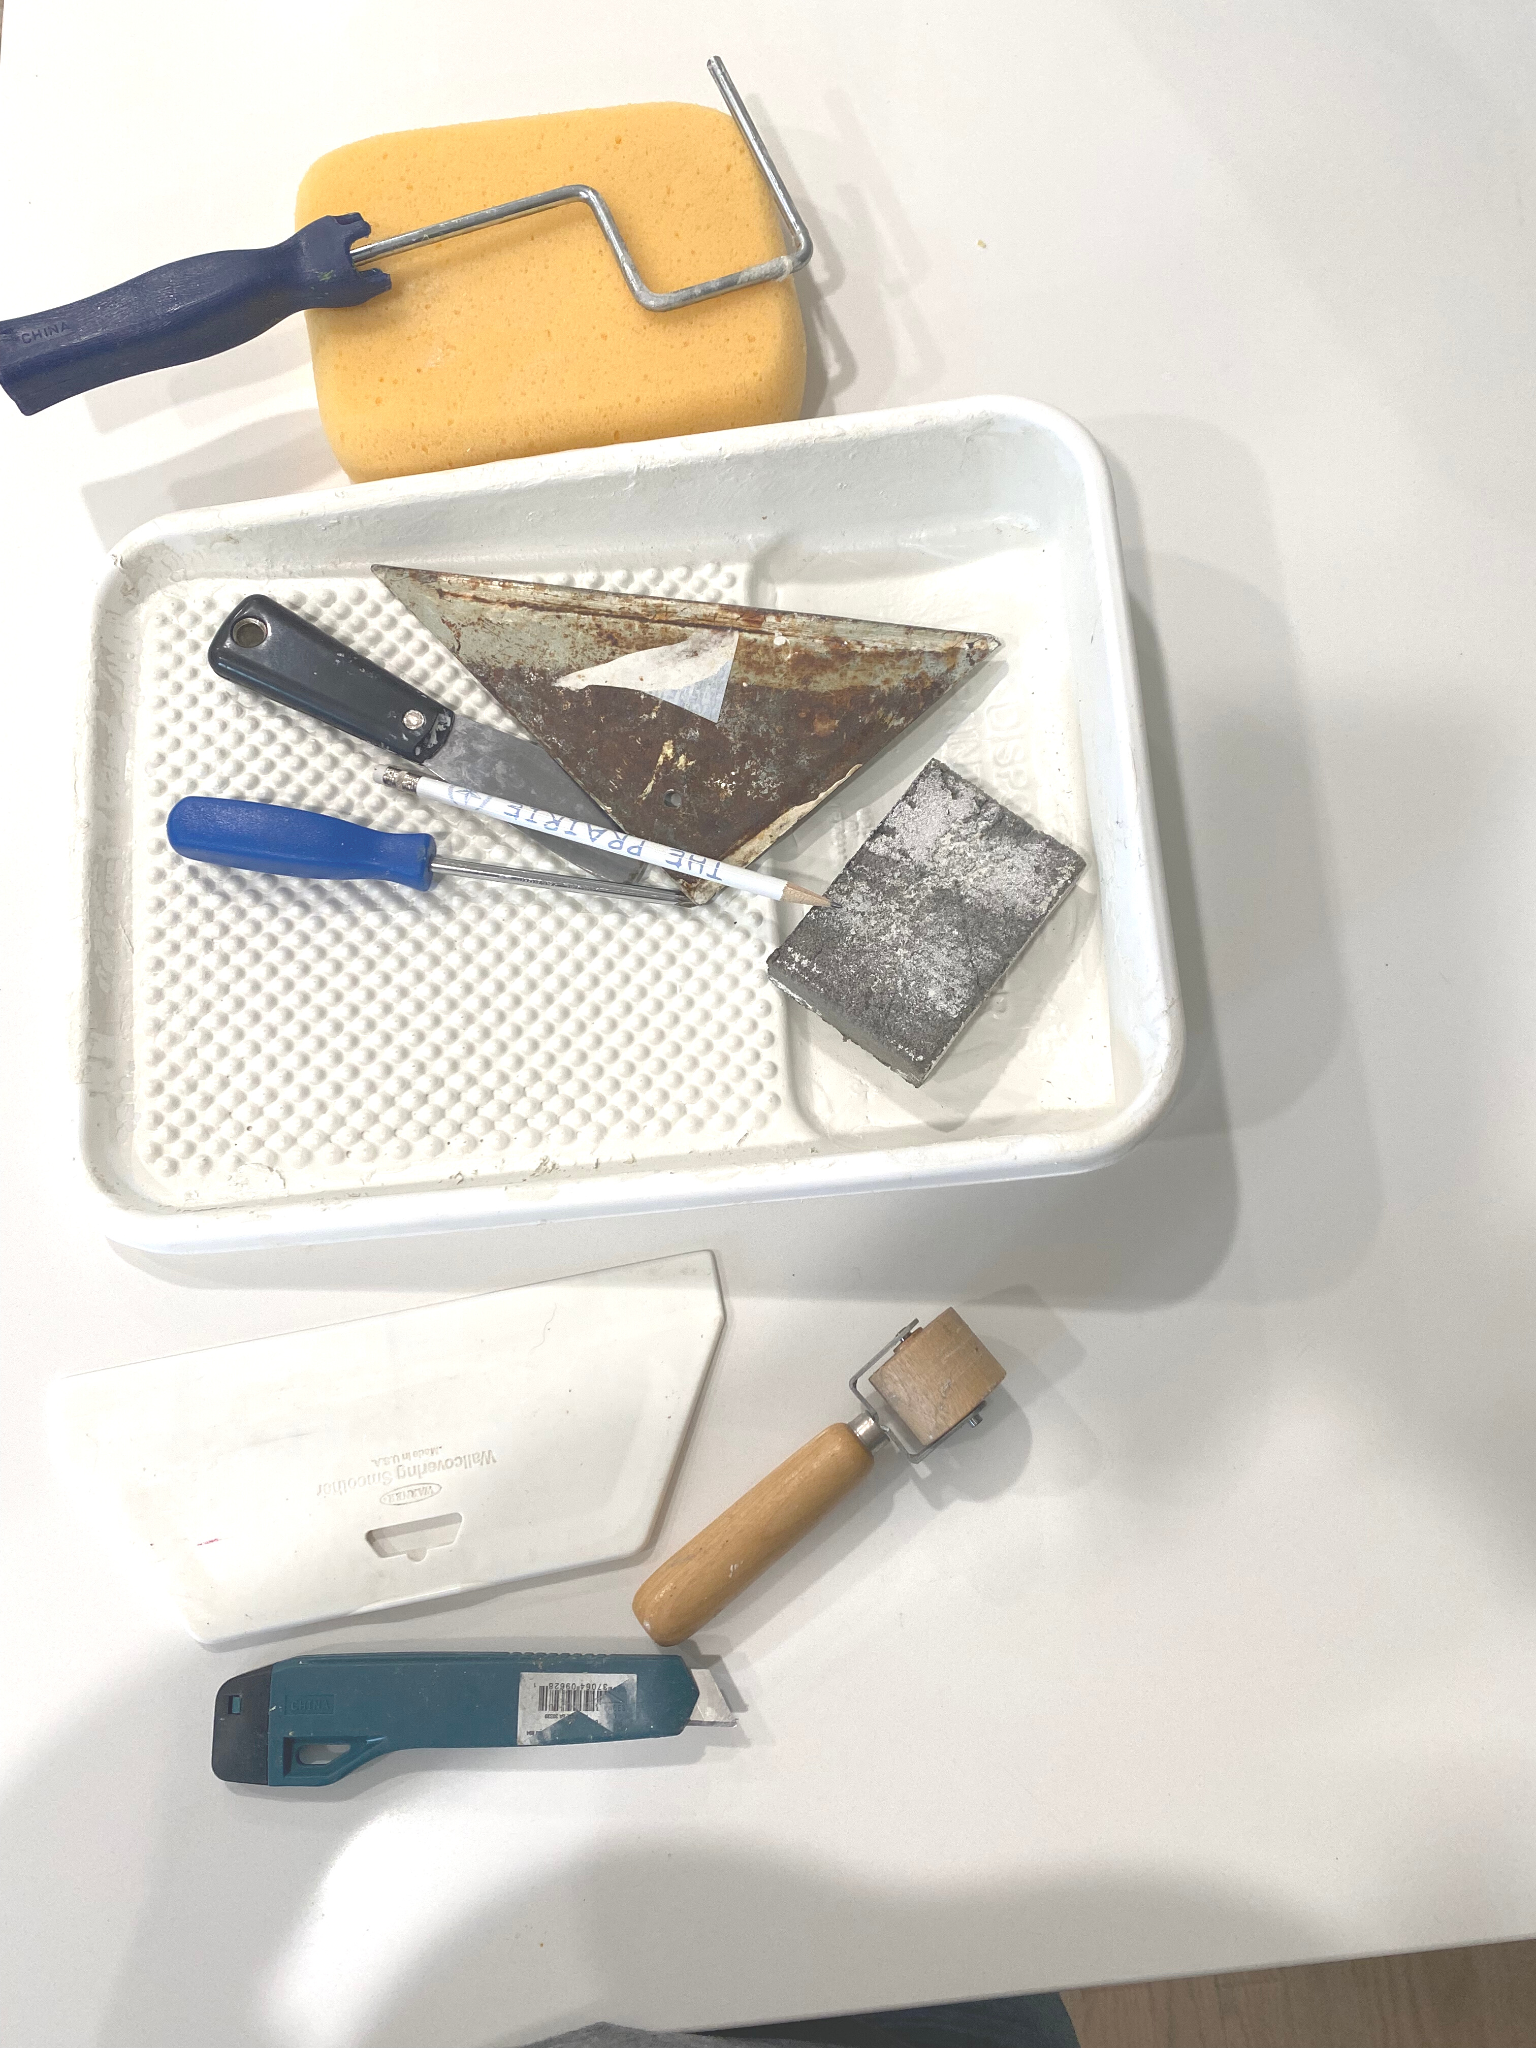
Here’s my go-to list:
- A variety of sizes of straight edge levels or plumb line. This will provide you with a straight edge to start from and to check your design along the way as you will want to keep it perfectly straight as you go. I’ll explain why you need a few sizes. I use three (smallest one not shown in photo).
- Whatever tools needed to remove items from the wall, such as; screwdriver, hammer, or power drill.
- Sharp scissors (I also wear my overalls so I can keep my scissors handy in a pocket.)
- Wallpaper adhesive. I like this wallpaper adhesive.
- A tray and paint roller to roll on adhesive. Sometimes I have a paint brush handy as well, depends on if the job has lots of small areas that may need touch up with paste.
- A large, clean damp sponge for excess paste removal. It’s always easier to do clean up as you go.
- Tools needed to prep and fill in holes, such as; spackle, spackle knife, and sanding block. Do this prior to starting so everything has time to dry.
- A smoother to remove air bubbles.
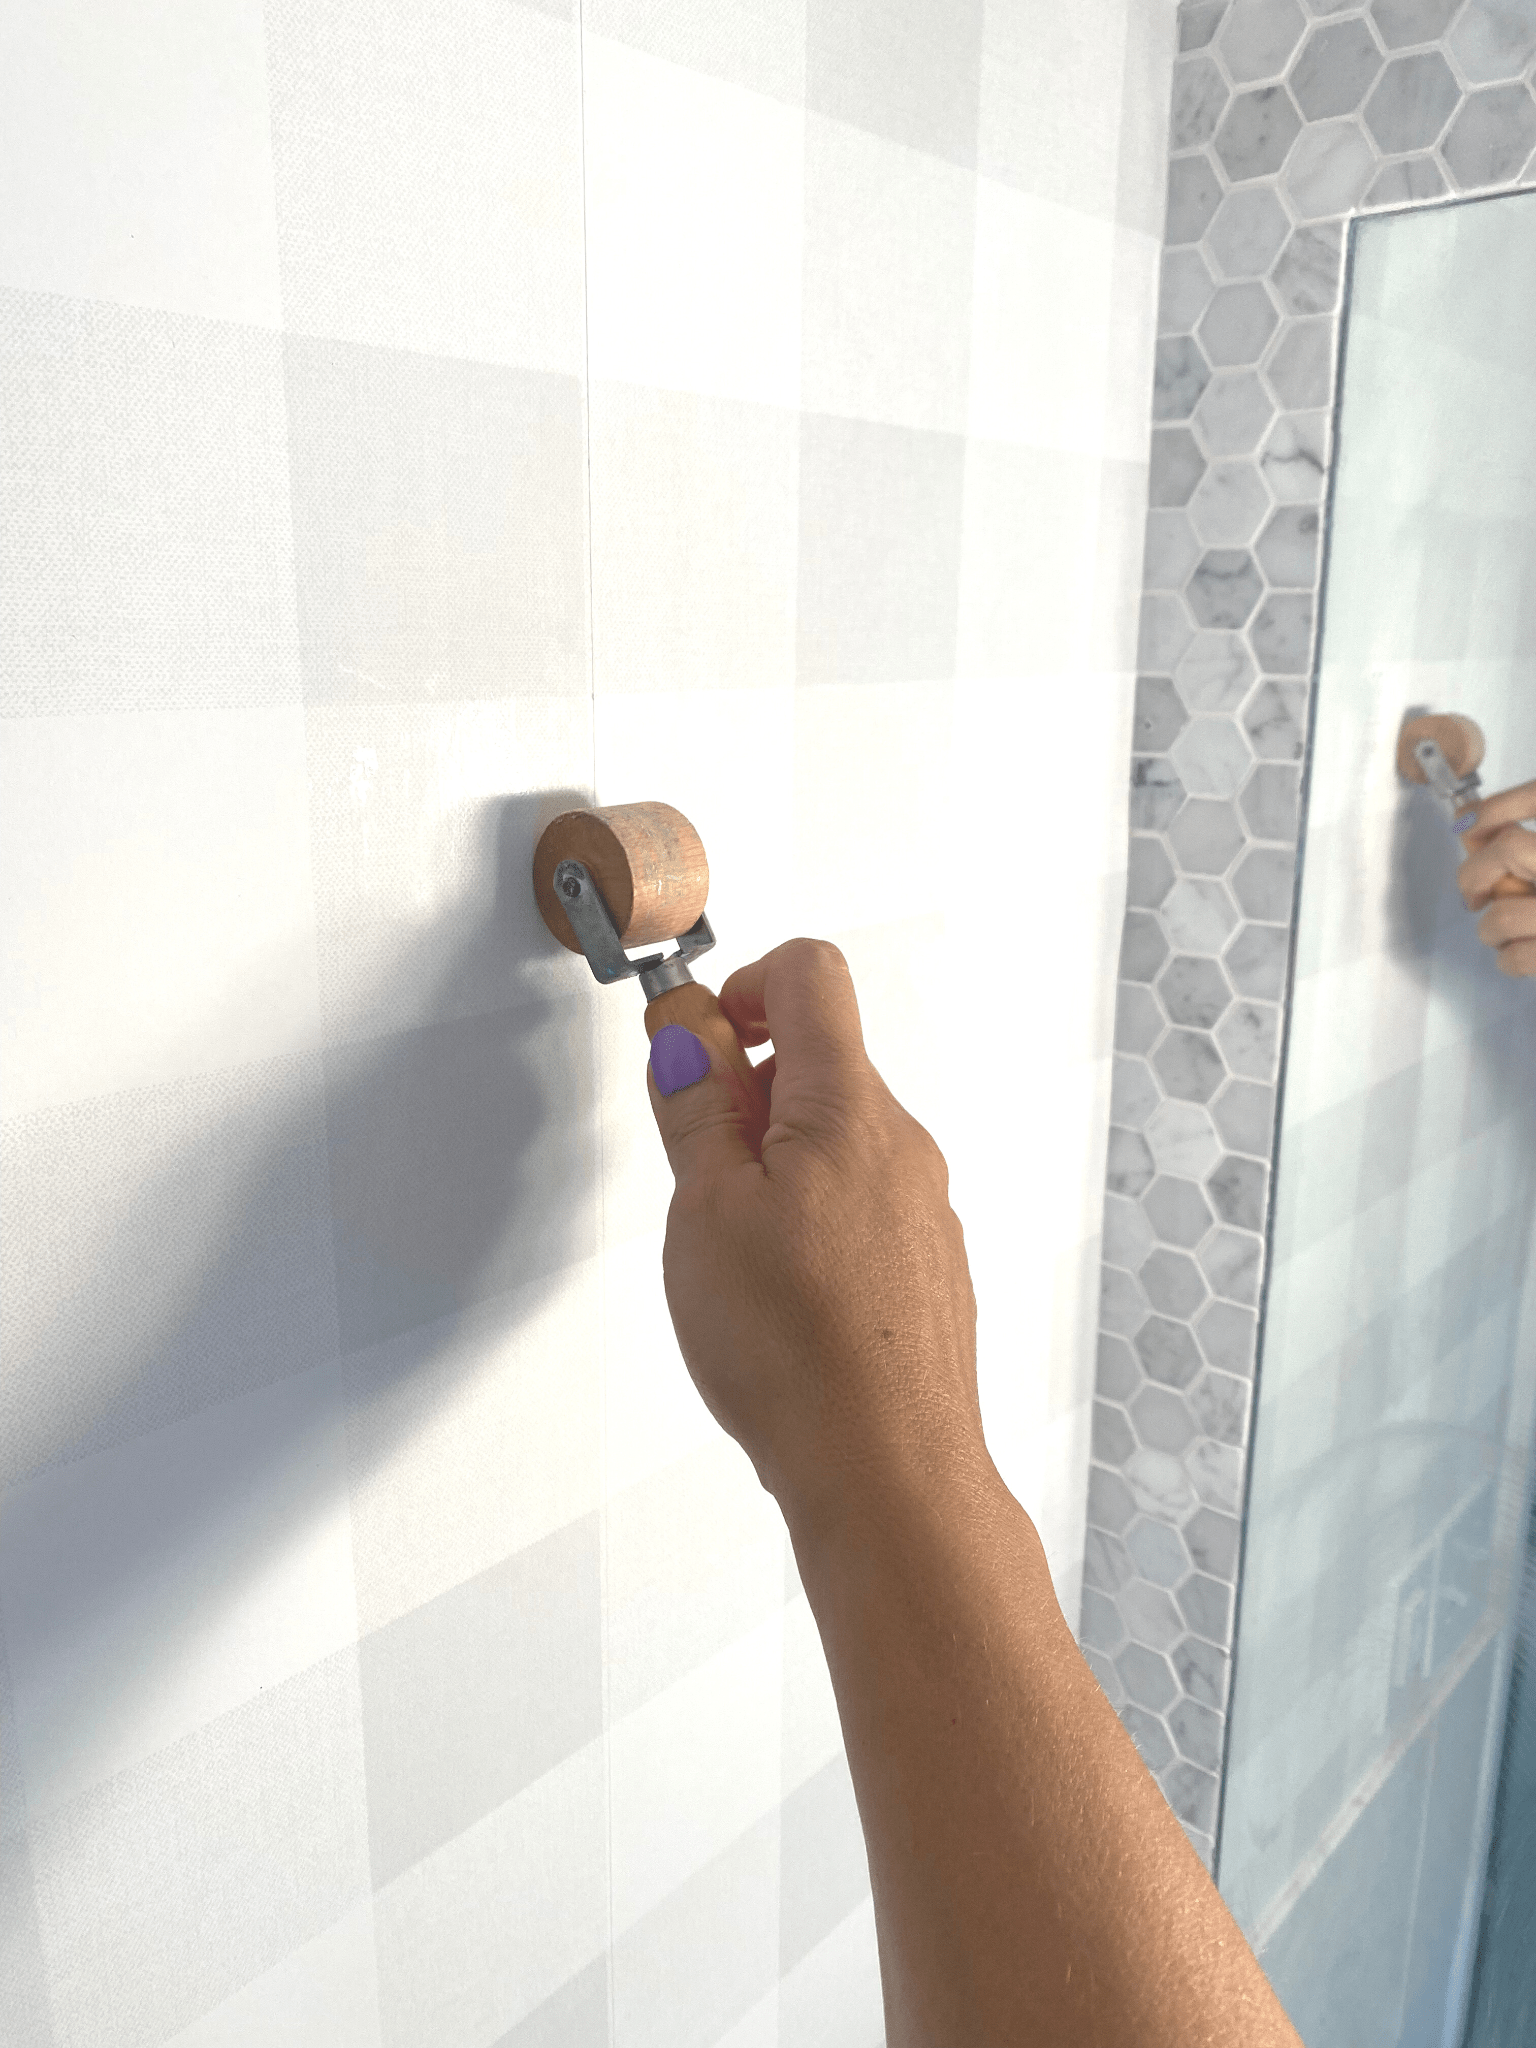
- A seam roller.
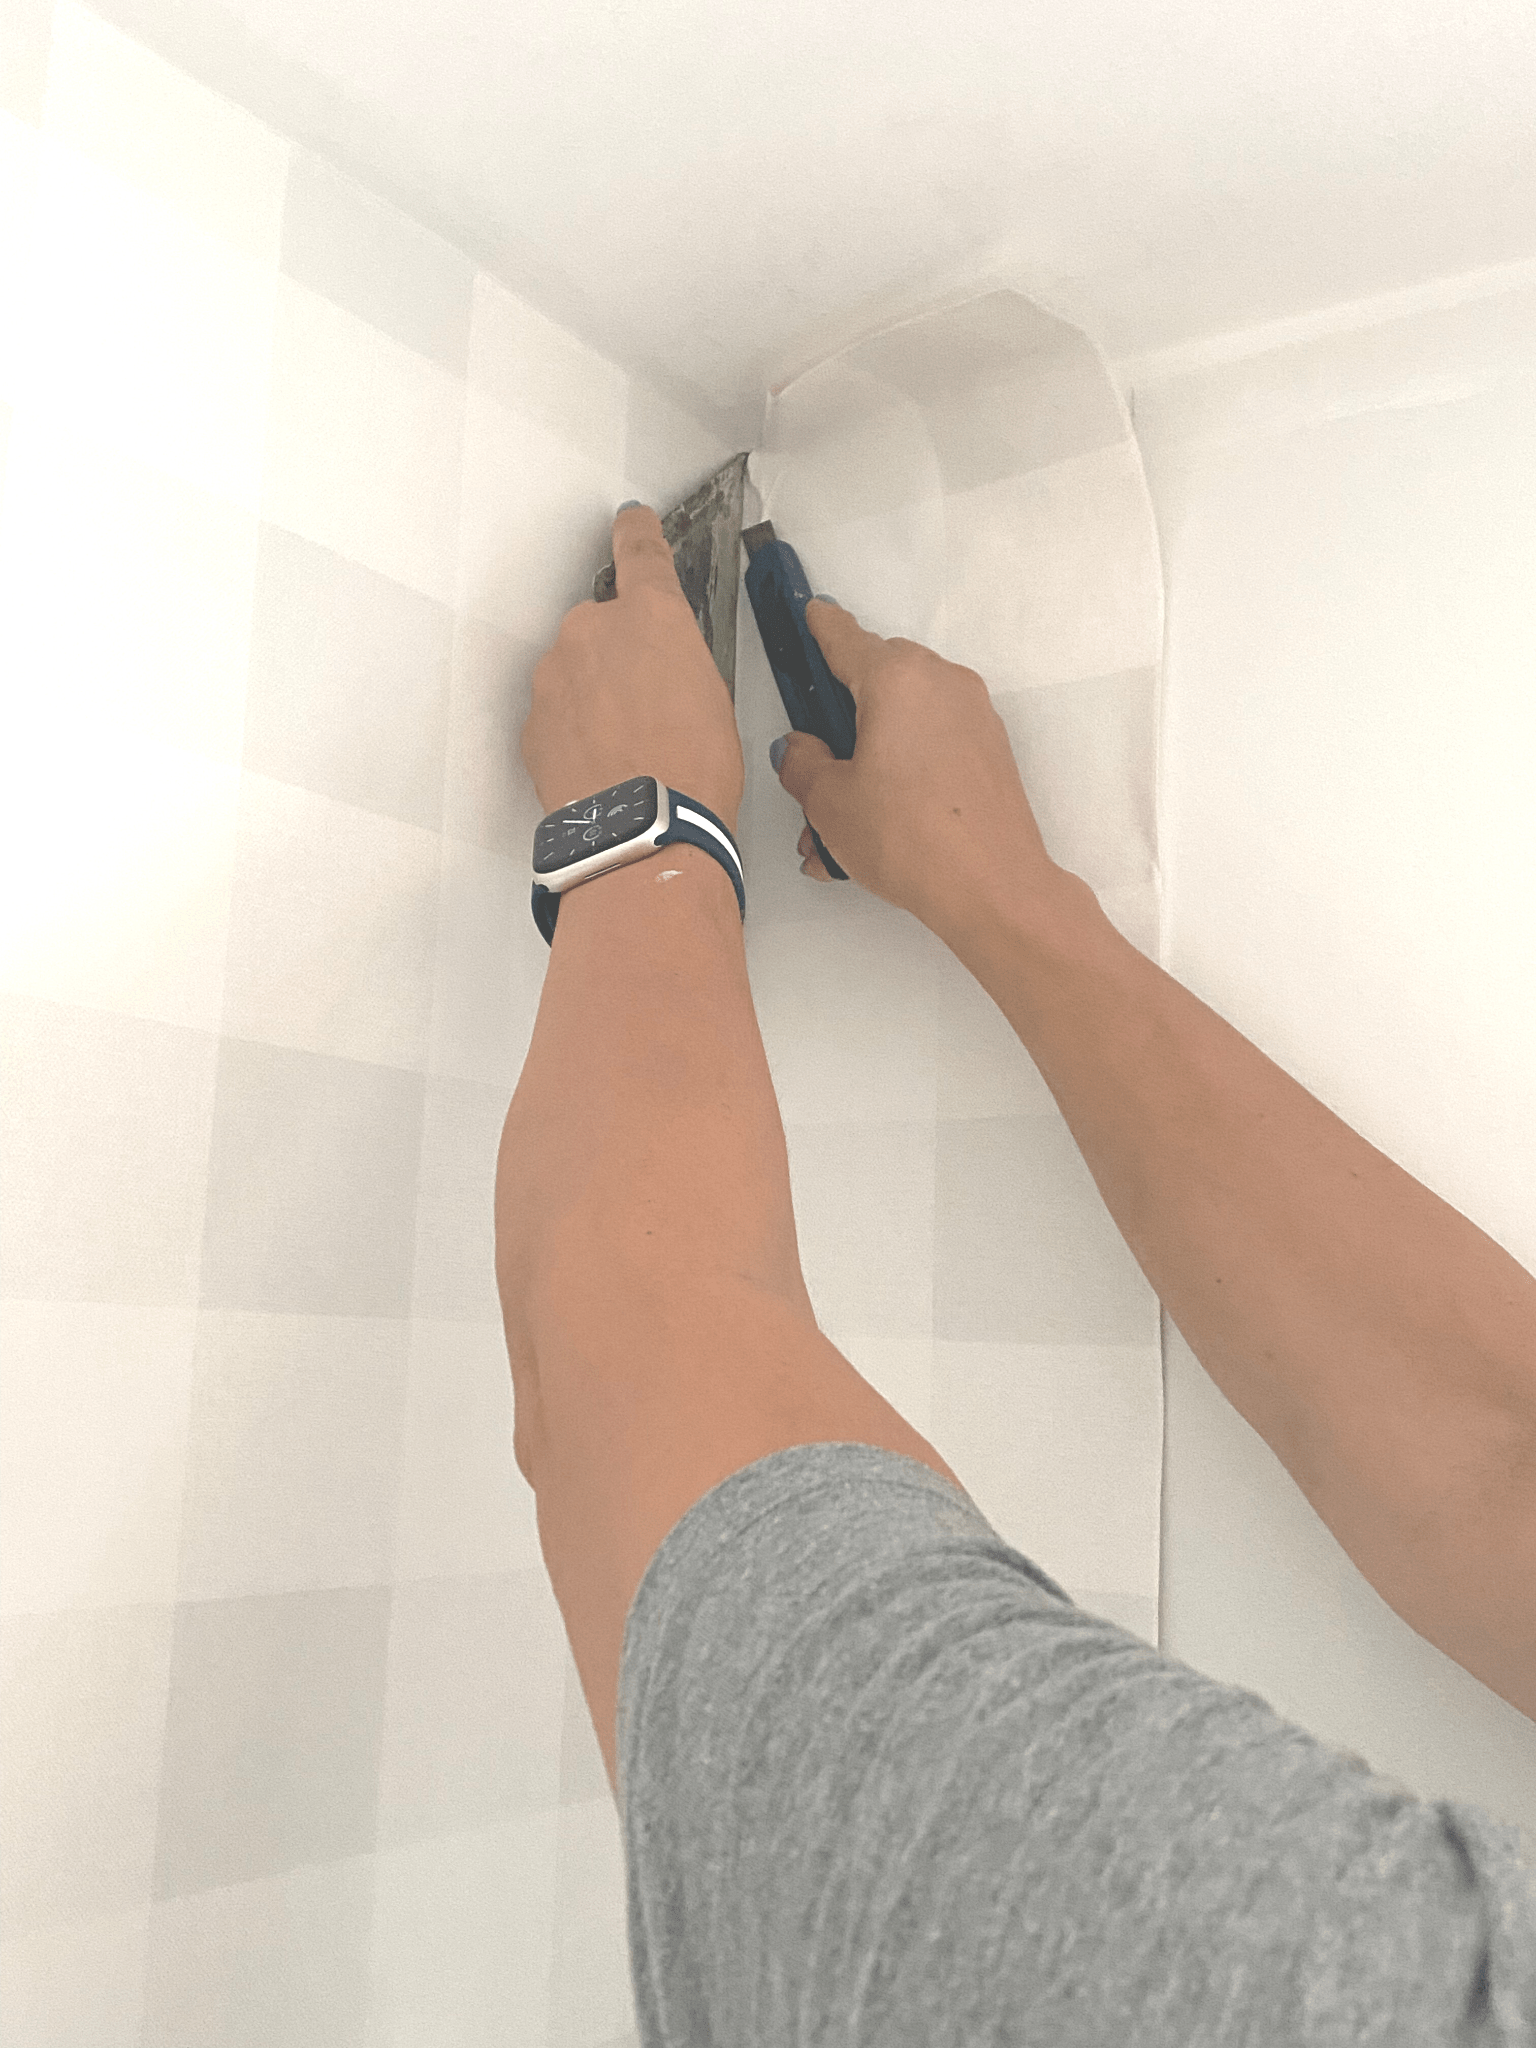
- A straight metal edge for trimming wallpaper, along with a knife blade with spare blades (these get dull quickly, especially if cutting against tile).
- A measuring tape.

What Type of Wallpaper Should You Use?
I’m going to say something that is controversial (shocker, I know) but this is really important.
Wallpaper is super popular right now, and there is all this great new technology of printing things quick and on demand. There are many companies who sell “removable wallpaper” or “peel and stick wallpaper”.
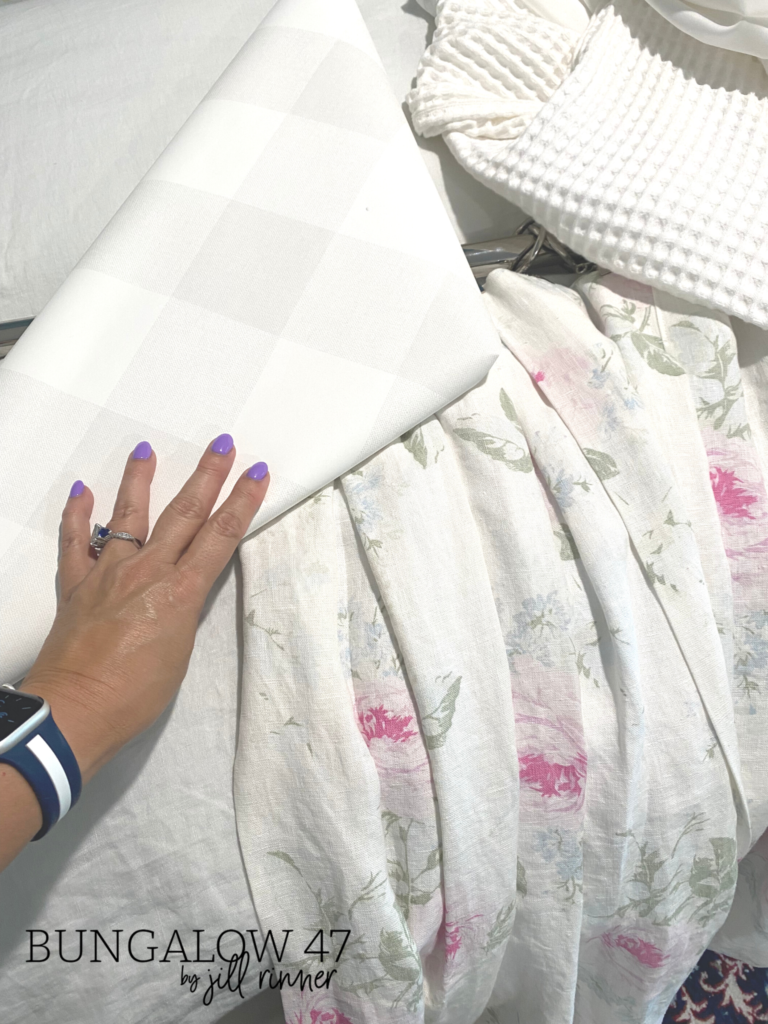
I feel the best way to learn how to hang wallpaper is with traditional wallpaper. This is unpasted, and can be hung applying paste to the wall first with a paint roller or applying it to the paper.
Once you master this, then move on to the cute peel and stick kind. That could just be me, but I feel it is harder to work with. Hanging wallpaper is a bit tricky but can easily be mastered.
Keep it In Control
Decades ago I hung hundreds of rolls that were ‘pre-pasted’ but I’m not seeing that anymore. Back then, it was dipped in a tray of water to activate the paste, no paint roller required.
Unpasted allows you to control the adhesive. It is more forgiving, and can be shifted around quickly before it dries. I think it is much easier to learn on.
There are also many textures, price points, and types but let’s keep this first time choice simple. There is so much to learn, grasshopper!
Which Paper? Which Room?
Clearly you are not going to attempt hanging wallpaper for the first time using $400 a roll designer paper anyway, am I right? And besides, all wallpaper is removable. Some will just pull off, and others can be (easily) steamed off (hopefully by the next homeowner, after you are long gone!) But the glue left behind will need to be removed.
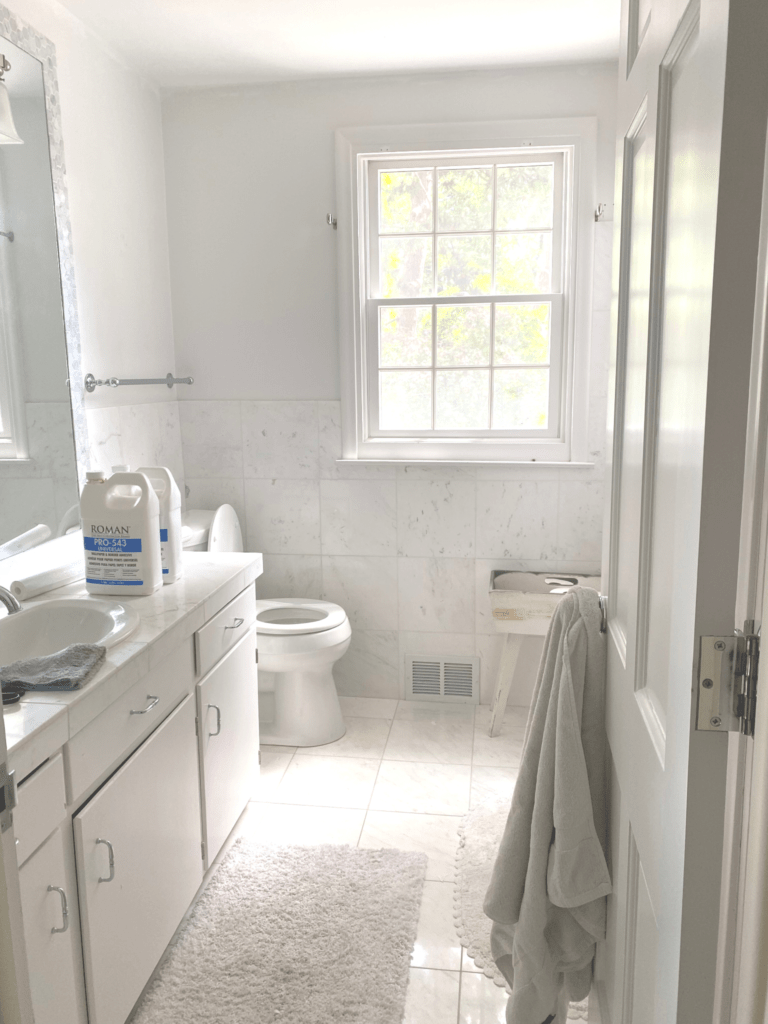
This particular project I am showing today is a small bathroom, which is a room that a first timer should not attempt because of all the cuts and odd shapes.
For your first time try one wall in a room, without many openings, that is basically straight up and down. You can cut your teeth on a project like this shown in the picture below and then get crazy later on a more complex room.
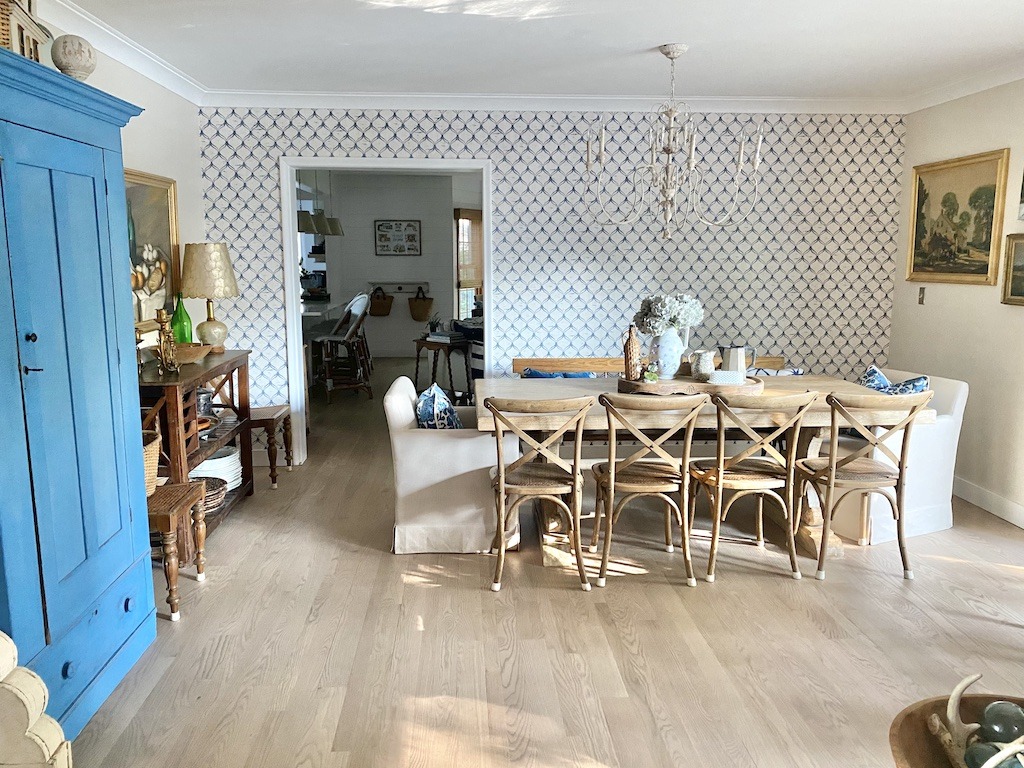
a reason to be drawn all the way through the room. Plus, I’m all about adding pattern in a space.
Let’s Get the Hang Of It
Wow, I crack myself up! You see what I did there…hang! Okay, never mind, back to wallpaper.
If you are starting on an easy project, then your starting point is obvious (hopefully). Wallpaper like you read a sentence, from left to right.
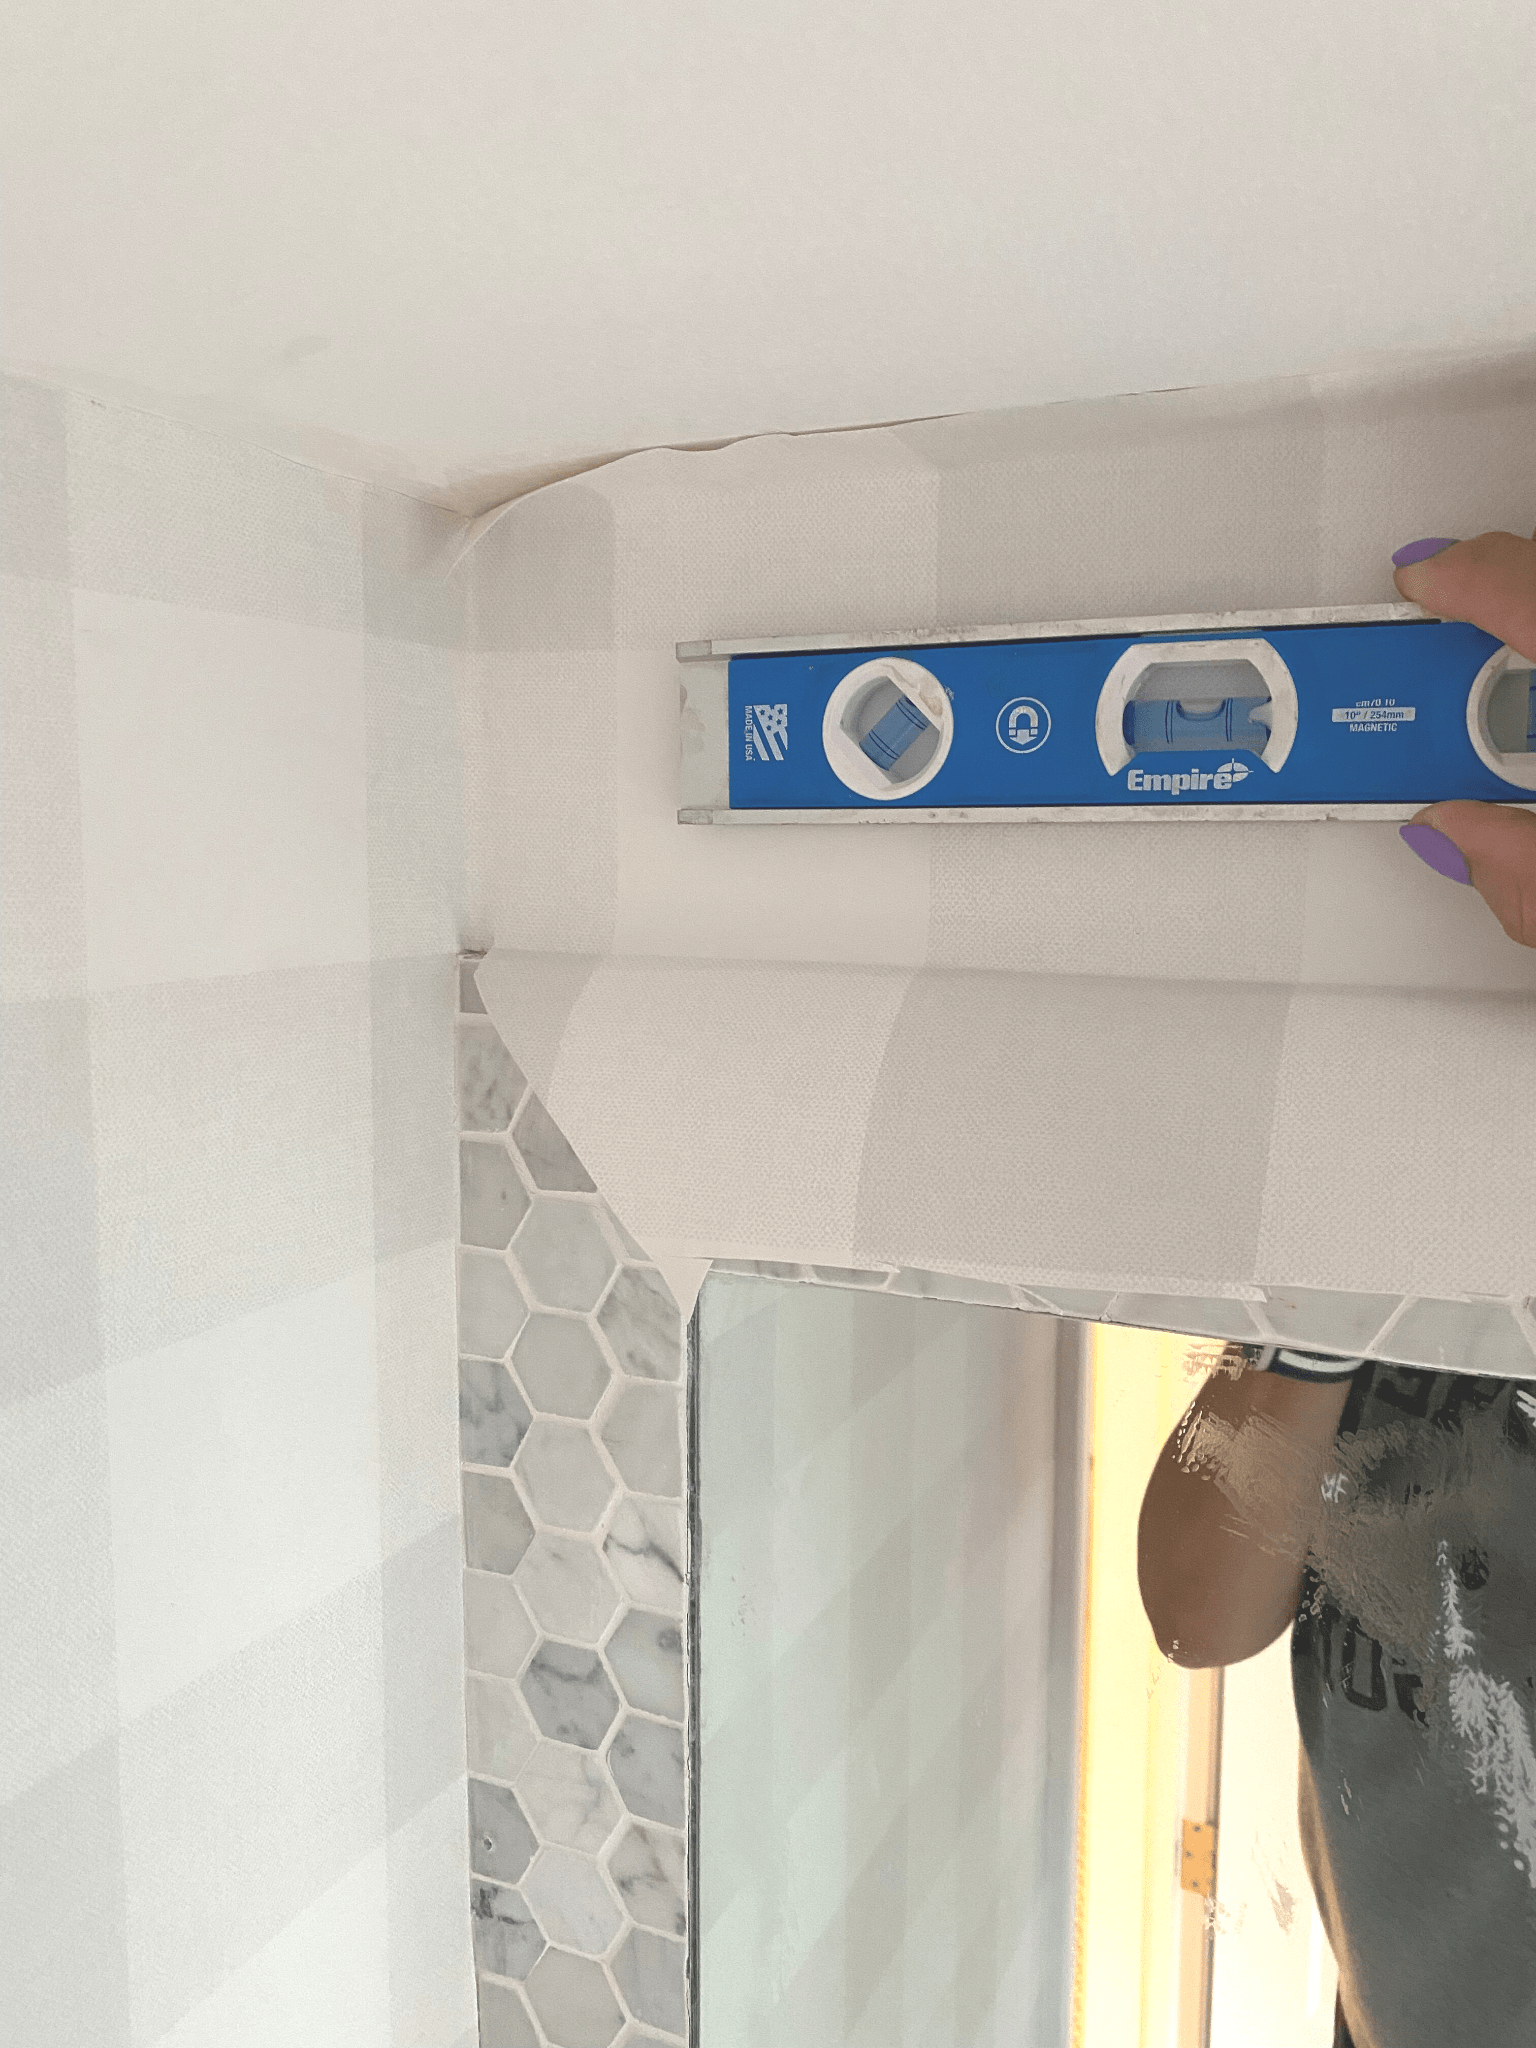
So if you were going to wallpaper the room shown above you would start in the far left corner with a full sheet. You will need a straight line for your first piece. I prefer using a level, and this is why you need several sizes.
If my paper is 20.5″ or 27″ wide (these are basic standards) then I would measure out from the corner 1/2″ less than the paper width and draw a straight vertical line for my starting point.
If this fell above that door line, you can see there is moulding there, so I would use a shorter level so it could go flush against the wall. SO if my paper was 20.5″ wide, my first straight line would be 20″ from the corner.
It’s Never Straight
Why you ask? Because no wall in the history of ever, is ever straight. You will find that your corners (and ceilings) are super janky and can waiver, so you will want to take that into account with the 1/2″ overhang.
If they are visibly out of whack, measure to make sure you don’t need more than that 1/2″! Once your first piece is up, any excess past the corner will be trimmed off.
Also regarding ceilings, look carefully at the above picture. If you look closely you can tell that my ceiling line is off as well (tis the case with older, plaster houses).
You can see a little bit more of the pattern as you follow the top line. I always hang the paper level on the wall, and janky corner and ceilings are just what they are. I don’t worry about these things, because nobody is perfect (I don’t mind imperfection) and as long as I have hung it straight on the wall, then it is good.
A remedy to this would be to rehang the crown moulding level off the ceiling and caulk in where you wouldn’t notice it, but my crown moulding has been there for over 50+ years since the house was built, and I wasn’t going to remove it.
Get The Butt Right
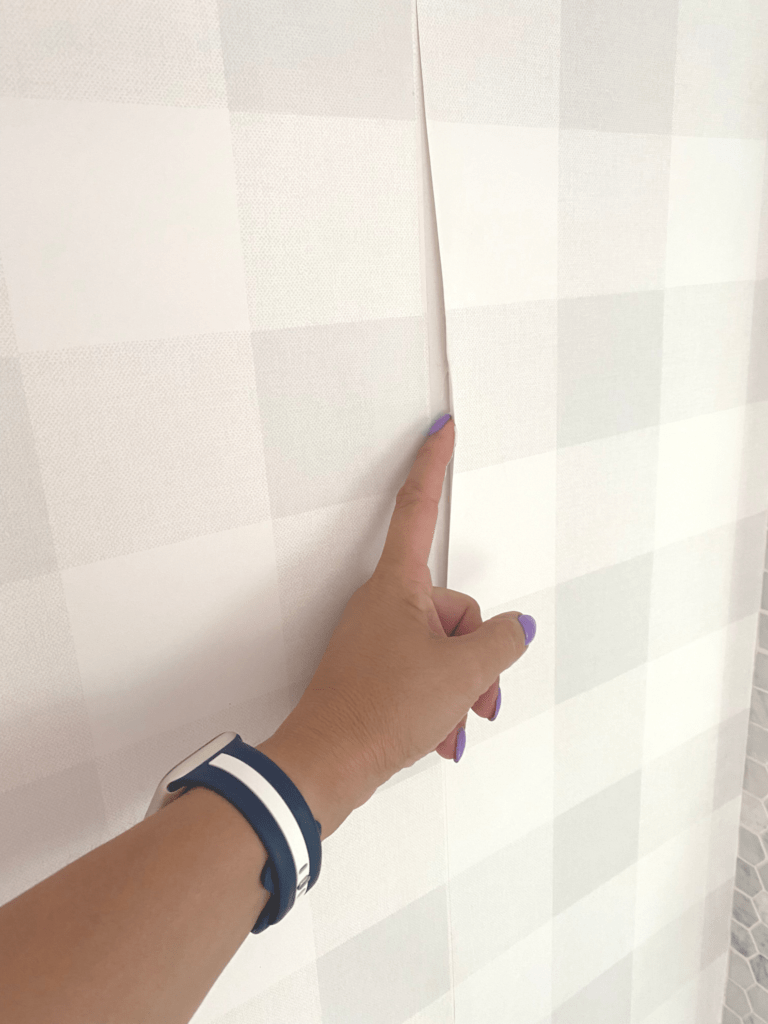
Seams should be butt up against each other, never overlapped. Sometimes when you are dealing with a wonky corner, you may need to slice the paper and allow it to overlap in order for it to be straight on the other side.
If your edges get dry, you can always carefully lift them and add more adhesive. I just put a touch of adhesive on my finger and run it where needed. When using the paint roller method to apply wallpaper paste, roll it onto the wall several inches wider than your paper.
Where To Start In The Room
There is an art to this, of where to begin in a room. Obvi, if you are only doing one wall, then it’s a no-brainer.
If you are hanging wallpaper in the entire room, I always start on the wall that would be BEHIND you when entering the room, and is the shortest wall.
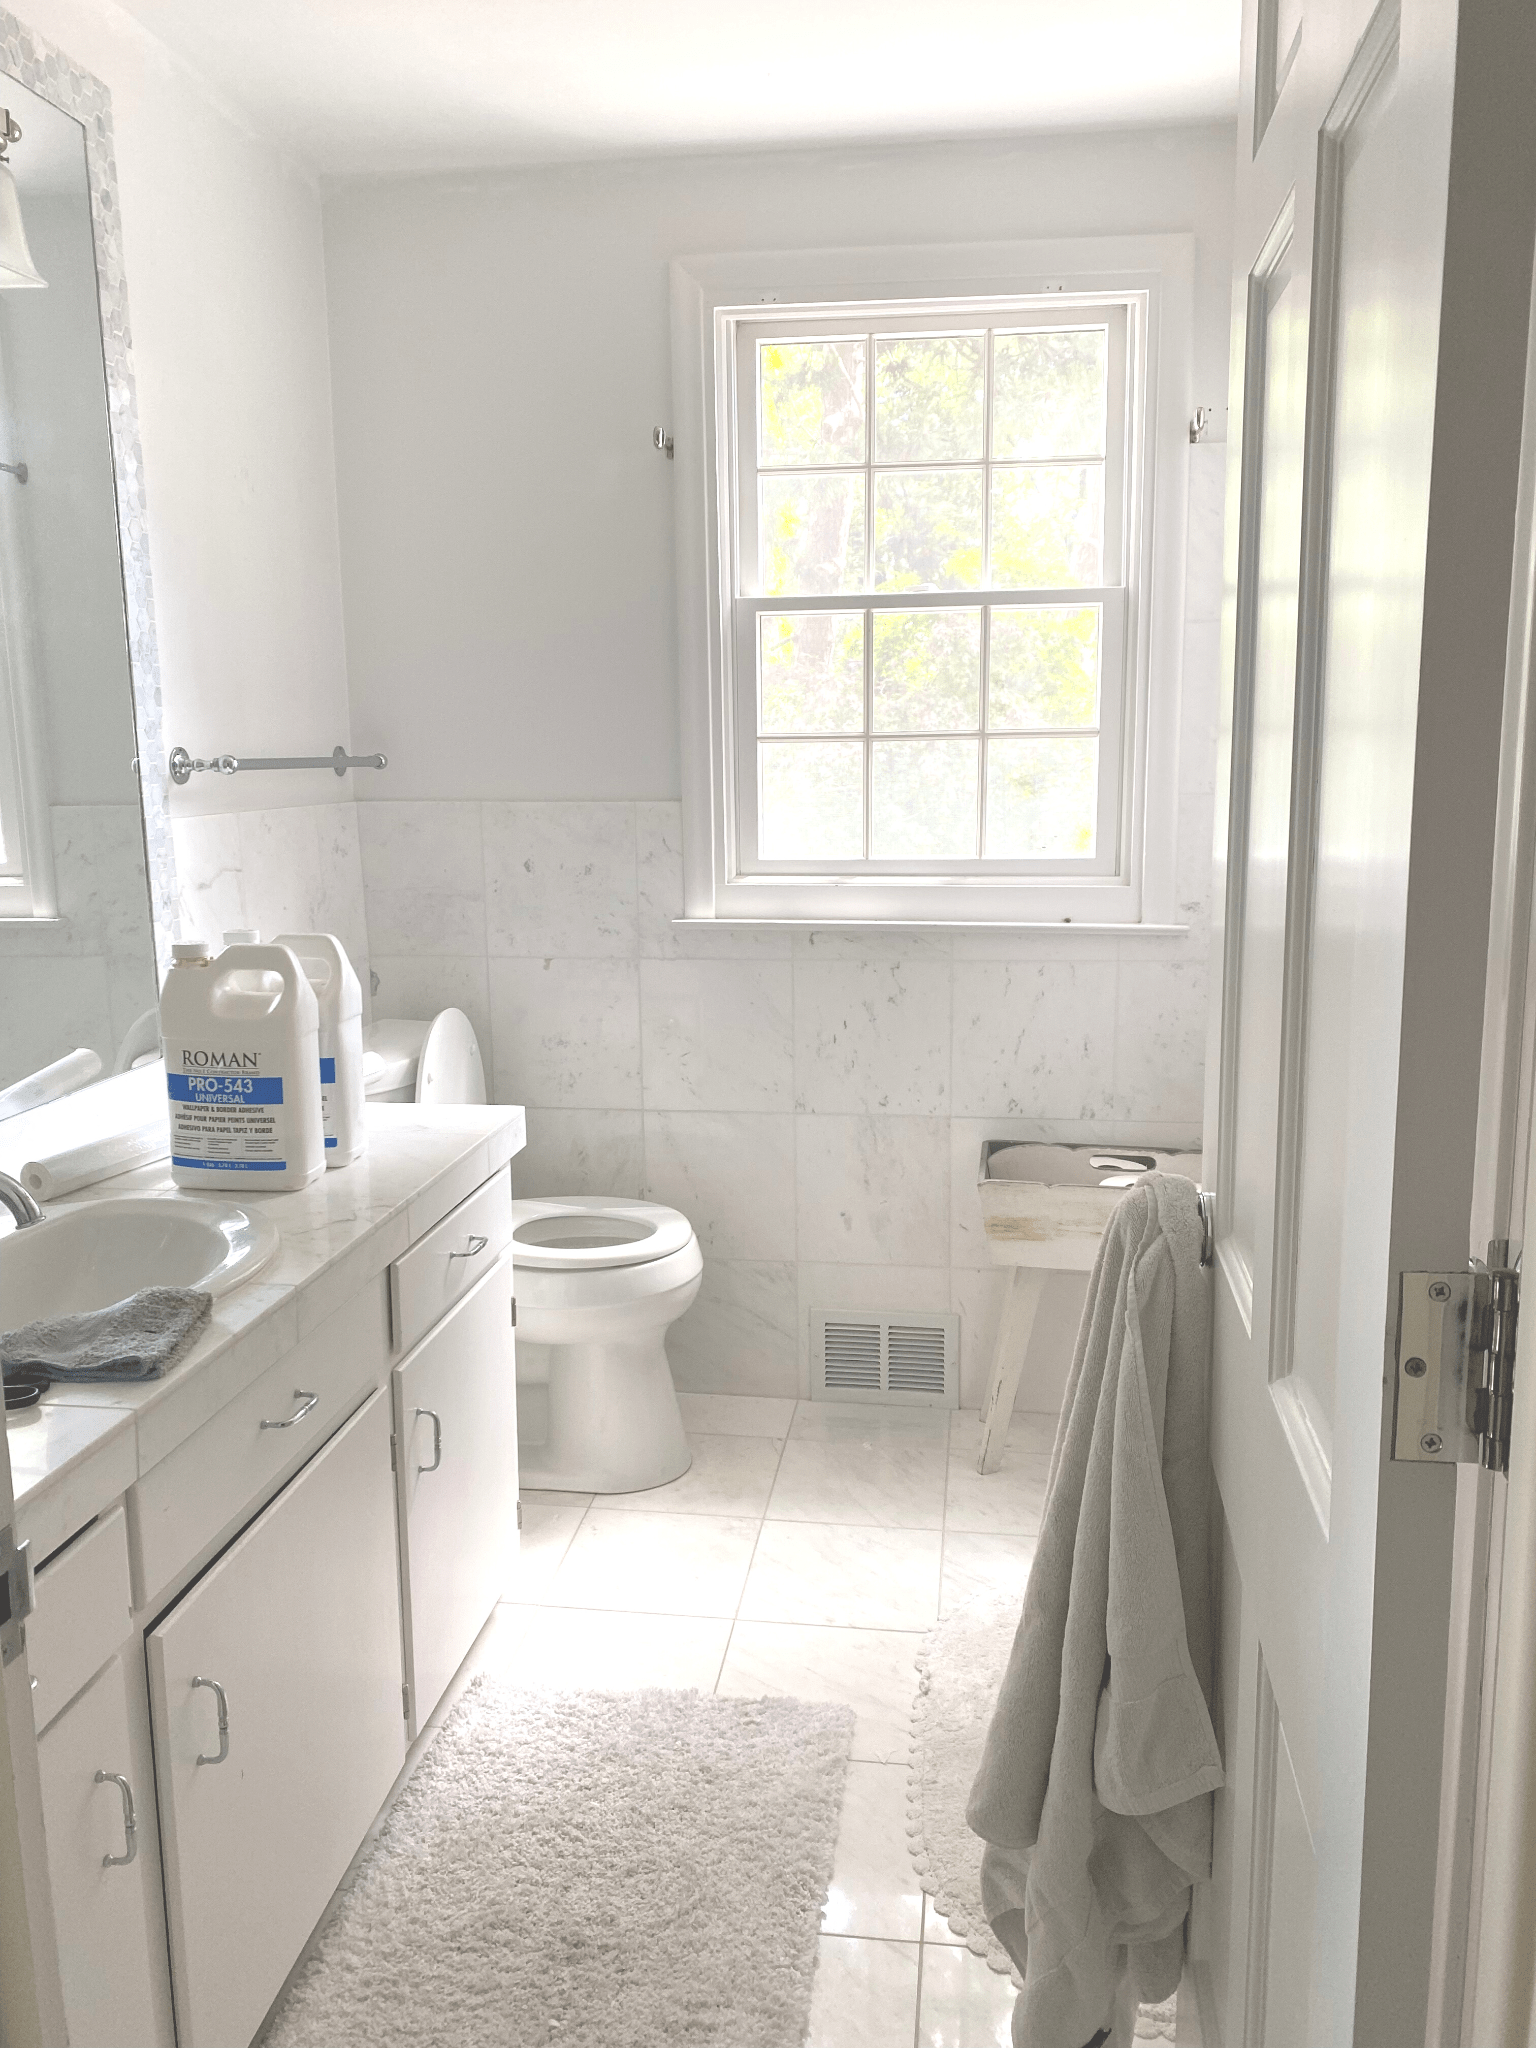
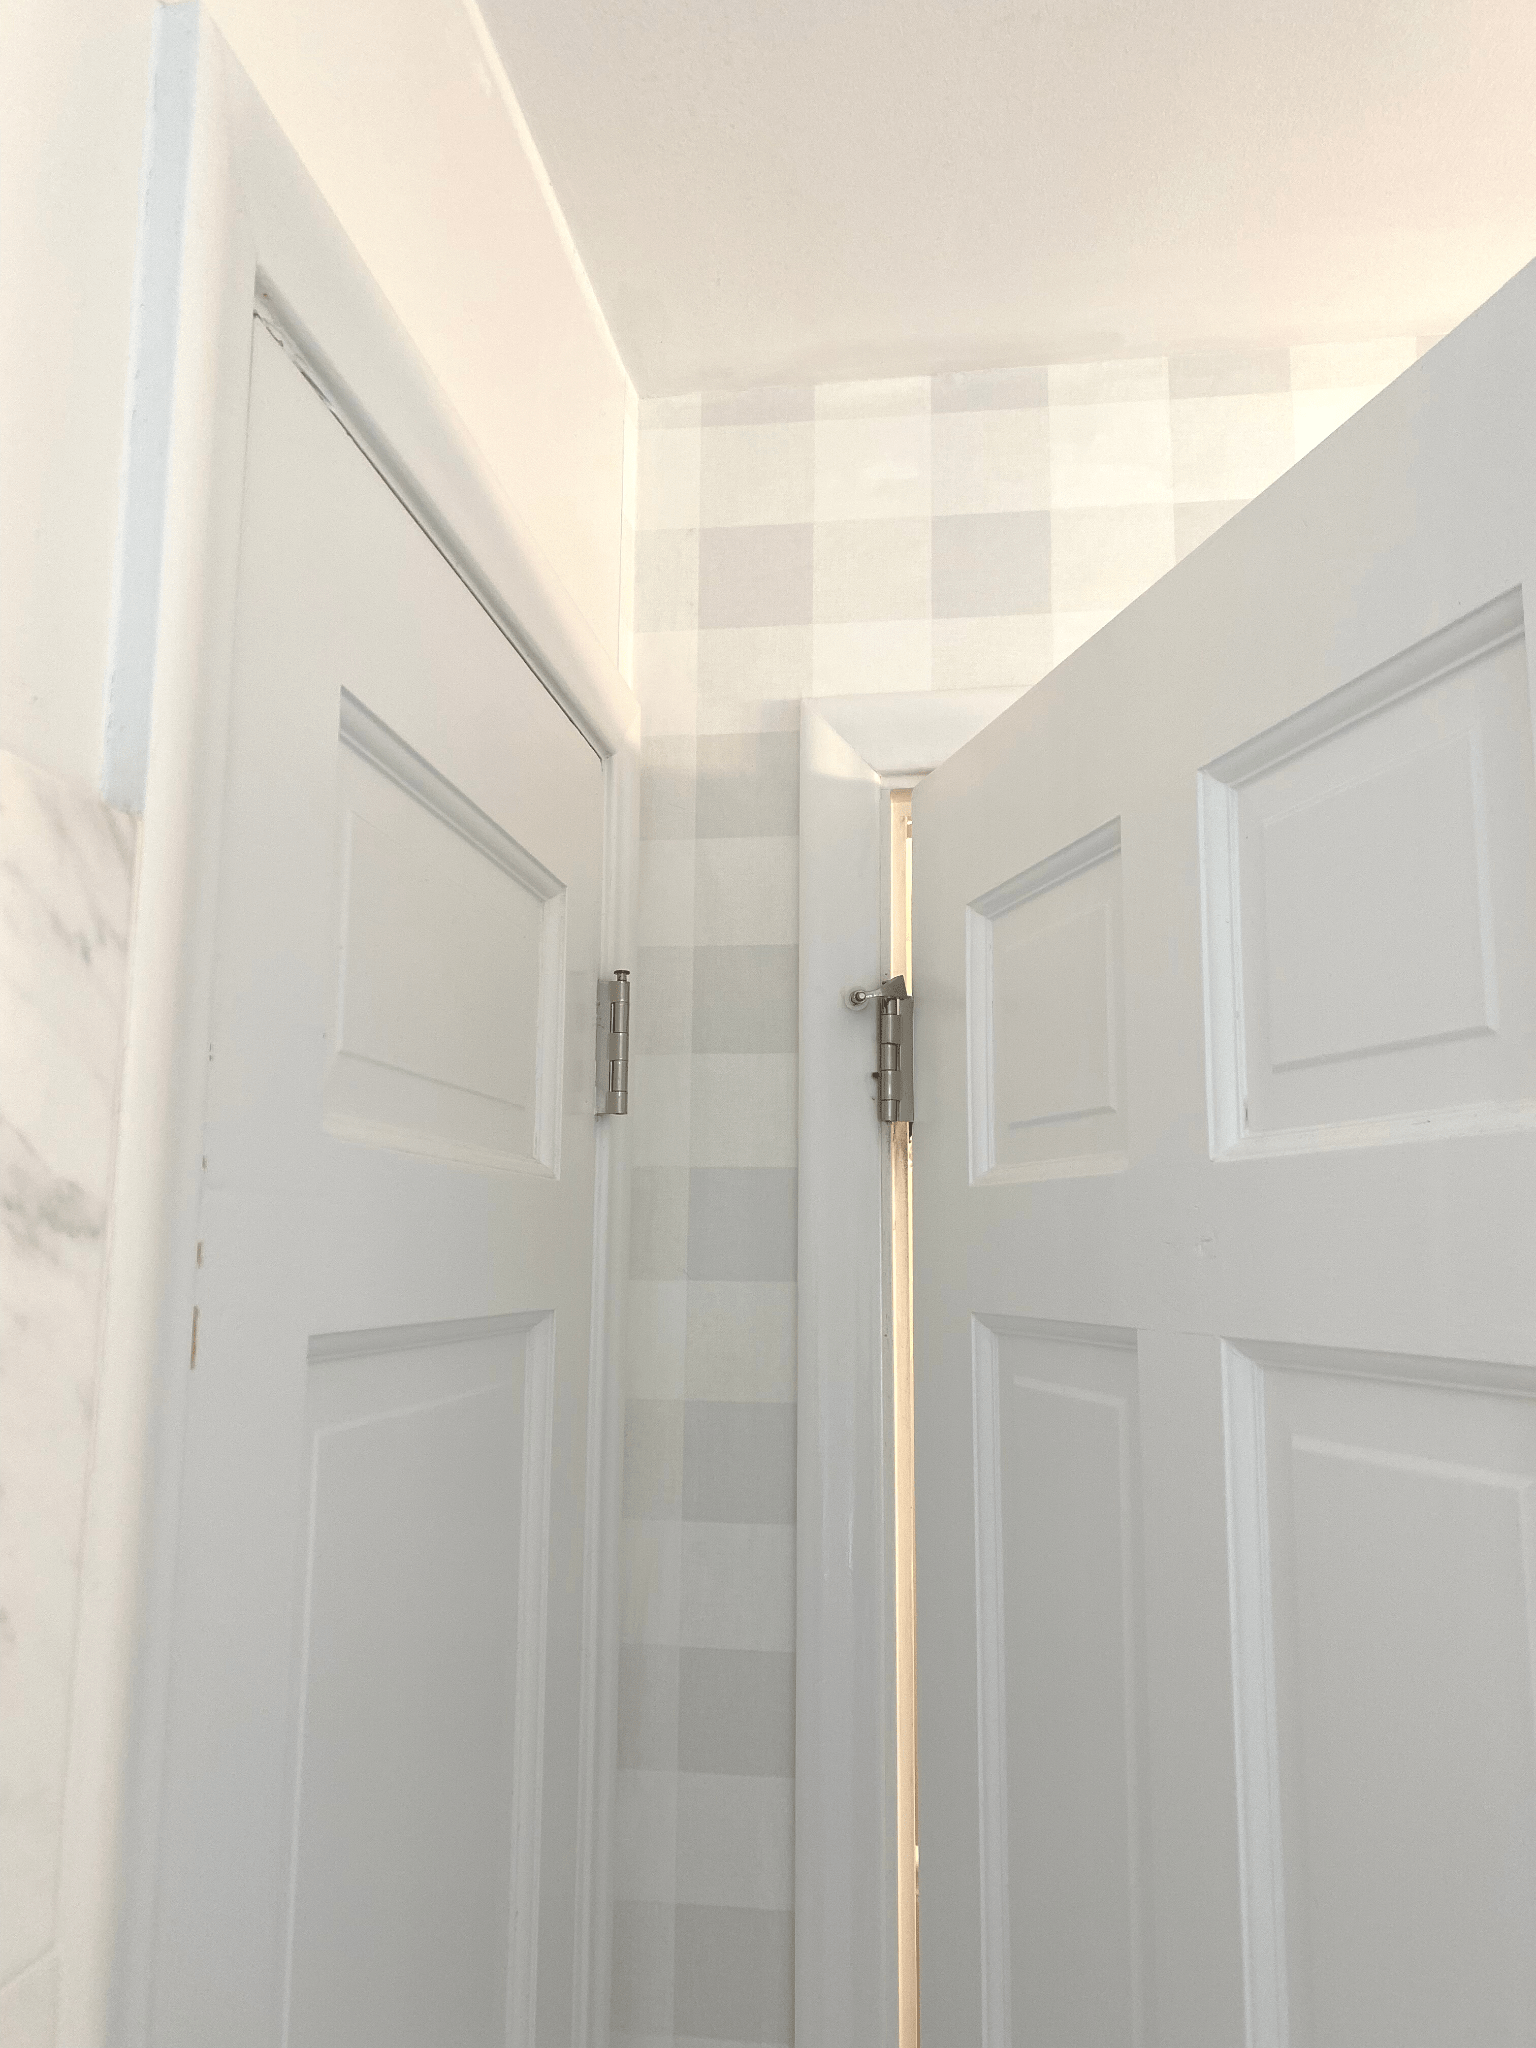
You can see in the picture below, I began in the corner, behind the door, above the closet door so the space where they come together once I get all the way around the room is short.
No matter how careful you are, your pattern may not match exactly once you get all the way around a room and it is best to have that happen where it is less noticeable.
How To Apply Wallpaper Paste
Since I am not finding any pre-pasted paper these days, I’m assuming that is a thing of the past. So your choices are to either use a paint roller to roll it on the wall directly, or on the paper.
Check the instructions for the wallpaper you have chosen, as it will tell you which method you can use. If you are able to use either, then rolling the wallpaper on the wall is quickest.
Smooth It, Check It, Cut It, Roll It
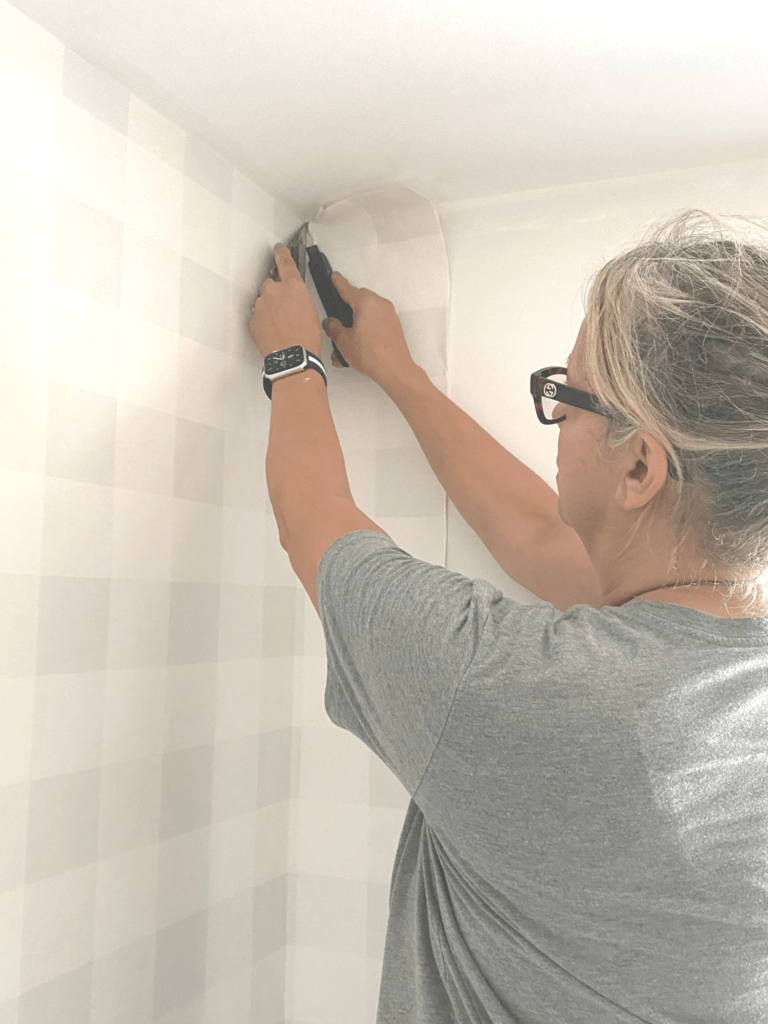
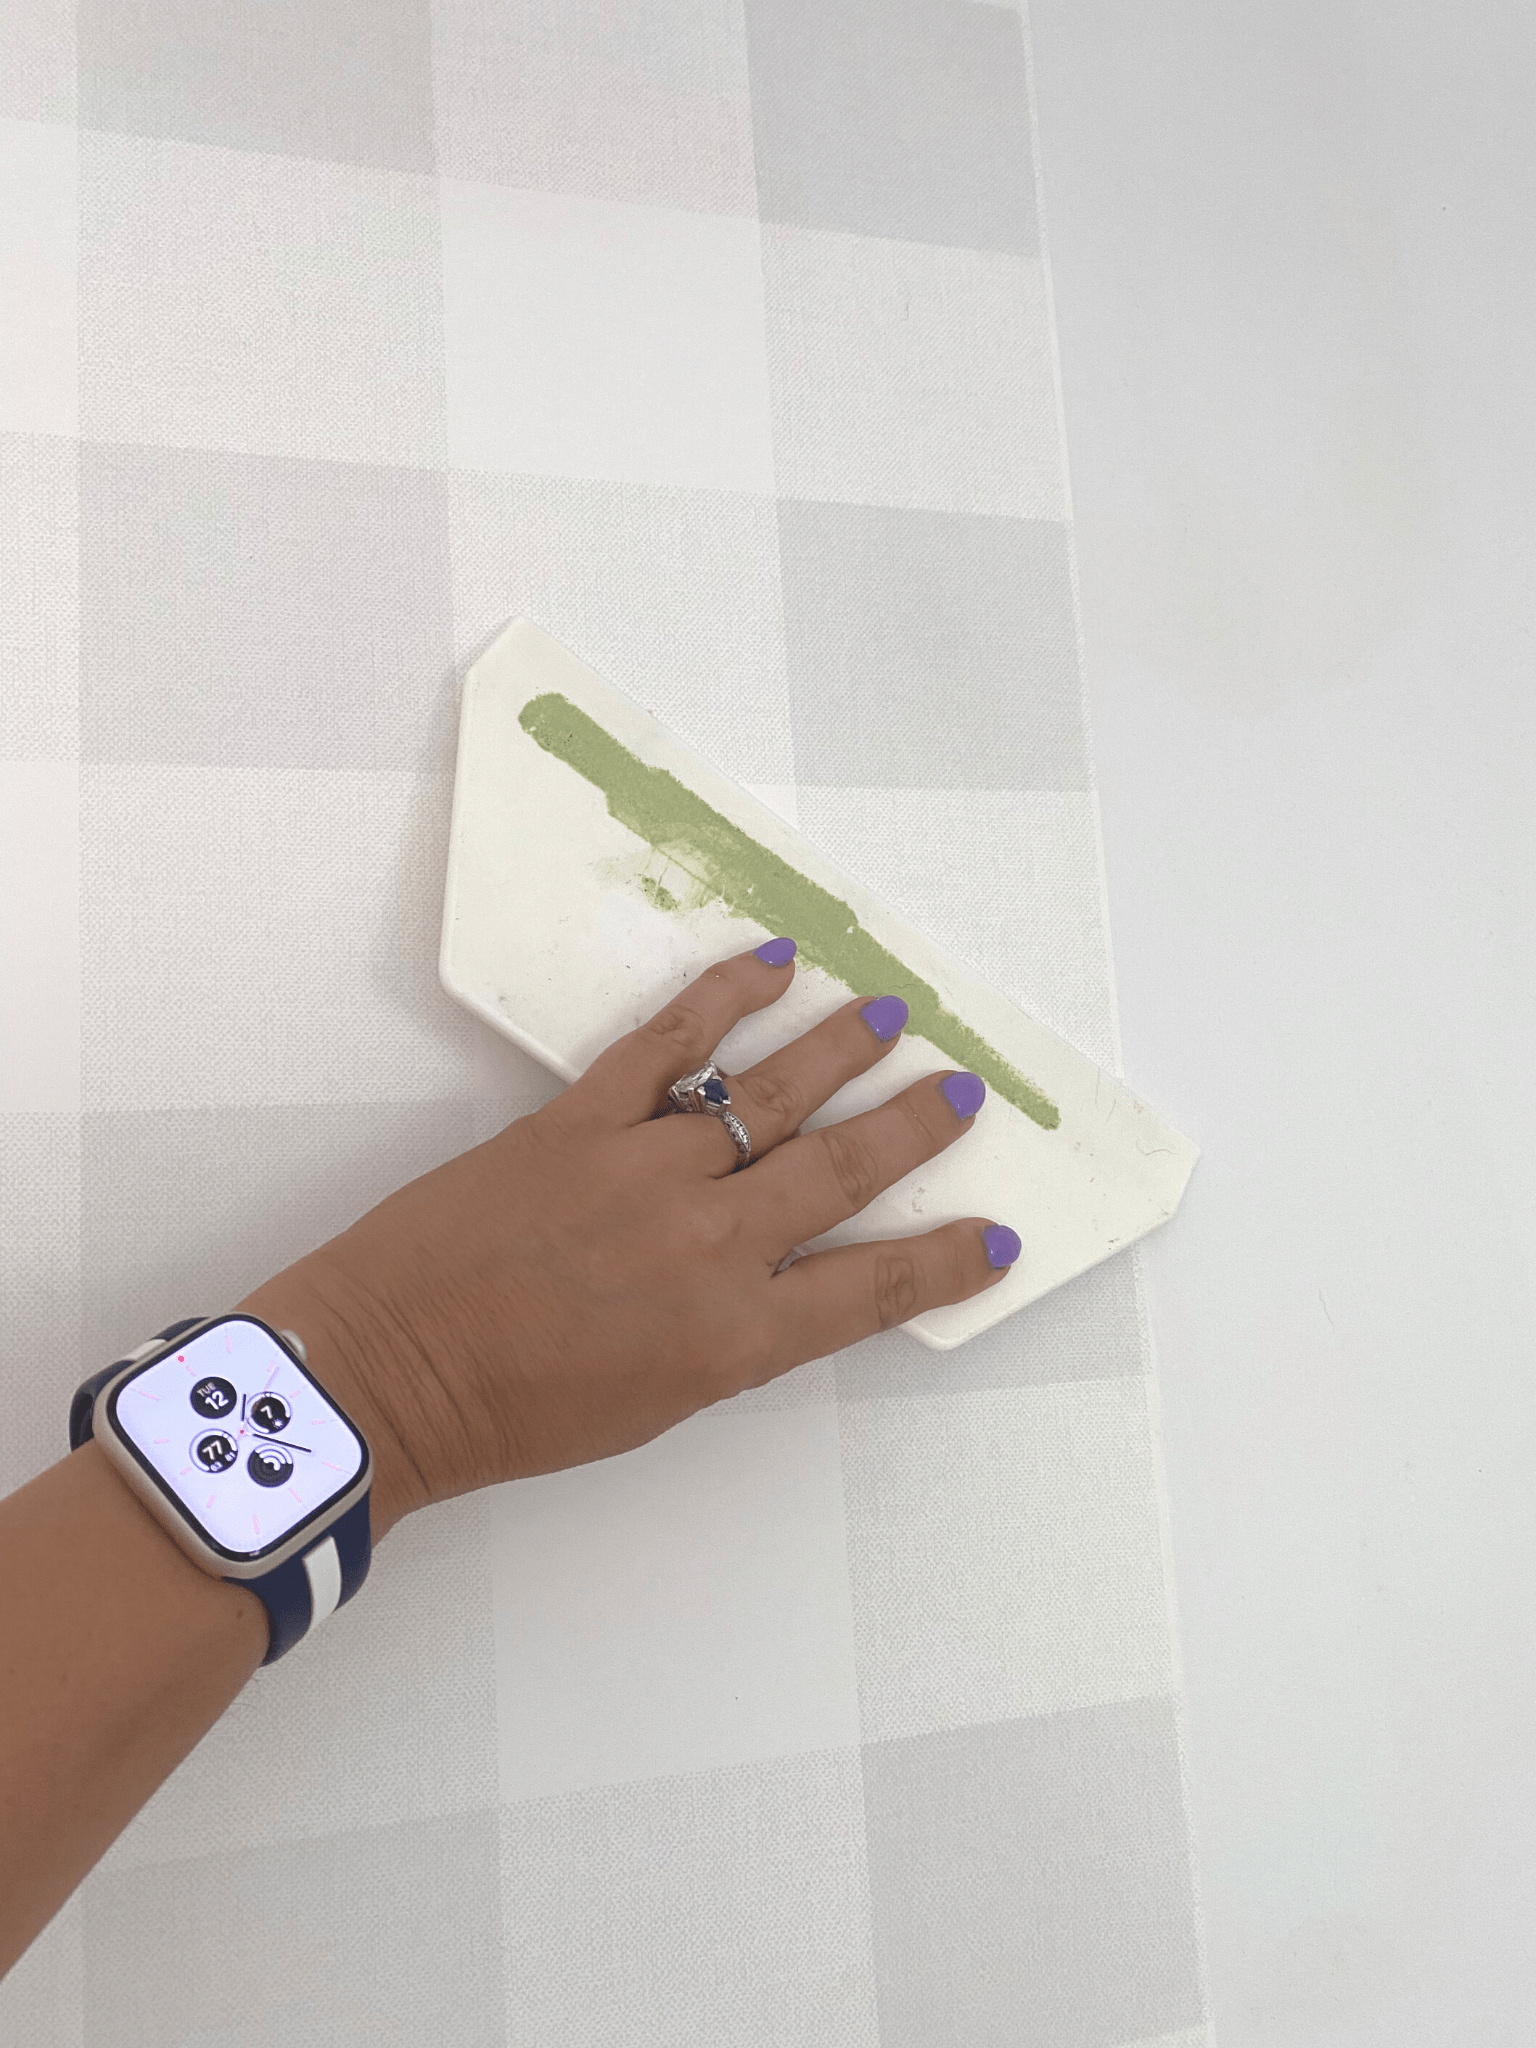
Once you hang your first piece (after you have applied wallpaper paste, folded it over paste together – this is called ‘booking’ and let it rest a minute) you will smooth it out and cut off excess.
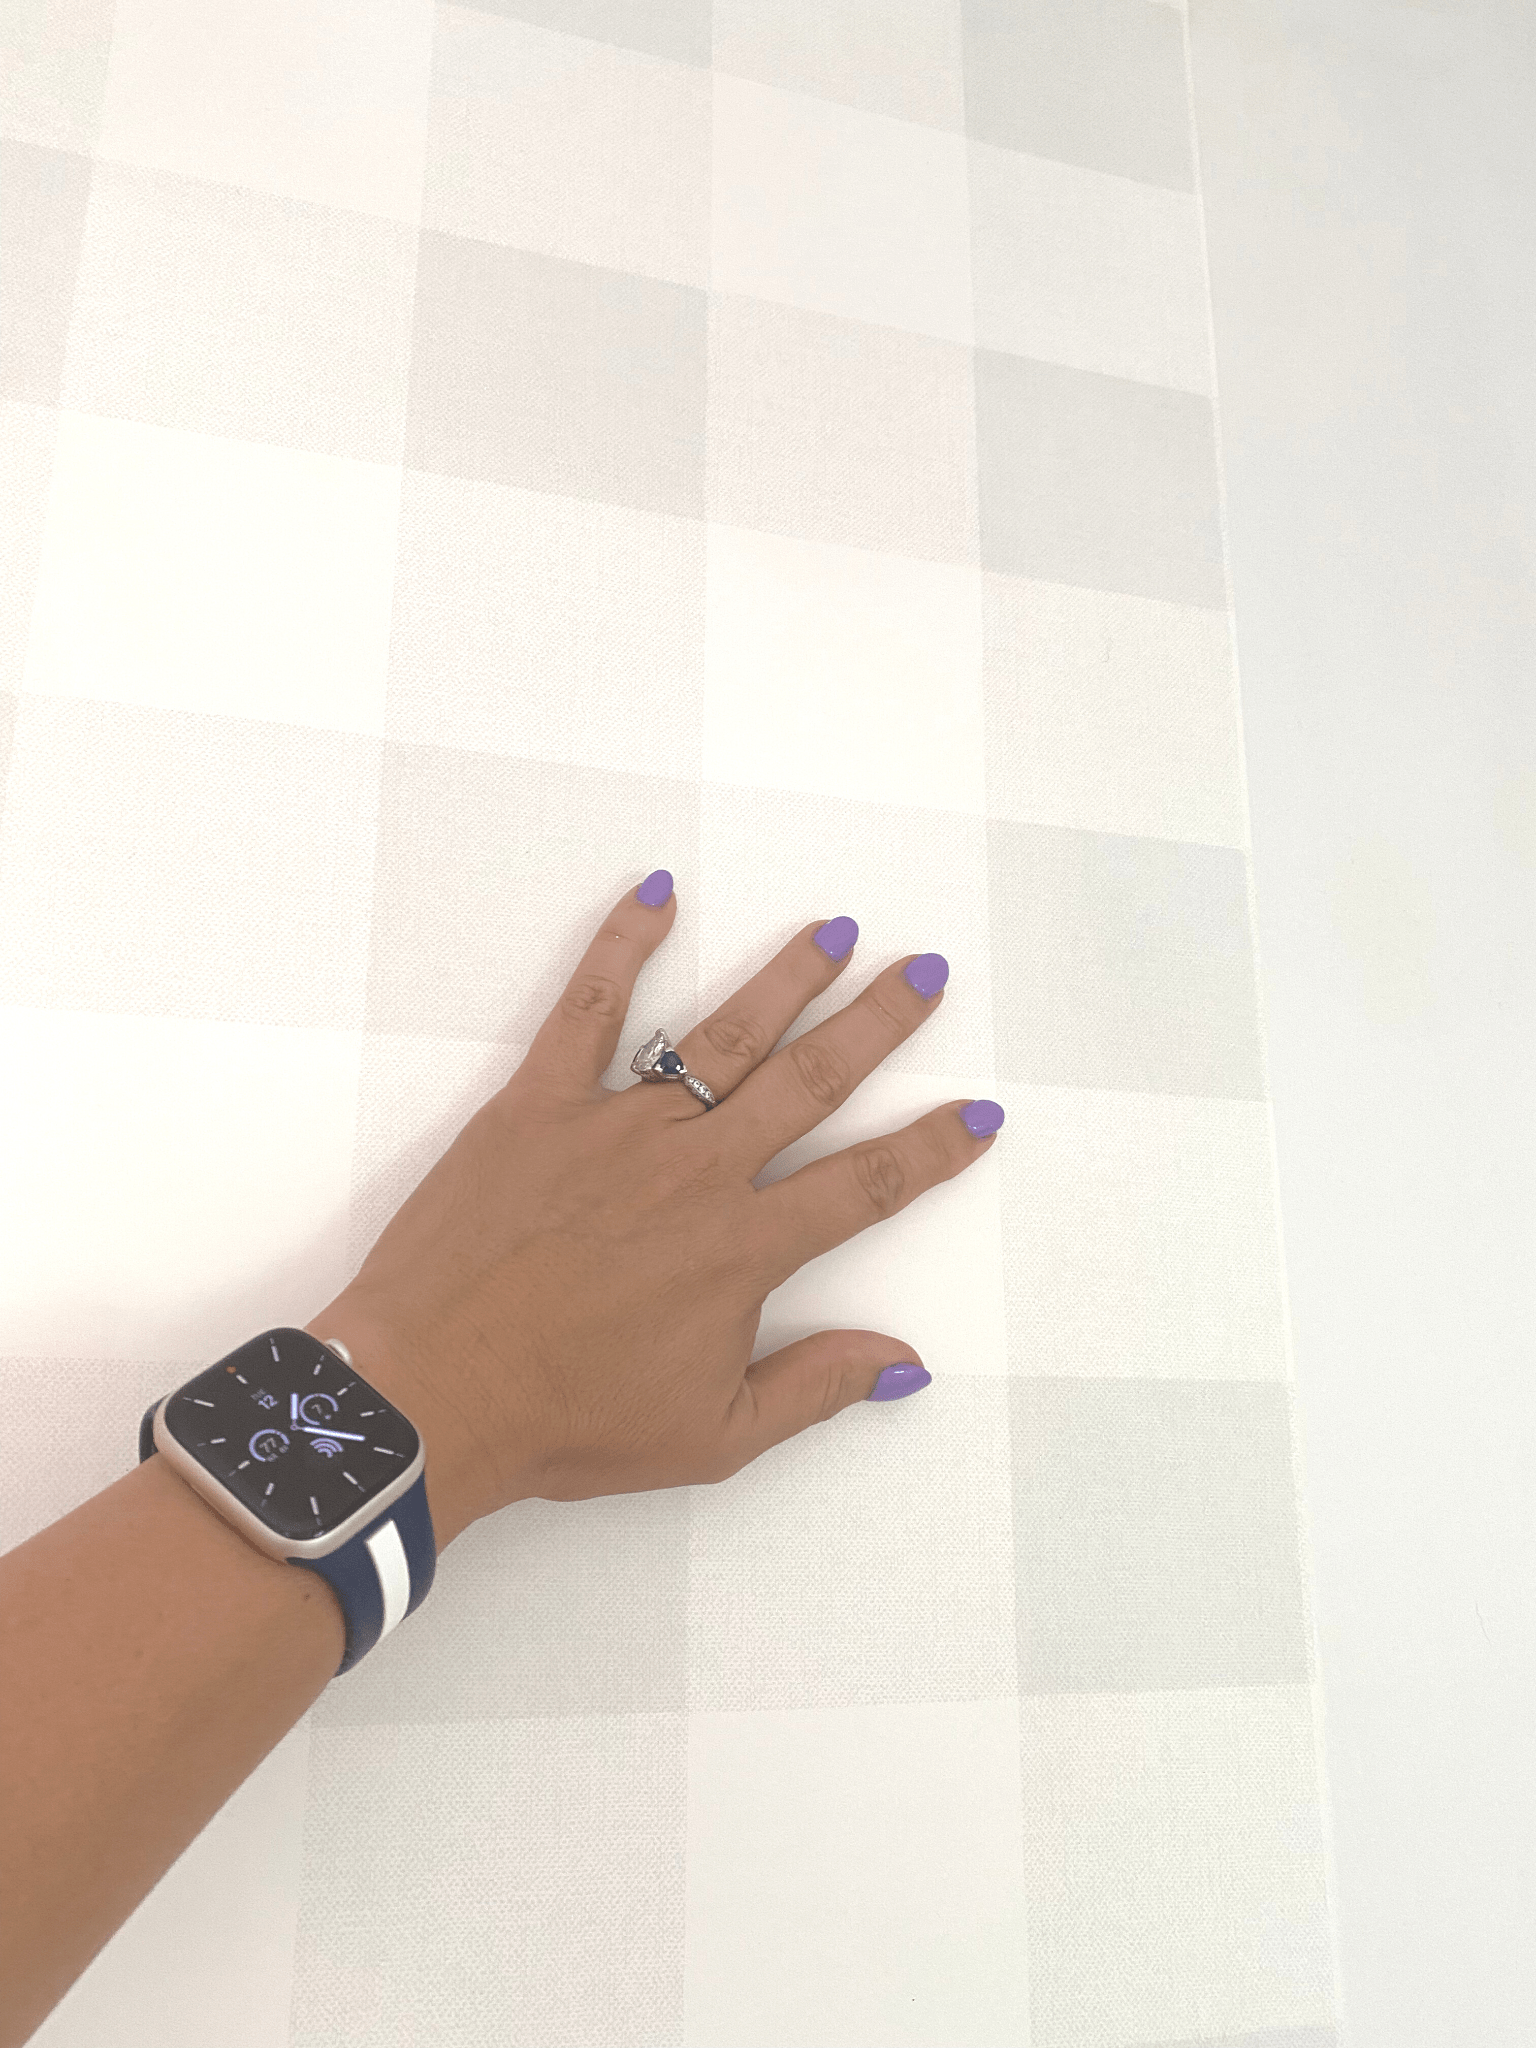
If you’re like me and are blind at all (old age sucks) I always run my hand across it too so I can feel for any bubbles. I’ve gotta use all my senses. Sometimes bubbles seem to appear when you aren’t looking!
Make sure it is smooth, check to make sure the pattern is level, and then cut off the excess at all the points needed. Be careful and precise. If the paper rips at all, don’t freak out. Just smooth it out and when it is dry, you won’t notice it as long as you put it back together correctly.

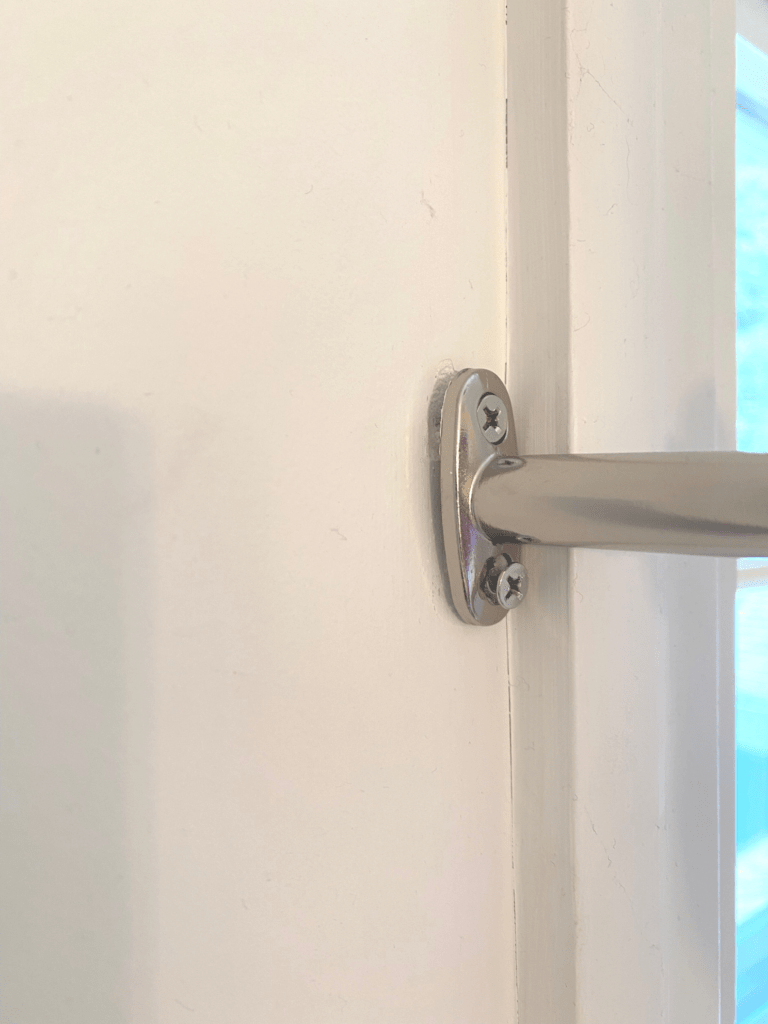
This little bathroom is almost complete. I have one last project to replace that old vanity and then I can style it up cute so it will be ready for the next round of visits from family and friends.
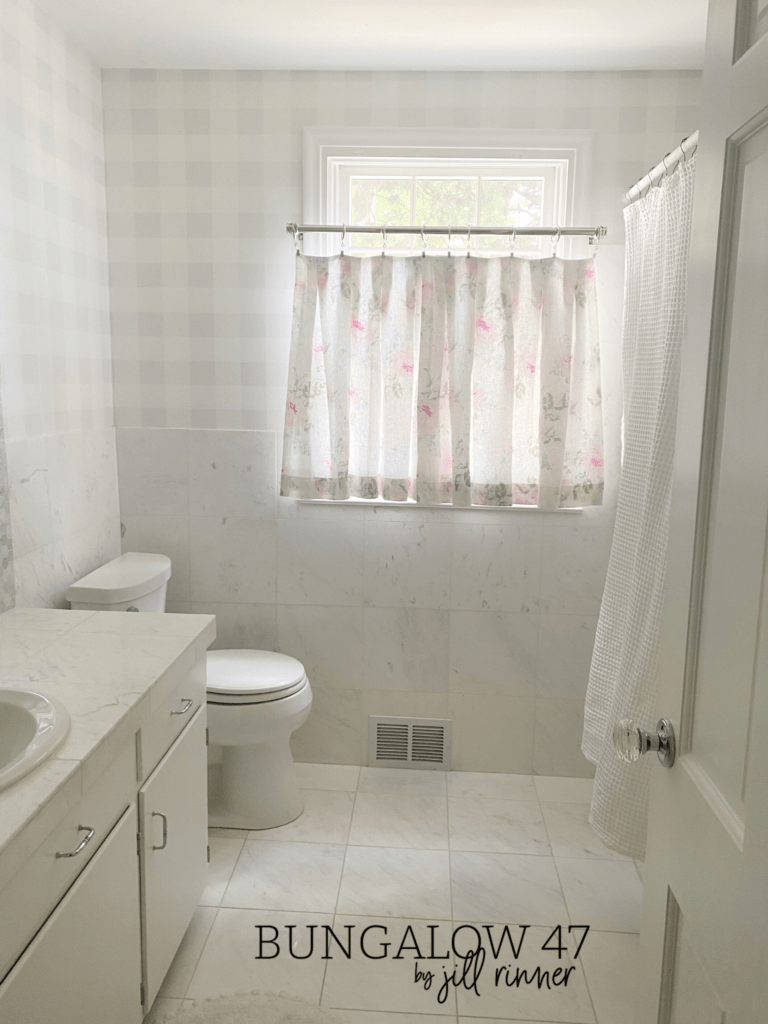
Wallpaper success
So that’s it my friends, my favorite tips for hanging wallpaper success! Hopefully the basic tips and tricks will inspire you to hang some wallpaper.
There is a lot more to chat about and know, if you are obsessed about wallpaper like me, and I would love to share more. Next time, we can go into further detail about choosing the right wallpaper and other shopping tips. Some of my favorite brands are Rifle Paper, Serena and Lily, and Seabrook and many others.
Meanwhile, pin the picture below so you have this to review when you work on your first or next wallpaper project. Have you ever wallpapered before? If not, are you willing to try it? Tell me in the comments.
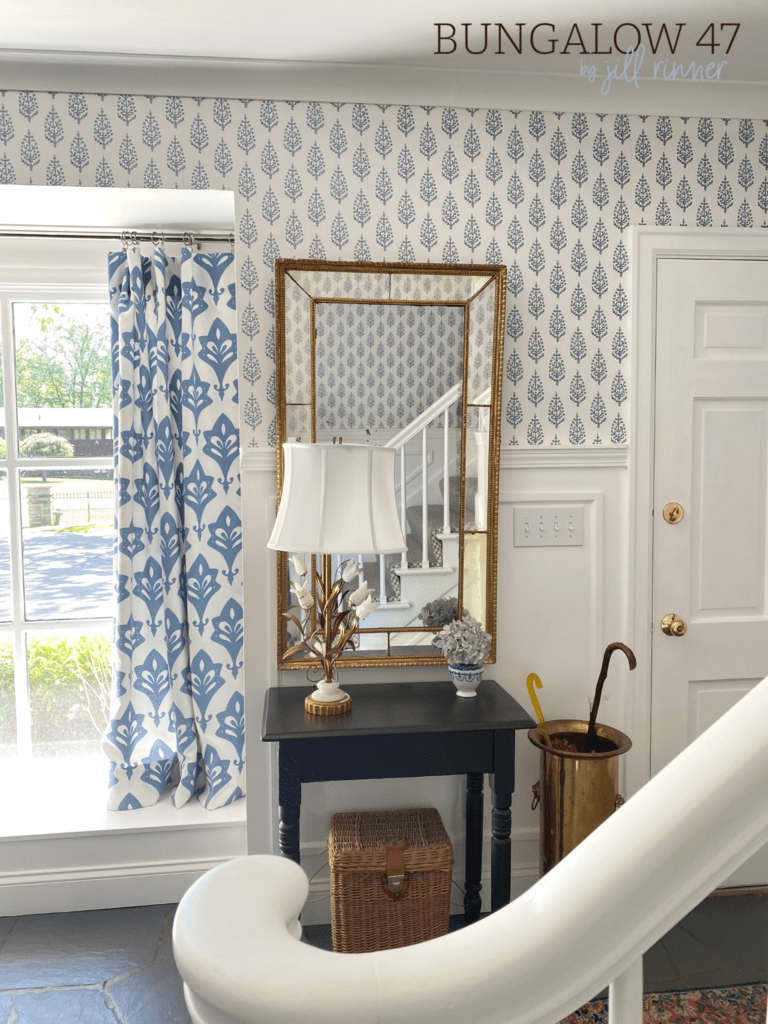
Check out my favorite paper in our entry. I paired it with DIY paneling for the win. Tell me in the comments if you’ve ever wallpapered and what you think of it, I’d love to know!
