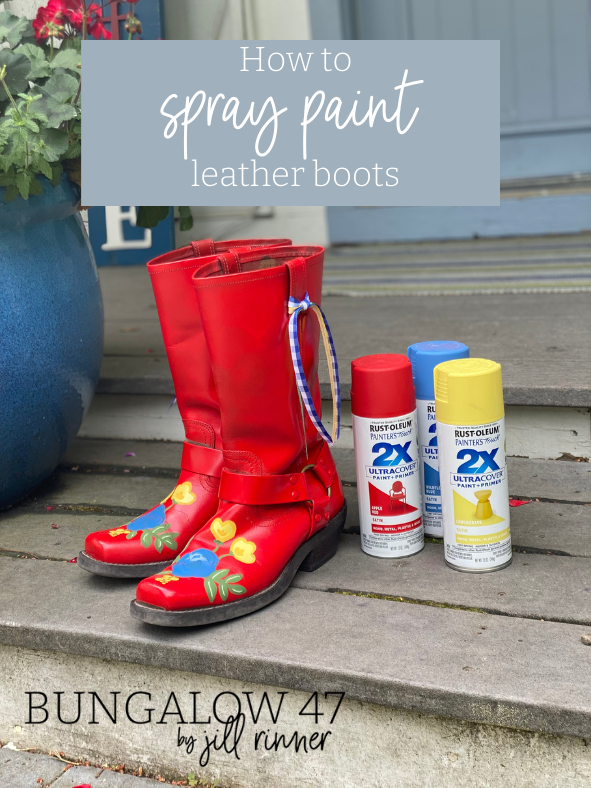
Spray Painting Leather Boots
What the heck are you doing now? This is a question I get asked a lot. Especially by my hubby, frequently by my children (all out of the nest and married), and I even get ‘the look’ from the dog. But this time, I didn’t even listen. This time I was spray painting leather boots! Check it out…

No Shoe Shortage
Look, I’m not short on shoes, that I will admit. You already know I’m a bit of a ‘collector’, and frankly my mother was the one with the shoe fetish so I could claim that it’s hereditary (meaning, can’t help myself). But when I saw that Rustoleum was having a spray paint challenge at a conference I’m attending this month, I put my thinking cap on to come up with the right thing. I was going through my mental list of projects I have in the queue and items that need redoing. But I wanted something that would be a FUN transformation.
Then I saw these sad boots in my closet. Why sad, you ask? Because they haven’t been worn in years, because, well they are boring. They are basic and they were feeling bad amongst all the other cool boots in there. The boots called out to me, “Save me! Make me pretty and fun!” And I do love a good makeover, so I heard their cries and took action.
I headed to Home Depot for some Rustoleum spray paint. Looking at all the colors, there was really only one choice for these babies…they needed to be red. Because red boots live a fun life! Red boots get noticed. So Apple Red it is! I headed back to my warehouse, and this is how it went down.

First, I taped off the rim of the boots and the brass ring detailing with blue tape.
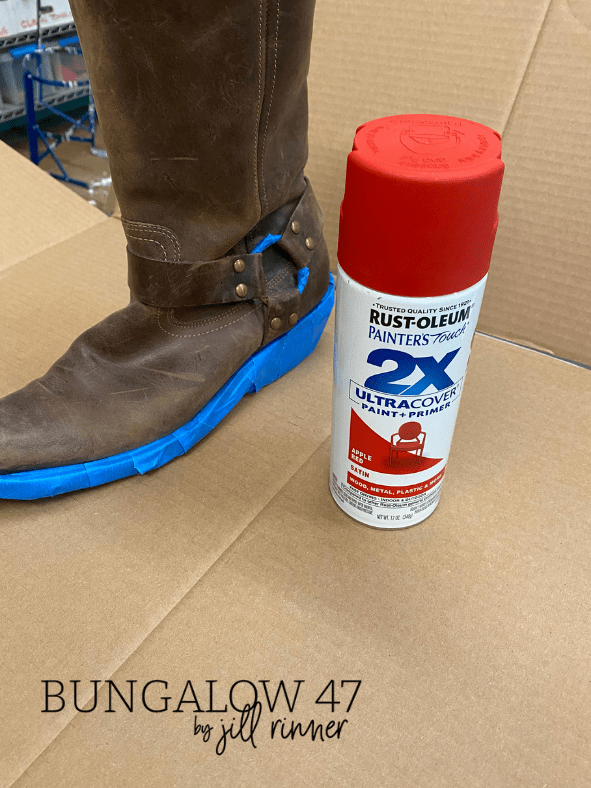
I sprayed the boots red and watched for good coverage with all the cracks and crevices. Two coats would be needed, and I had a detail brush handy incase I had any drips.

Meanwhile, I prepared my design I would use for my stencil. Looking on the internet for a few ideas, I found a flower shape by Rifle Paper that I liked and mimicked. I hand drew the shapes to look similar but you could just as easy print and trace a design that you like.

Making a stencil
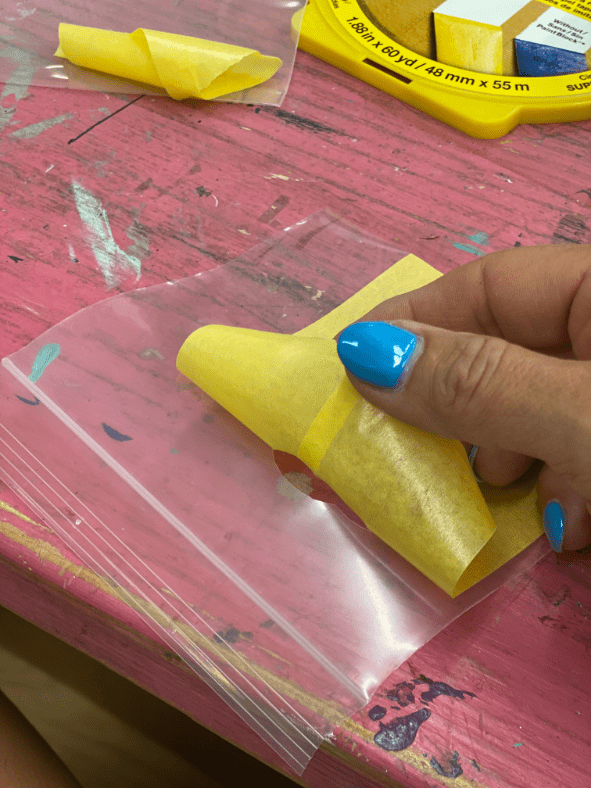
Using yellow tape (for more delicate projects) I adhered enough tape onto a plastic bag before drawing my design. After, I simply cut it out while still on the plastic.
Once the design was cut, I carefully lifted it off the plastic to place on my newly happy and painted boots. I cut two of each design part, one for each boot. Since I was going to finish with some hand detailing, I wasn’t too concerned about them not being exactly the same placement, I just let it work out based on the boot shape.
Then I sprayed each portion of the design, drying between colors, and adding the next one.


When they were all dry, I carefully peeled off the tape. Don’t you just love this part? Although when spraying furniture, I would normally take the tape off when the paint was still damp, but because of all the creases and irregular surface of the boots,
I waited for them to be dry so I didn’t have any unwanted paint particles and drippy things around.

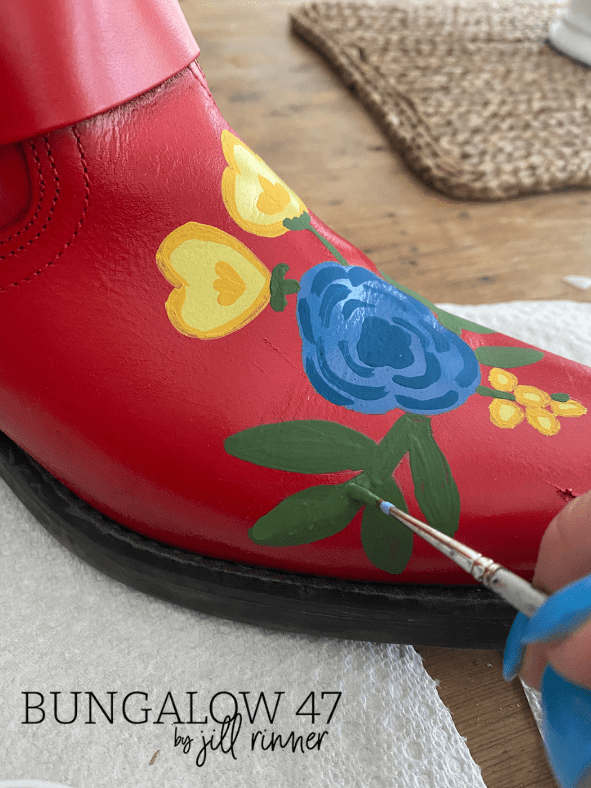
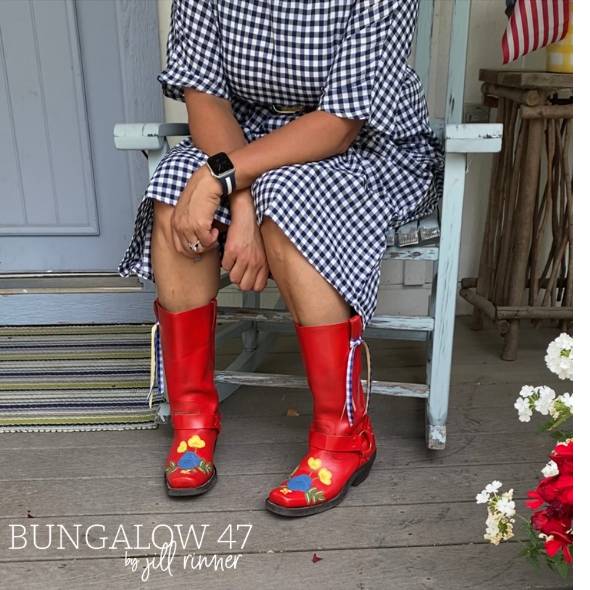
Next came the super fun part! I added a little detailing and outlining using Bungalow 47 Furniture Paint. The colors were different enough so they became a good accent. I gave them just the right detail that I had seen in the original Rifle Paper design.
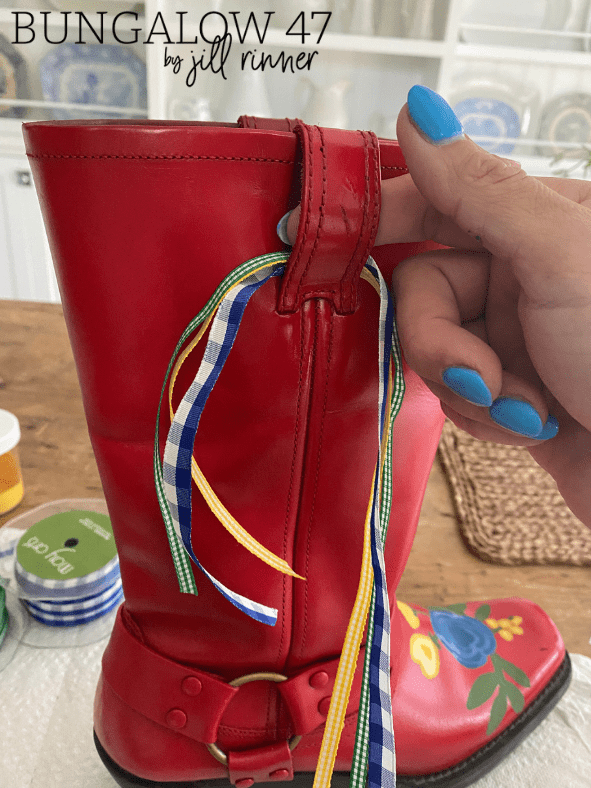
After a bit of “it needs something” thinking, I headed down to my basement where I have a huge stash of ribbon. In my past life (like 20 years ago) I owned a scrapbook store for many years. In fact, I spent a good decade designing product and crafting in the scrapbook industry and I still have so much stuff that it makes it easy to get a good craft project done.
Since I love gingham, I chose a few colors and sizes of ribbon I had for the finishing touch. One can never have enough gingham, am I right?
Now these boots were made for walking, once again! Aren’t they so fun?
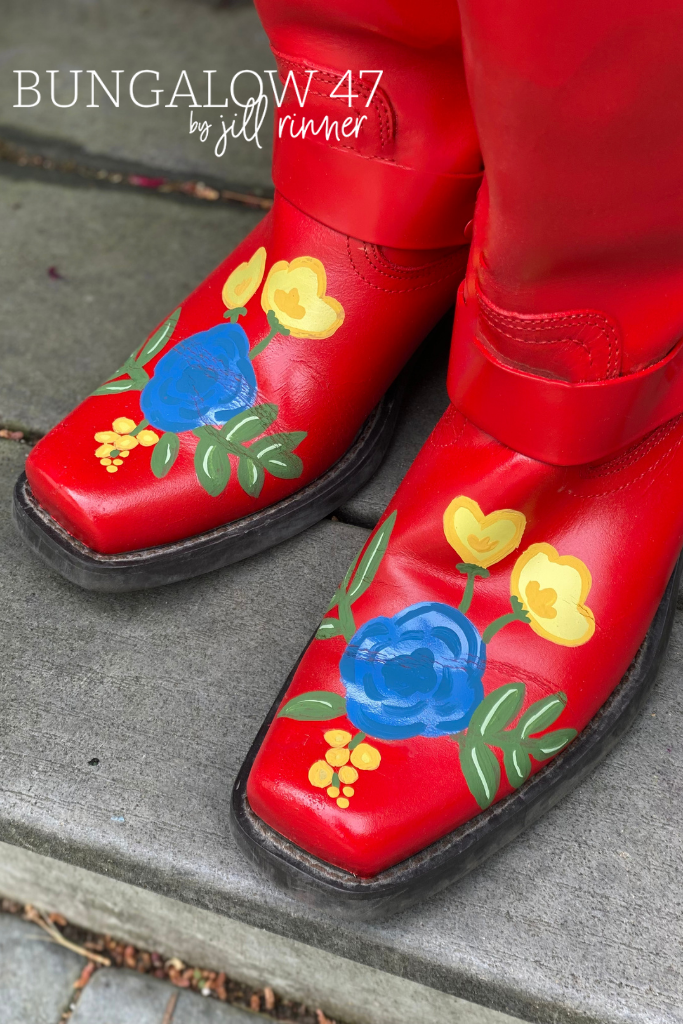
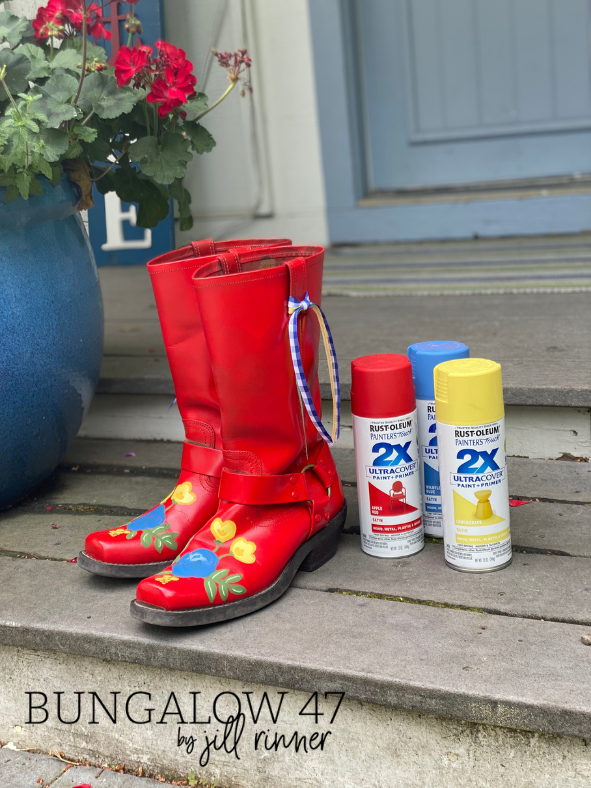
If you have something that is still useful, but just needs a good makeover, paint is always the answer! I hope you feel inspired to look around your house, in the garage, basement, yard, or even in your closet for something to paint and give it a new life! I know you’ll be glad you did.
Check out my Pinterest board for some paint ideas.
Pin this for future inspiration, next time your boring boots come calling for you!
