How to Paint Gingham on a Wall
Like the idea of a patterned accent wall, but don’t want to mess with wallpaper? Try this easy tutorial on how to paint a gingham wall.
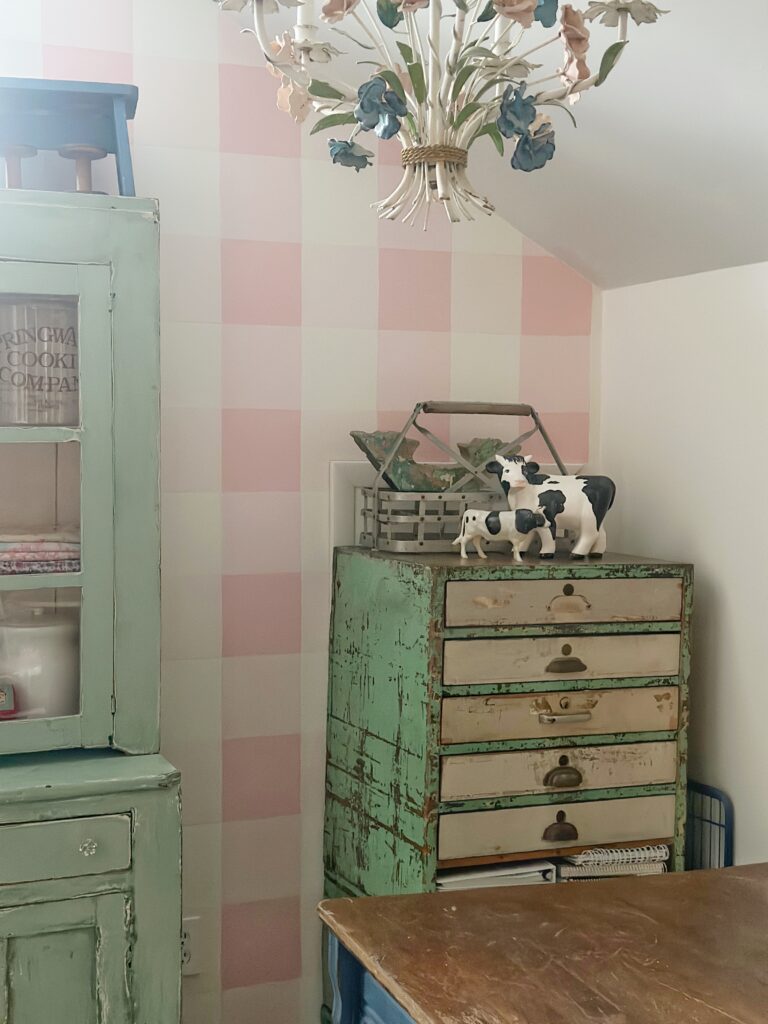
When I was deciding on how I wanted my home studio to look, I knew I wanted a bold pattern. After all, this room is all mine and a place I am most creative. On one wall, I already had applied a small floral vintage wallpaper that a friend had given me. For the main wall that you see as you enter the room, I thought about stripes but decided on a large gingham pattern. This would really draw your eye all the way through the room, and gingham is my jam!
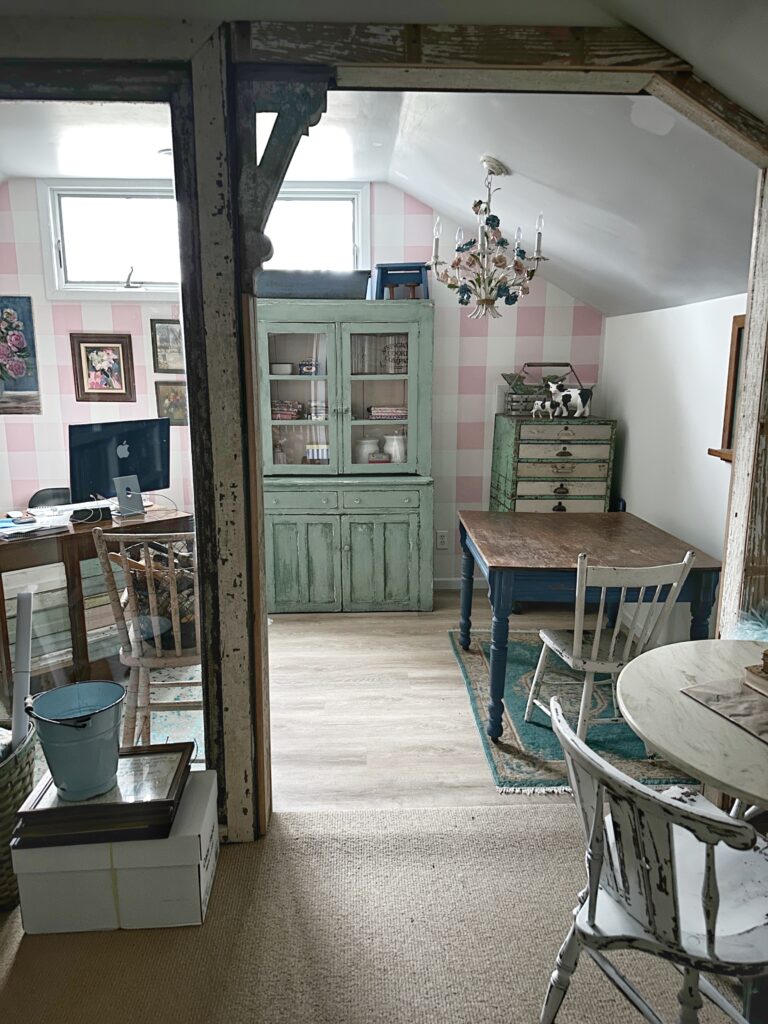
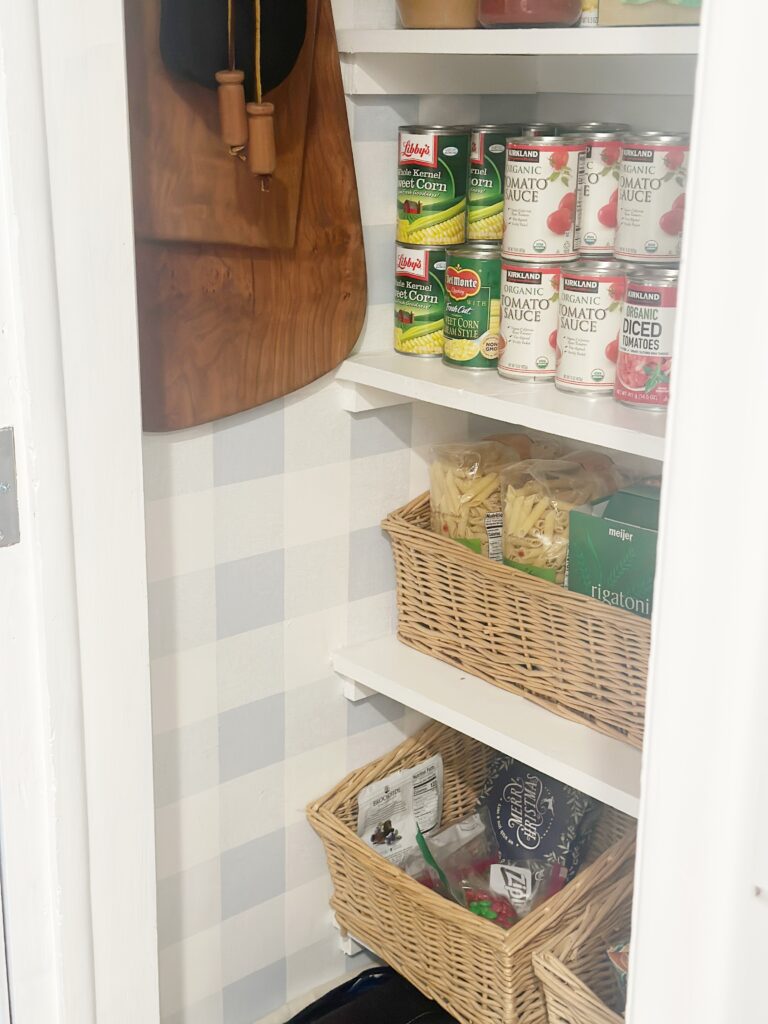
The house I live in is a classic Cape Cod style. Blue and white are the main colors in our home, and a classic gingham pattern is found in many spots. I have a soft blue and white gingham pattern in the kitchen pantry, and a soft gray and white wallpaper in a guest bath. My studio needed something different.
What Paint Colors to Use?
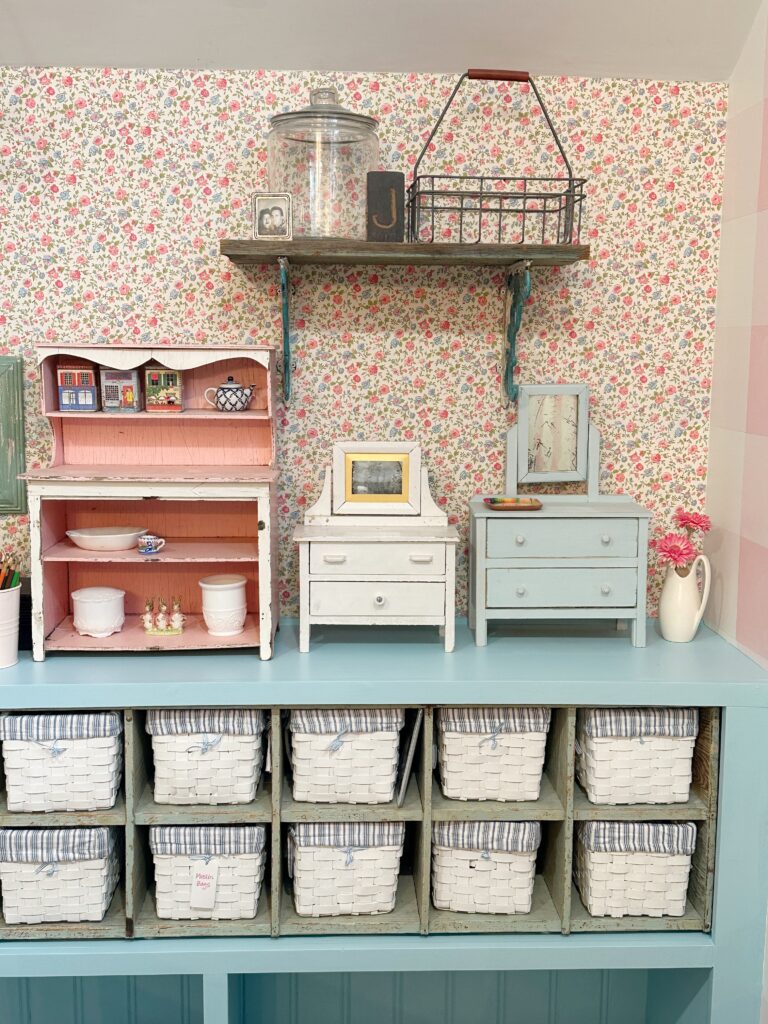
Since my room already had a floral pattern wallpaper, I would choose from those colors. The wallpaper is mainly pink with touches of blue and green. Of course, the built-in behind my desk went blue, since that is our house signature color. There are two pieces of vintage furniture in the space that are green, so pink was the winning choice.
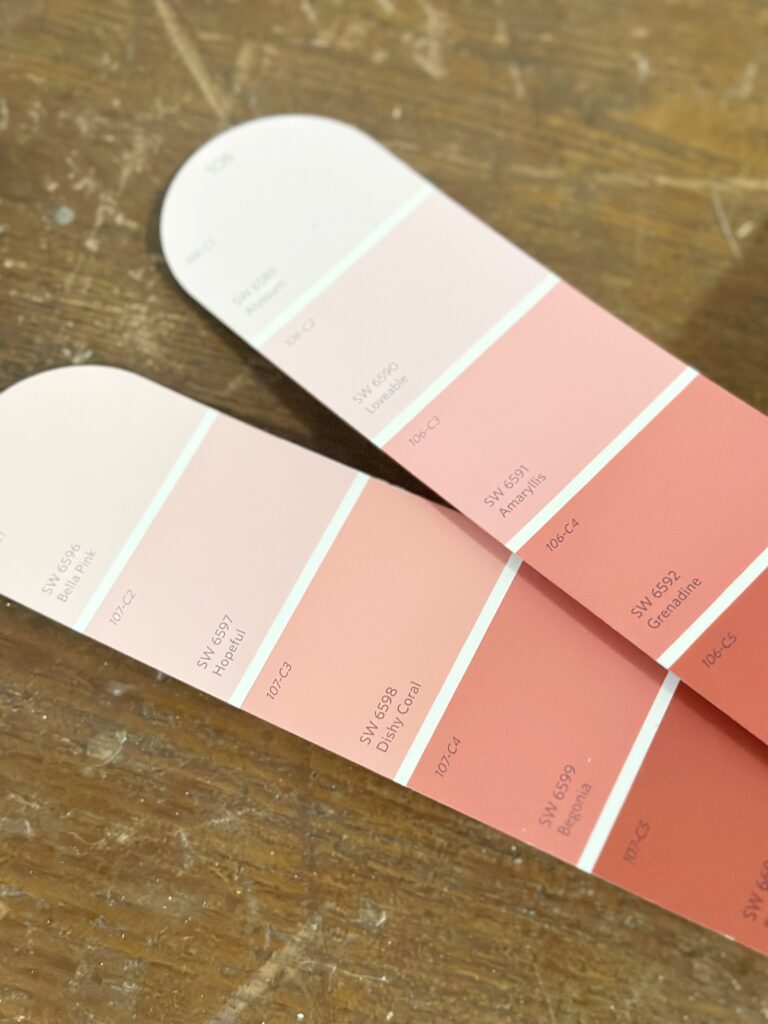
Now there was only the need to find the right shade. When choosing, you will be using three shades of one accent color. This can be found easily by using three shades on one paint chip strip or finding three shades that are close from neighboring strips.
Start with the base
My walls were already painted a soft, warm white. I love Sherwin Williams Westhighland White and have used it in a few different homes. Luckily it worked in this one. That’s not always the case. Check out these tips on choosing the right paint color for your room.
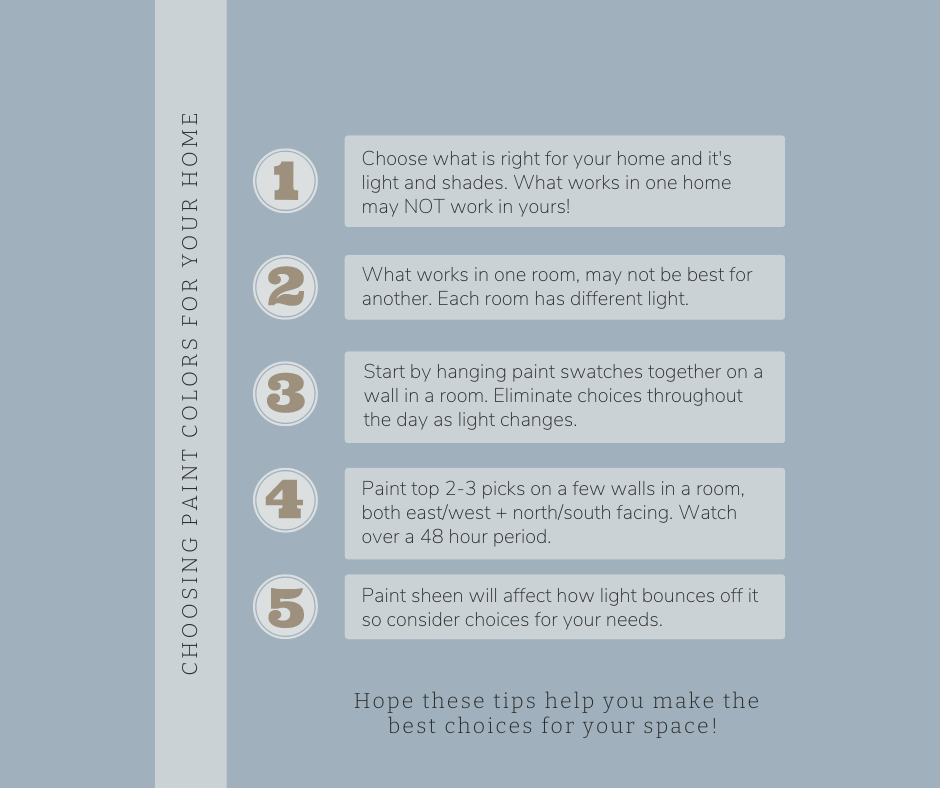
If you are starting this project from the beginning, choose a white paint color that works for your light and space. When you paint gingham, I feel like the base color should be as a clean a white as you can find. Stay away from whites that have too much colored pigment in them. You want your feature color to be the star of your gingham.
Painting the Base Color
If you are painting the base paint for your gingham wall as part of the project, definitely give it time to dry completely before marking and painting the gingham wall. I say this only because I know how excited I get when I do a project and just want to push it to get it done. But your paint is really going to need cure time before proceeding, especially if you are going to use painter’s tape!
Your best bet will be to paint your room or wall you are doing the week before you actually start your gingham painting project. Especially in more humid climates, this will give the paint the chance to fully cure and you won’t have issues when you remove the tape, if that is the route you take. Fill all holes and repair walls as needed.
Tools Needed to Create the Gingham Wall
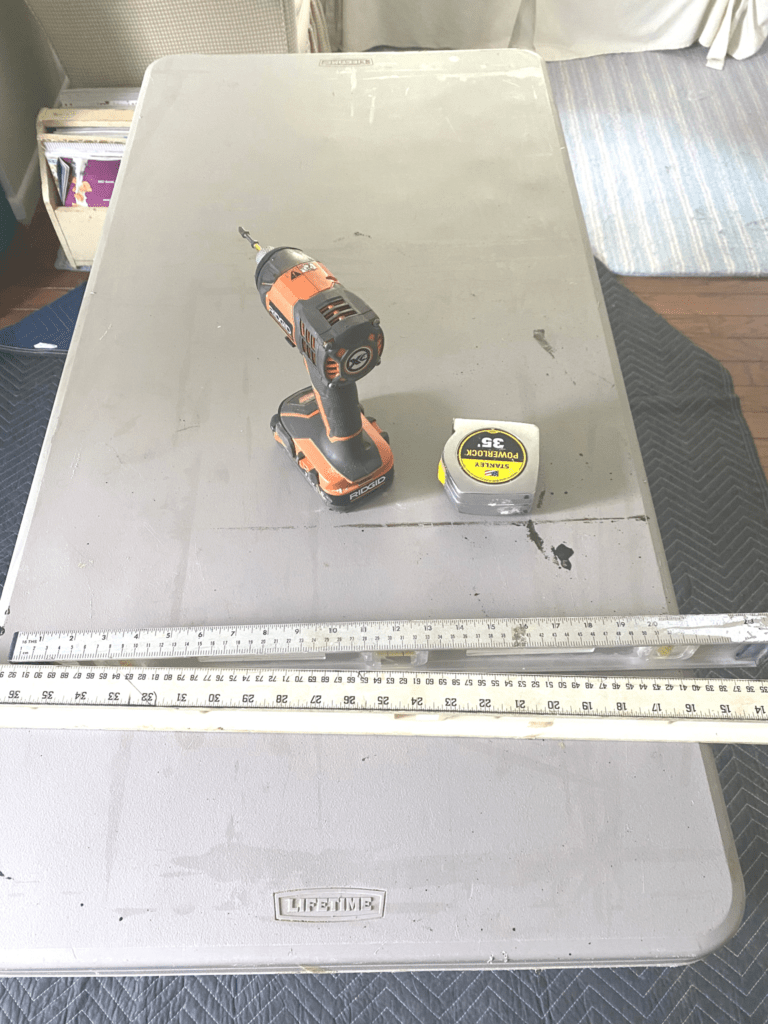
Basically outside of standard painting supplies, you will need some simple tools.
Gather together:
a pencil
a level (a long one like over 36″ wide and a shorter one like standard 24″)
a measuring tape
blue painter’s tape (if you want crisp lines)
a good quality angled brush for painting main squares
a few smaller detail brushes with straight edges
What Size Should My Gingham Be?
Obviously to answer this question, you will need to know what you want. But there is the all important adage that size does matter, so you must consider the scale of the space. For me, I was all about going bold so a definite large gingham was the answer. To determine exact size, this is what I do.
I measure the width of the entire wall I am going to paint. Then I open my trusty calculator app on my phone, and get to work.

Doing the Math
Here’s an example: my wall was 183 inches wide. So I’m thinking I want the squares to be at least 6-8 inches, so I begin doing some math. 183 ÷ 6 = 30.5 which is how many squares I would have across the wall. I keep going…183 ÷ 7 = 26.14 which means I’m going to have 26 squares across the wall with like 1/8″ slice. Last try…183 ÷ 8 = 22.87 so I would have 22 squares with the 23rd one being cut off a bit. Okay, I picked a 7 inch square, since a small piece of wall at the end was a better option for my room.
I have a pretty good imagination so I can visualize what that will look like overall. If you can’t really see it in your mind, just cut a blank piece of colored paper into your desired square size and tape a few on the wall. Stand back. What do you think? And that’s how it’s done, super high tech I know. Basically I’m just winging crap over here, but it works! Trust your eye.
Measure and Mark
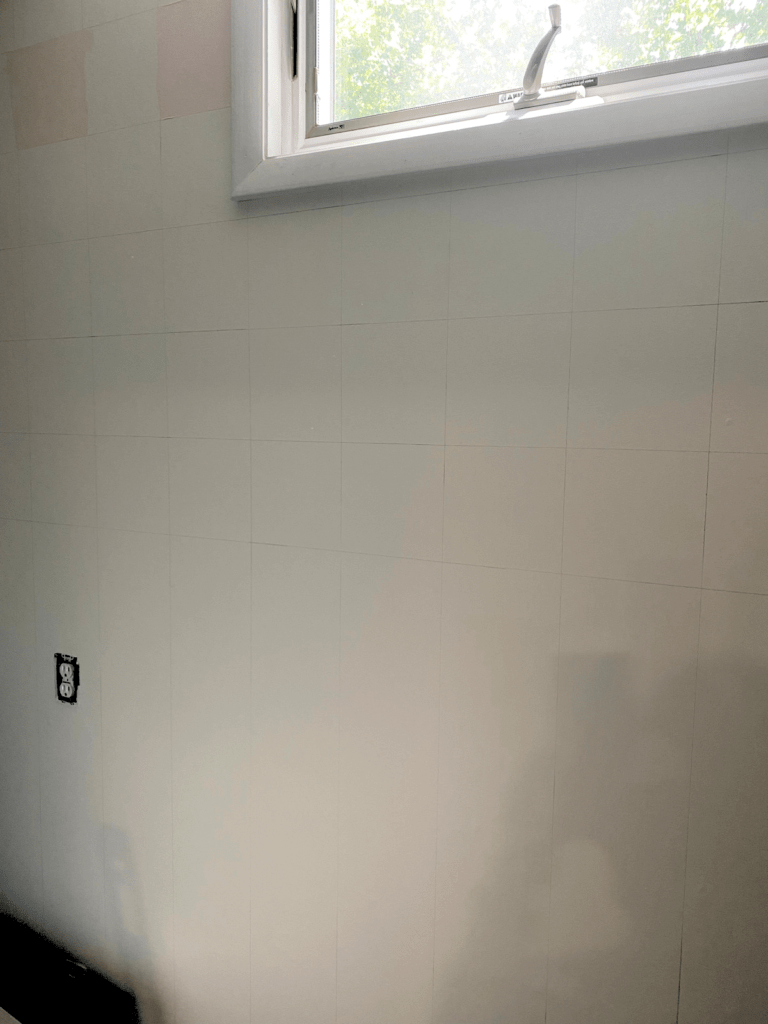
Since you are days past your base paint being painted and everything is dry, let’s draw on some walls. We will be drawing pencil lines on that fresh base coat.

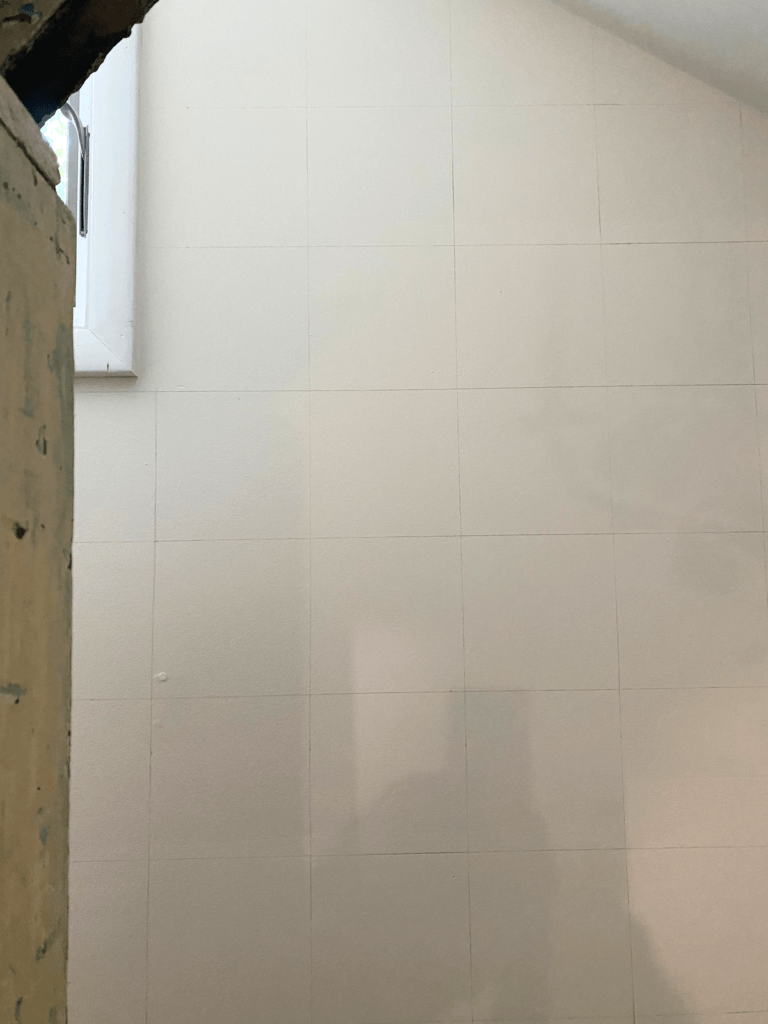
Begin by drawing with a pencil the top row, with the help of your very long level, all the horizontal stripes across the wall. Since my stripe width was going to be 7 inches, I drew the first line 7″ from the ceiling line and continued down. I wasn’t too worried about needing to divide evenly from ceiling to floor because where it ends up won’t really be seen too much on my wall. The furniture placement covers a lot, so if I had half a square in the pattern at the floor, no biggie.
I also made small a pencil mark vertically on my wall using a tape measure at every 7 inches to create that stripe. That way, I wouldn’t have to measure each width with every horizontal stripe I was drawing. Be accurate because it’s easy to get “off” your mark very quickly.
Head the Other Direction
After you have drawn complete stripes as your horizontal lines on the wall, you will start drawing the vertical lines next. Take great care in making straight lines with your level, and again check yourself as you go, making those exact marks using a tape measure.
I started my vertical stripes in the left corner of my room and went to the right because I have a weird attic access thing going on in the right corner. Also, remember my math? I was going to end up with 1/8″ or so and corners are NEVER exactly straight, so I figured I could stop my pattern with the last full squares and call it good.
With vertical perfect stripes now revealed, you should see a big grid on your wall. Keep your level handy because you may need to draw those lines again each time after painting the horizontal stripes and the vertical ones, especially if you are using darker colors.
Hand Painted Gingham or Crisp Lines?
Another decision that needs to be made is will you hand paint your squares or use painter’s tape for crisp edges? I did mine by hand because that is the look I wanted and I am an experienced painter and have a steady hand. Even if you aren’t an experienced painter, don’t be afraid to try that. Here are some tips on how to keep clean lines.

As I discuss how to paint gingham, I will speak from a hand done perspective. If you want to use tape for sharp edges, you’ll know from the processes where to put it and when to remove tape to move one. You may need that small brush if you have skinny pieces near decorative molding.
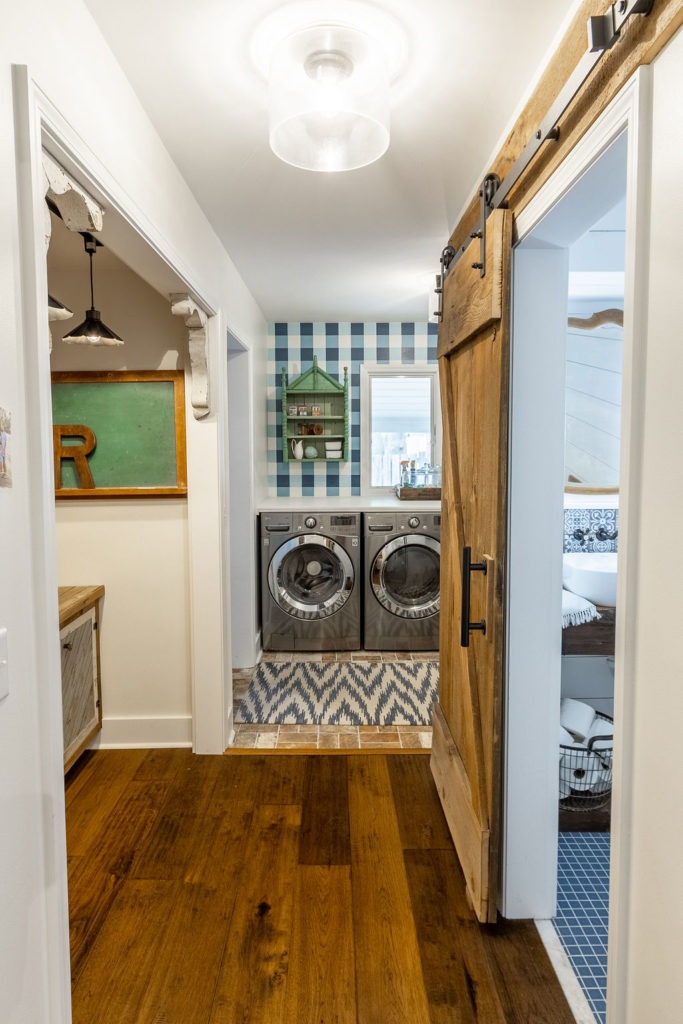
The last gingham wall I did in our previous house was in the laundry room, but it could be seen from the front entry area. That wasn’t ideal so it had to be pretty and it was a challenge to have your eye go to only the wallspace and not the appliances. So the gingham print really stood out. I used a darker color that would definitely be seen from afar, so I used tape on that project. Plus the squares were smaller (always to scale for the space) and the tape technique was best for that size.
Paint the Light Squares First in Horizontal Stripes
It is now time to paint gingham! What paint color to start with is a preference thing, but I have a technique that makes this whole thing easier for me. I use the lightest color first and painting the finished horizontal line, I then overpaint the color outside the vertical grid lines. If you are using tape, you would tape the outside of those horizontal lines first. Then you could use a small foam roller to fill the marked box. I use an angled brush doing it freehand.
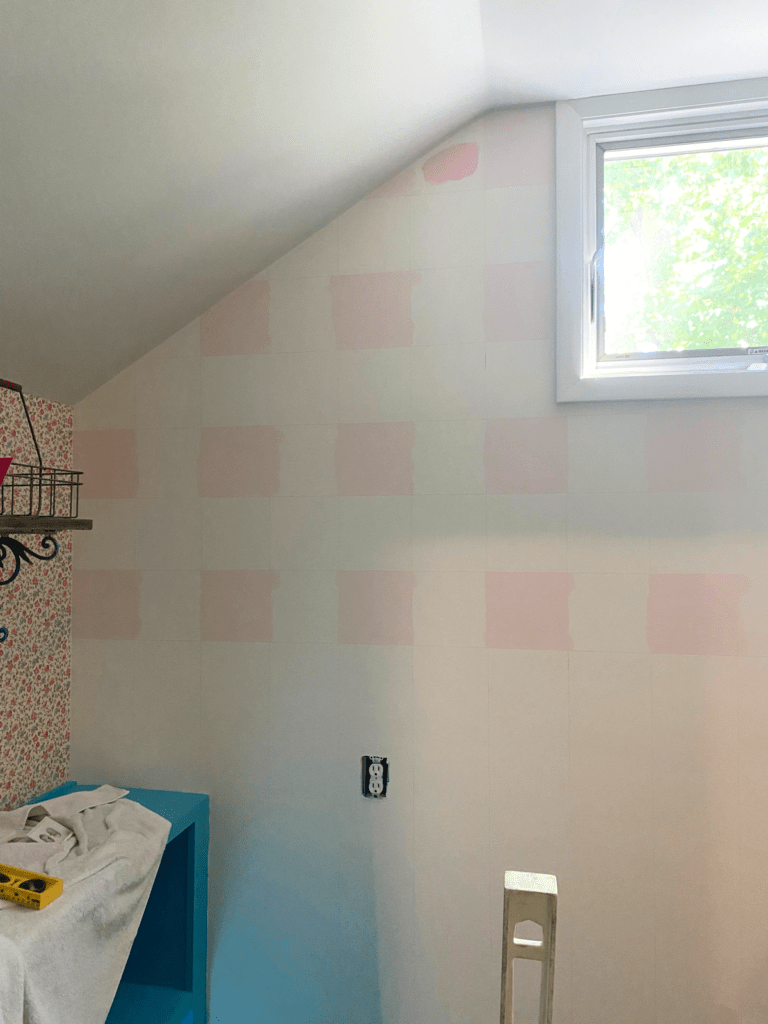
Paint two coats if needed. Then you must let the paint dry completely before moving onto the next color! Each base coat needs to be dry completely before painting the next.
Medium Color Shade Next in Vertical Stripes
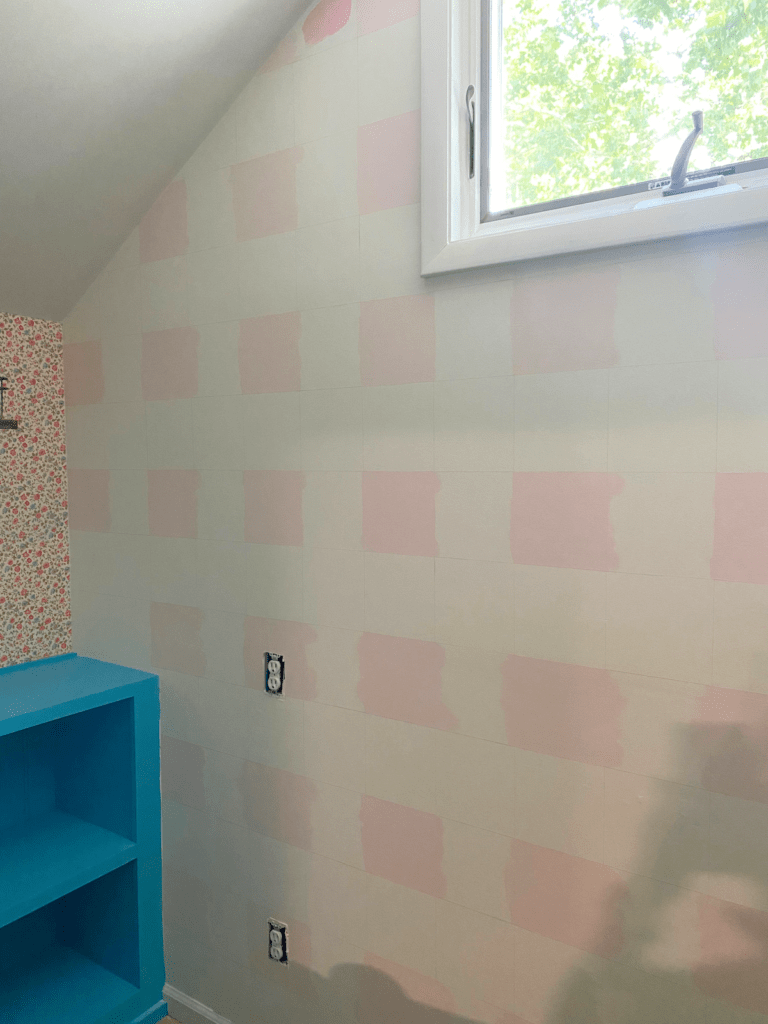
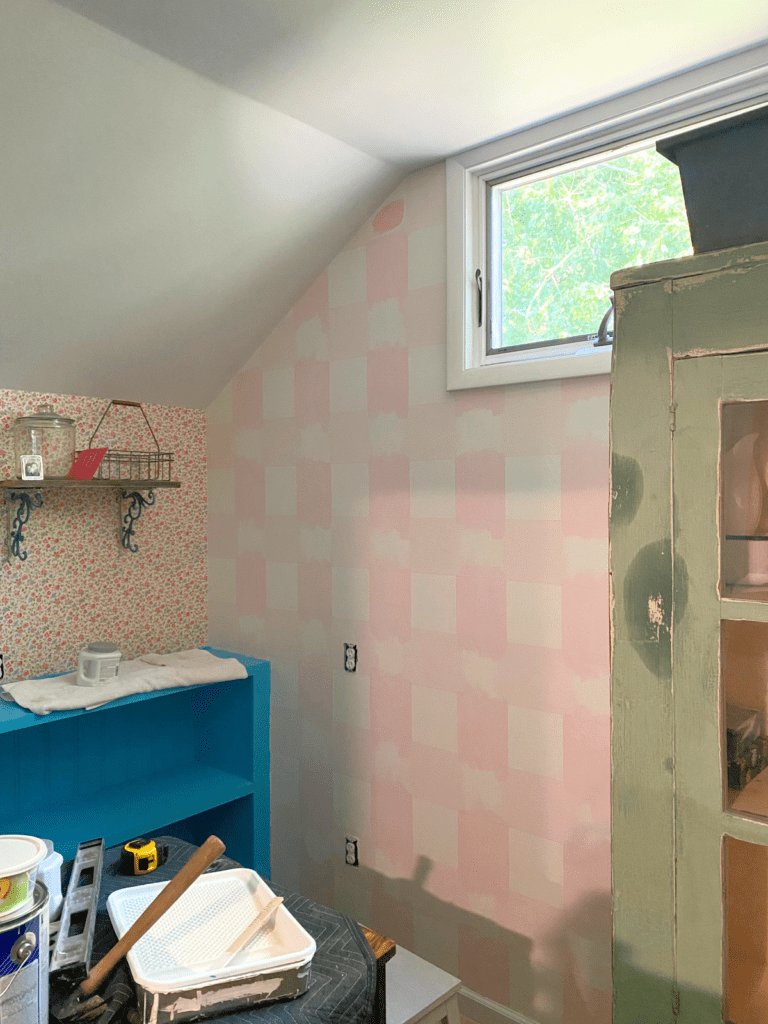
The medium color is the next set to paint. Since we painted the light color horizontally, this next color will be done vertically. This will give you nice crisp corners and then when the darkest color is painted, it will come all together. Can you see it yet?
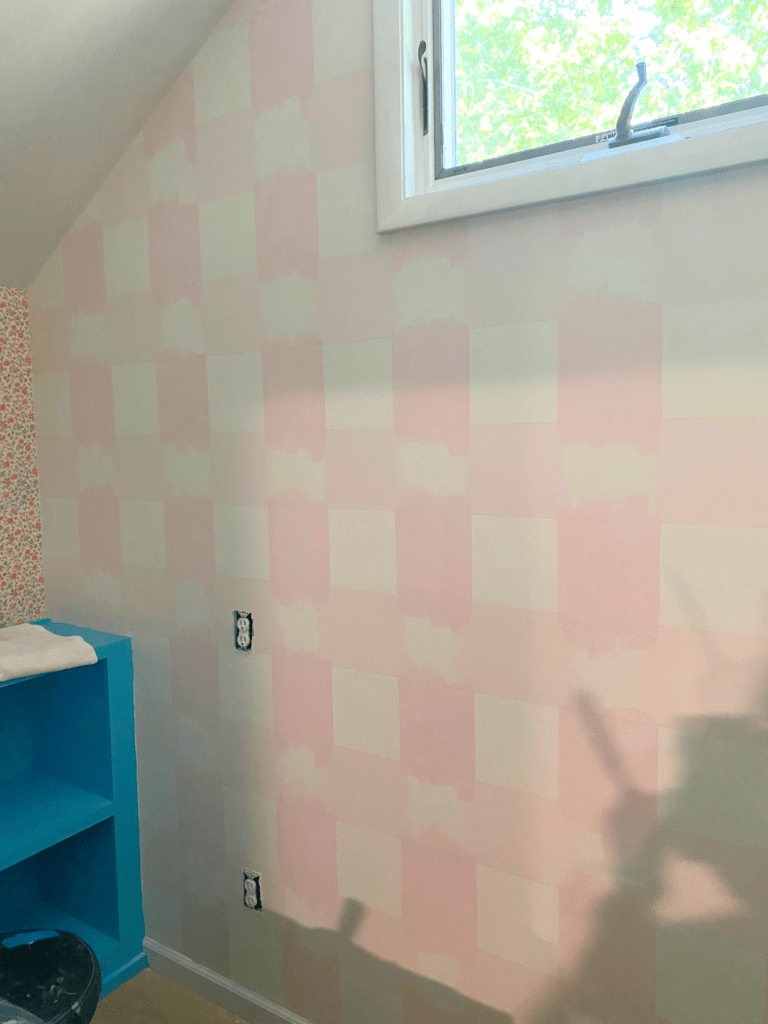
Paint the vertical stripes the same way you would the horizontal stripes, going over the lines. That will all be covered up by the darkest color. When I paint gingham, that is why I do the dark color last. That box where all the freehand jagged paint lines are will be covered up by the dark color.
Pulling the Accent Wall Together
The gingham pattern really comes together when that last block gets painted in the dark color. It is then that you will see the pattern emerge in the stripes. This is such an exciting moment!
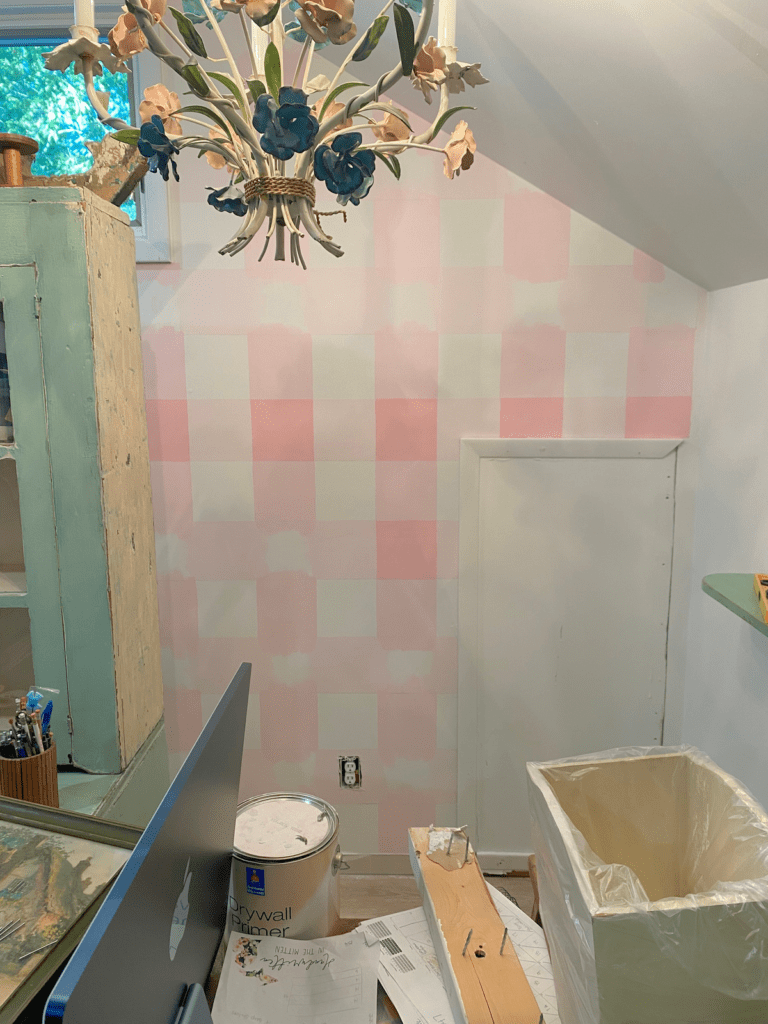
If you are using painter’s tape, don’t leave it on the wall too long. Just when your paint begins to fully dry, remove tape quickly. You don’t want it sticking too much and removing any paint with it.
Several days later, when everything is cured, use a magic eraser sponge to remove any pencil lines seen on the wall. There are many when creating stripes and you want to paint on the line not outside of it for grid accuracy, so some pencil lines may show.
Project Complete
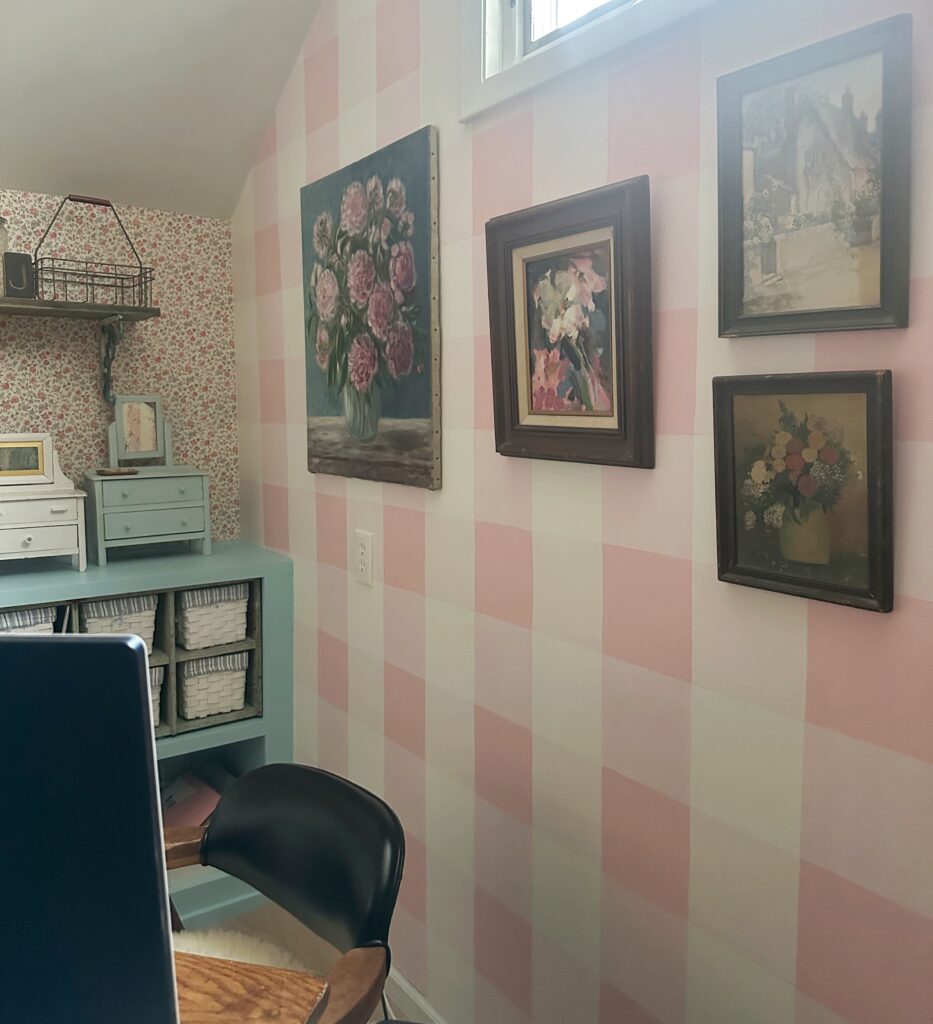
A checkered pattern is so classic and cute and I just love it in my room. The freehand stripes really work with my casual vibe, as I have many imperfect, timeworn pieces in the space. It’s crazy and fun, and just for me!
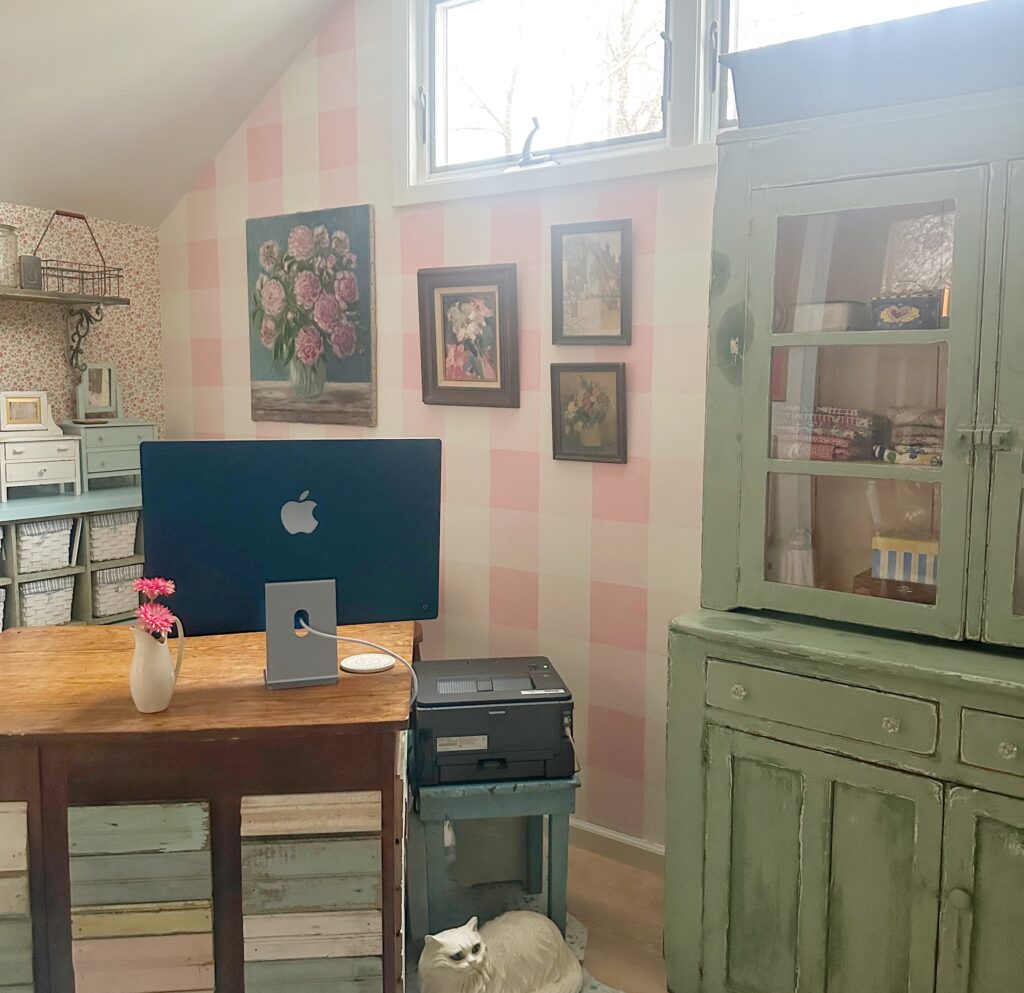
I do love peely chippy stuff but I like my walls more perfect. I keep a bit of extra paint in the closet of this room so it’s handy if I need to touch up the walls.
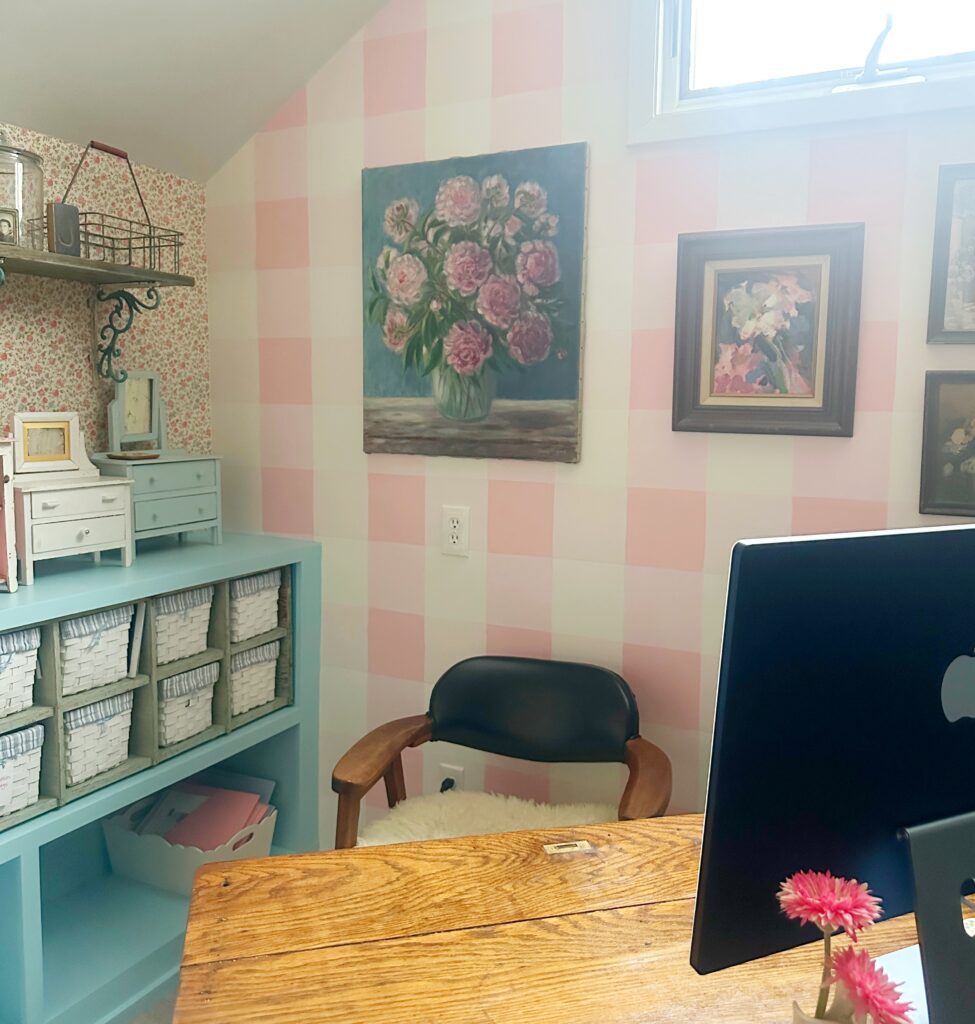
If you love this look too, I hope you will consider trying this out. It’s a bit tedious on a large wall, but the rewards are big! For smaller projects, check out this hand painted checkered tray I painted with a dry brush method. I also painted checks on furniture…yes, I have a very checkered past! LOL
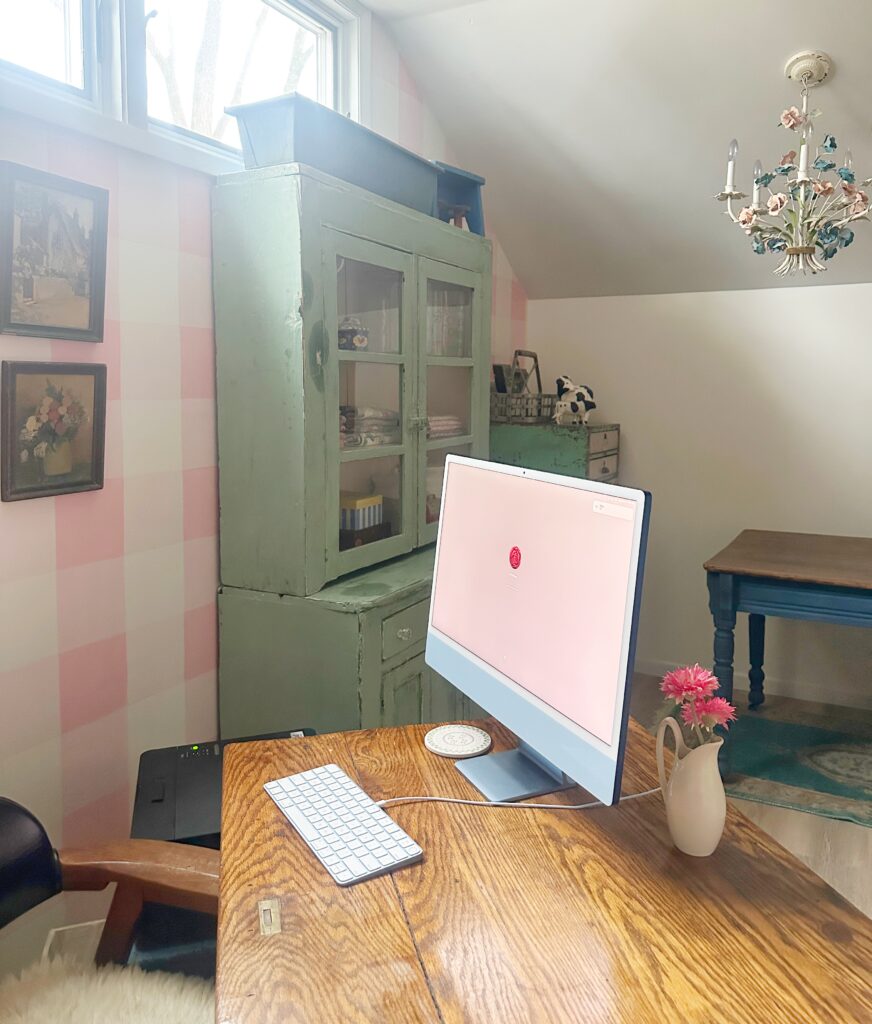
For more decorating and design inspiration, follow me on Pinterest.
