Change Up Home Decor to Work Better For You
Hello friend! Welcome to Sunday Soda Sip, where we sip and chat about things I’m dying to share with you. Grab your drink and let’s chat about how to change up home decor to work better for you.
The end of the week turned out to be productive for me, I hope you made some headway with home projects you want to do too. Here is how my week ended up:
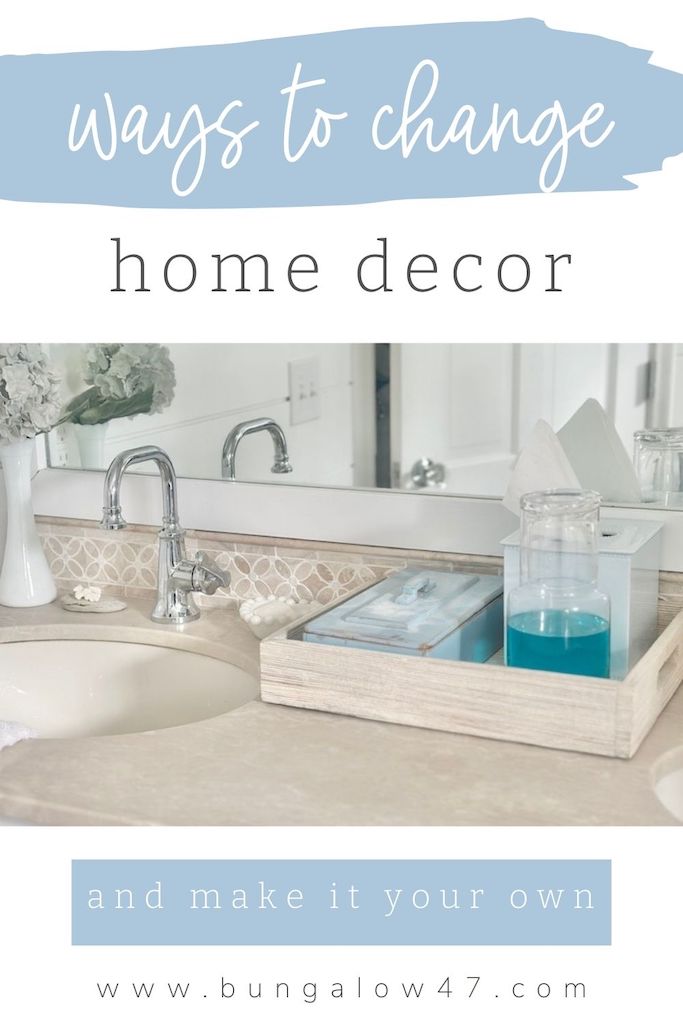
The not so perfect home decor find
After returning from watching my beautiful little granddaughters, I was ready to go! I have been wanting to make a bit of a change in our bathroom because I was sick and tired of having so much crap on the counters.
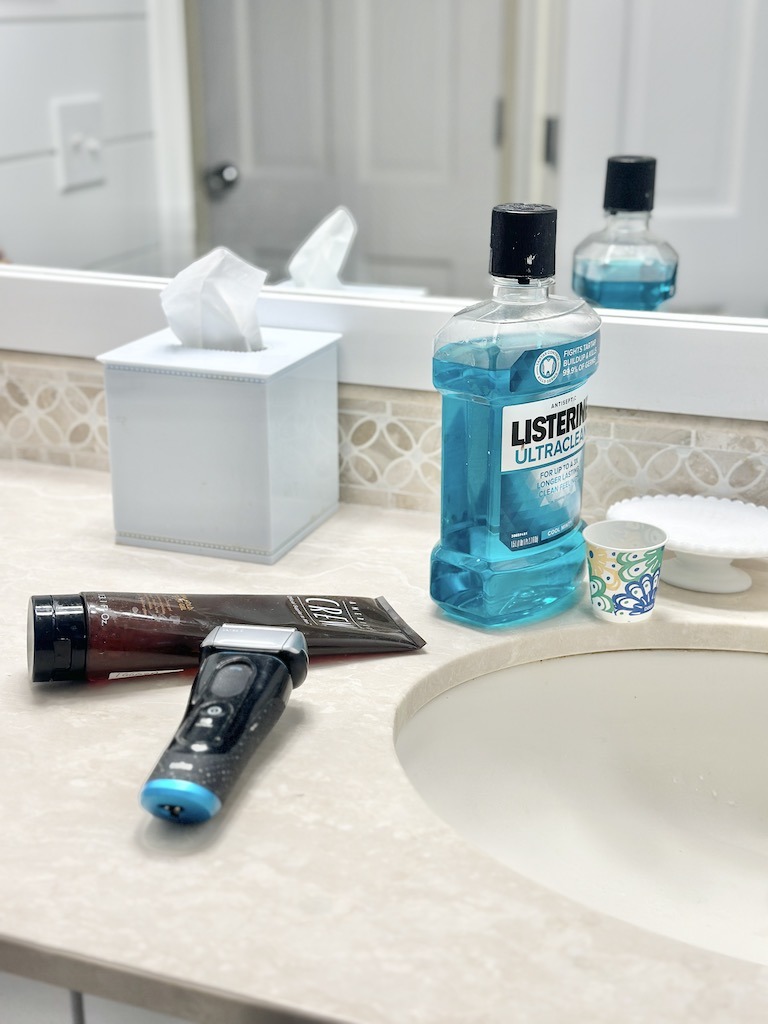
Although our overall primary bathroom is a decent size, the vanity is a bit shorter. Counter space seems a bit limited, especially with 2 sinks. And my hubby always leaves his giant Costco stuff out on the counter and I was done with that.
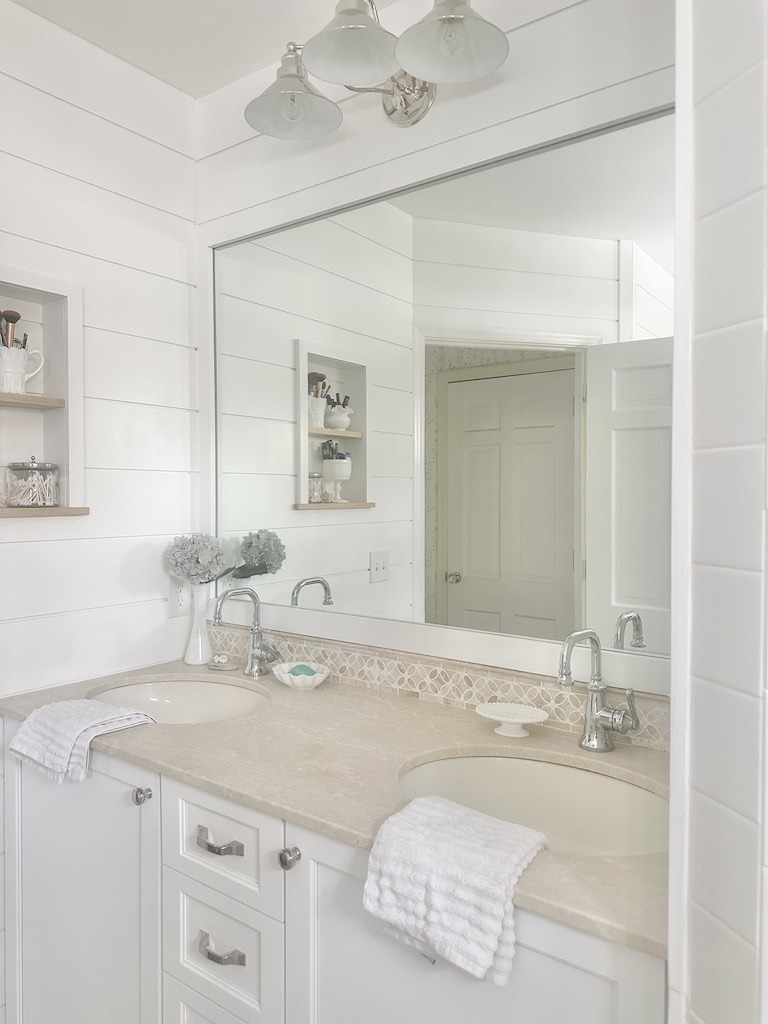
I have been on the hunt for a tray to kind of corral some items. After searching high and low for something that fit our coastal bathroom vibe and having no luck, I finally headed to Home Goods.
Of course, that never disappoints and I came home with the perfect tray. Or did I?
Time to make it right (for me)
Of course I found the perfect one, but I could tell it was wider than my area. But I was hopeful and brought it home.
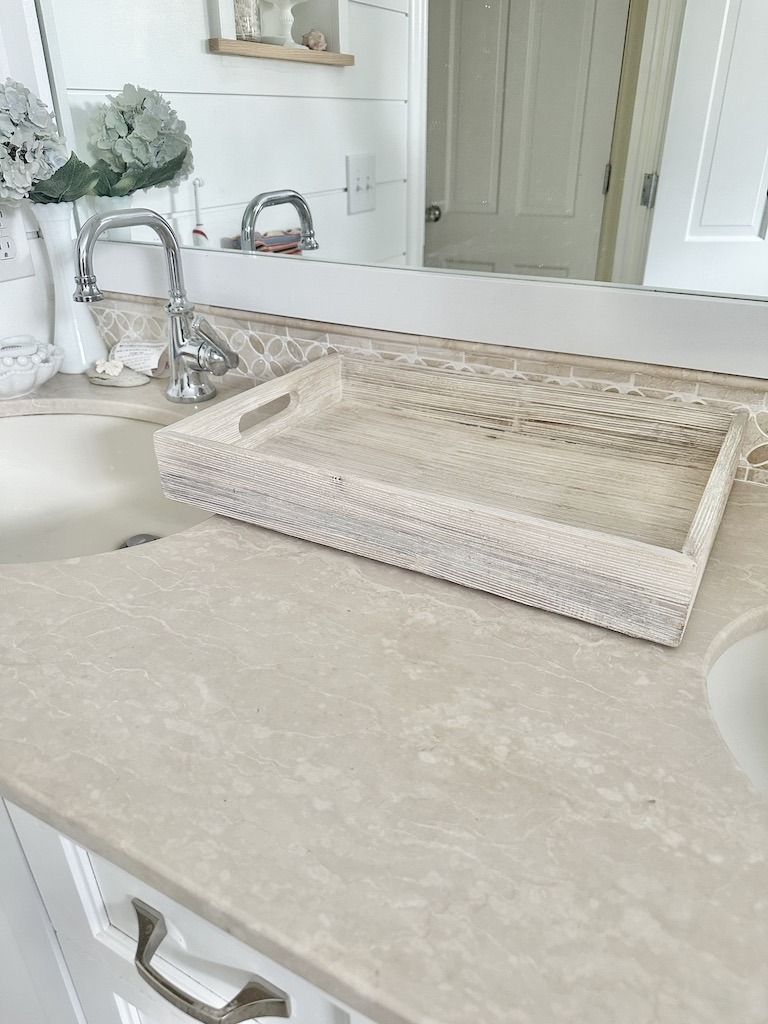
It ended up being too big, but ‘when there’s a Jill (will), there’s a way’ (family joke). I was done searching everywhere so I just decided to customize it. Luckily I have the tools for that.
There are so many times we might buy something that is right, but it isn’t. That’s when I begin to customize.
Don’t ever be afraid to “ruin” something, and make it your own. I have bought plenty of items in the past that were the perfect size, but not the right color. Time to paint it.
Or the best furniture, but not the right fabric. Change it.
This was the perfect tray, just not the right size. So I headed over to my favorite saw and had a ‘make it work’ moment.
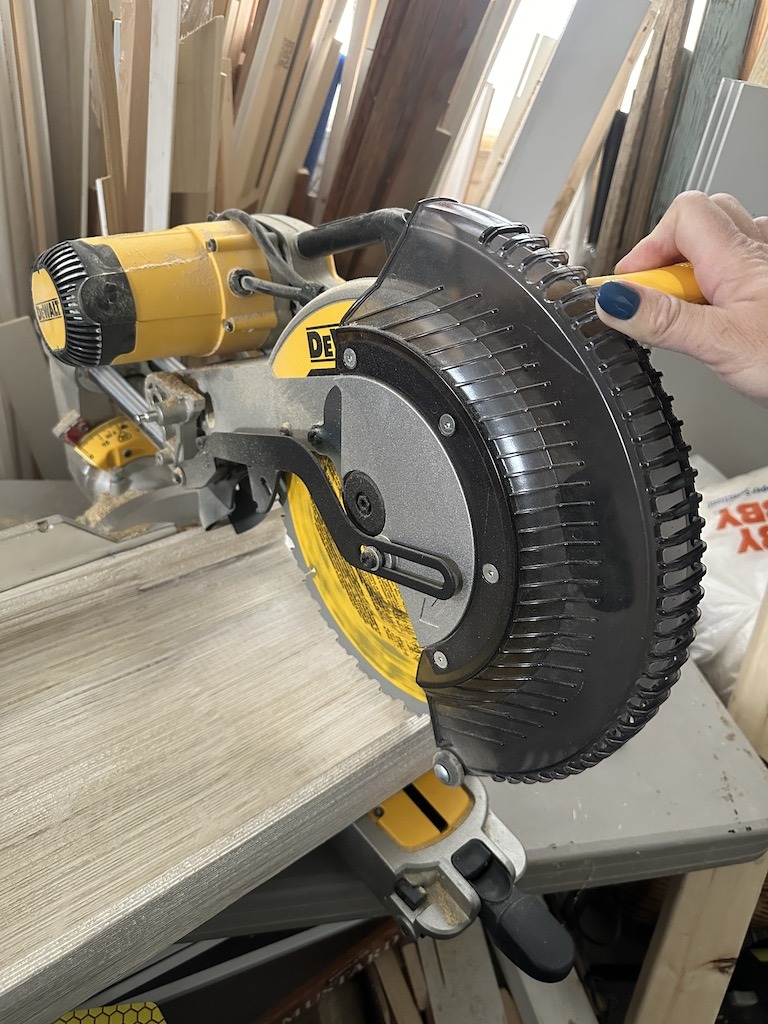
What’s the worse thing that can happen? If I ruined it completely, I was out the $17 I paid for it. But it all worked out.
Easy peasy steps to a custom size
I first cut the end off. That would get glued back onto the tray again, after I cut away the excess surface that I didn’t need.
I did this step first because with this big saw, it’s easier to cut something small off a bigger piece instead of the opposite. Weird, I like my fingers. So I tend to take extra caution so I don’t cut them off, accidentally.
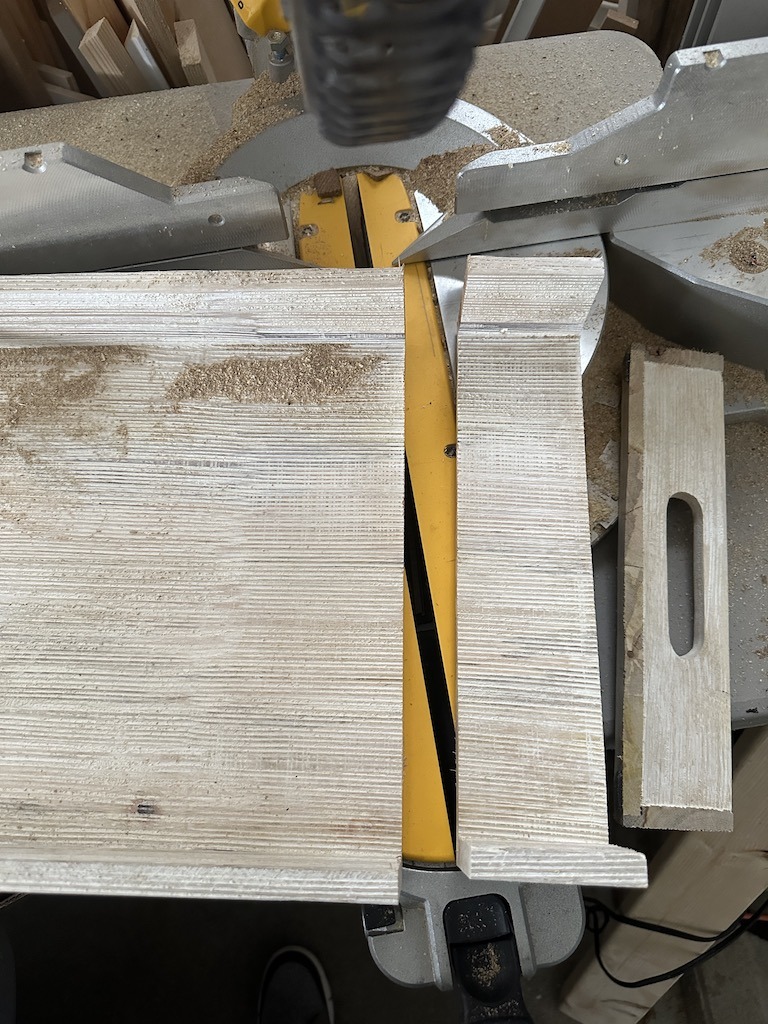
Next, I cut away the inches that I would not need. This was now gonna fit.
I was going to get out my nailer, but didn’t feel like it. So I just decided to use wood glue and attach it back on. It would just be sitting on my counter anyway, so that would hold it plenty good.
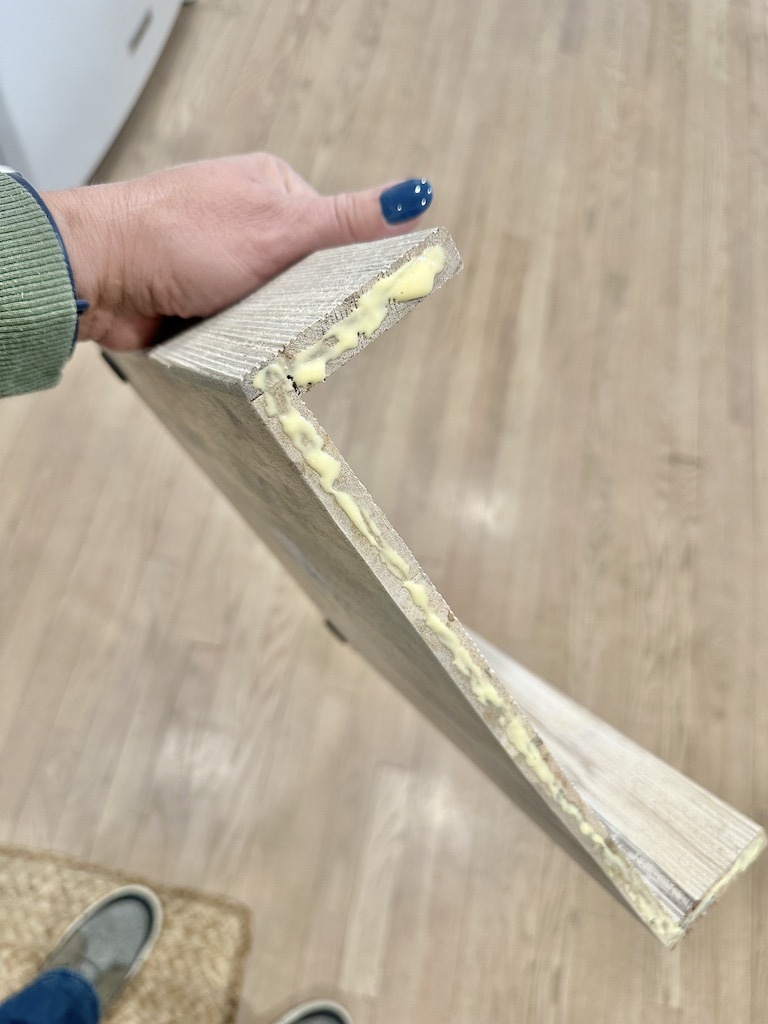
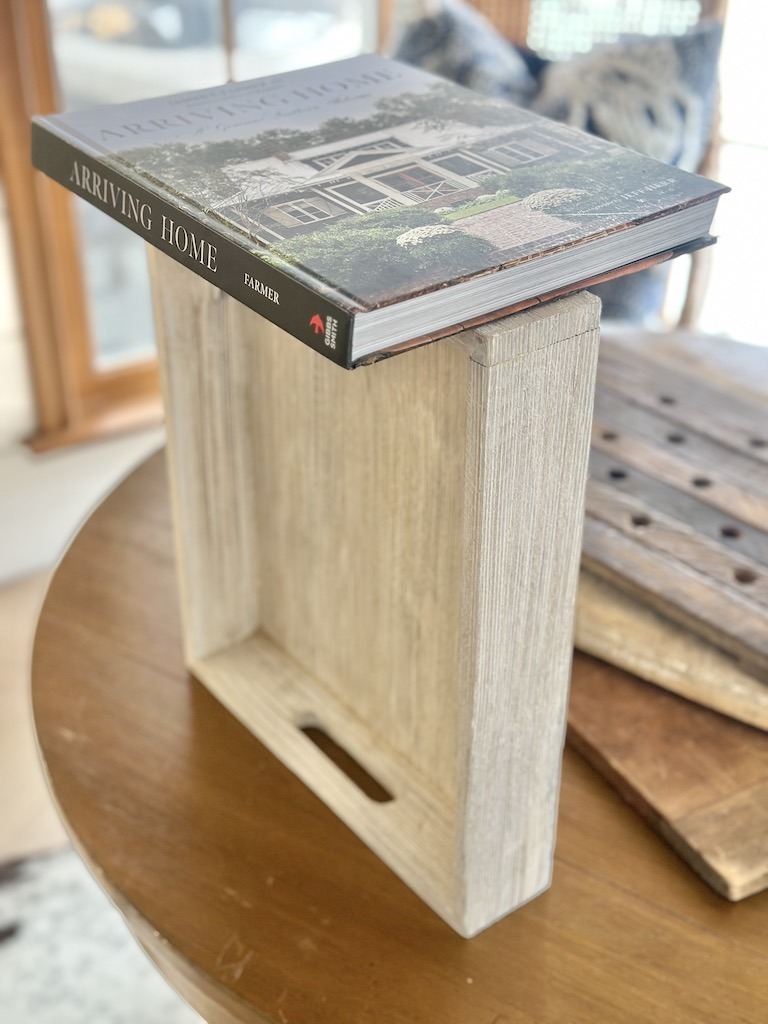
Added a heavy book for some pressure and now we wait. You can tell, my DIY style is ‘use what’s around’ and just all over the place in general.
Ready to restyle the bathroom vanity
The tray was now the perfect size. My fave tissue box was still a good fit. I also added a vintage blue box to hide some of my makeup that doesn’t fit in my cubby.
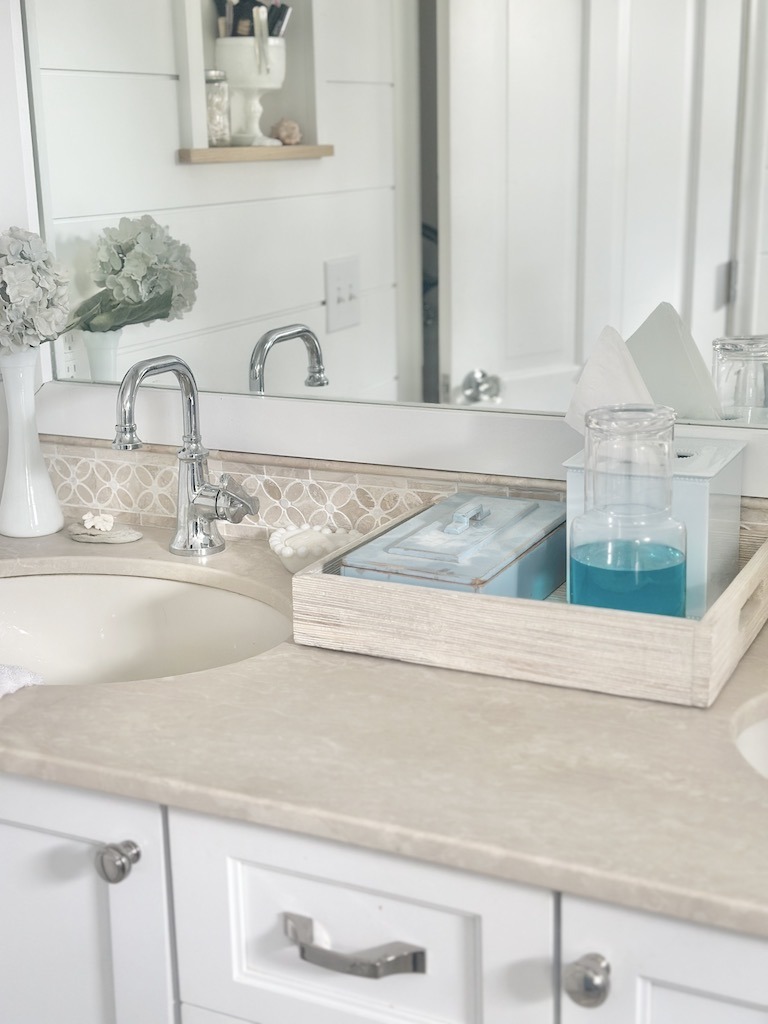
My milk glass collection gets used all over the house, and I have several pieces in the bathroom. I like to have some things out, as long as they look good. If I see it, then I am reminded to use it.
Now to get rid of that enormous Costco sized Listerine bottle that is ALWAYS out!
I ordered this water carafe and glass set from Amazon and filled it with some mouthwash. Yay! It’s blue! The giant bottle can now hide under the sink for back stock.
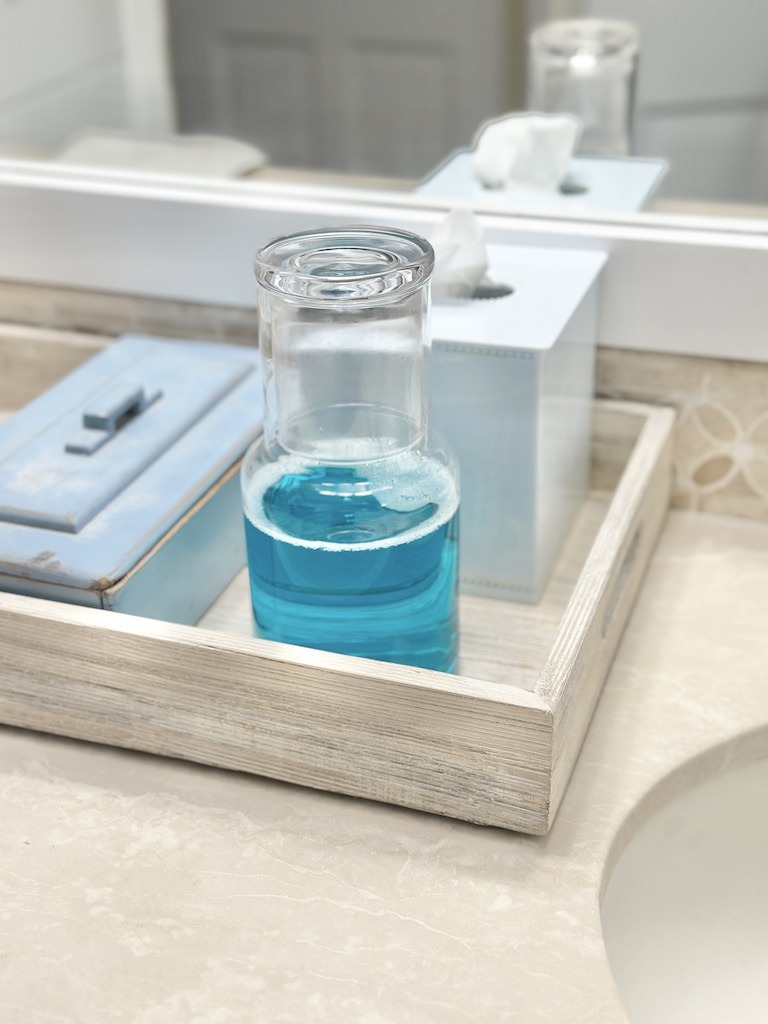
I love this glass carafe! It was only about $18. I want to get one for my bedside, so I can stop having plastic water bottles all over my nightstand. This will be so much prettier.
This one is the perfect weight. I bought another option, and had to return it. The glass was sooooo heavy, even without any liquid. This one is perfect!
When something doesn’t work for you, change it up. I love custom, it feels so boujee and bespoke.
If a container is ugly of a product you use frequently, put it in something stylish! This way it can stay out and be handy, meanwhile looking good with your home decor.
Drapes or closet doors?
Next up, I finally decided to put up the drape to the entrance of my closet.
Not sure if you ever saw my post about how I made a closet for me from nothing! Well, I did steal the space from a neighboring room. But I needed a closet and there wasn’t one. So I made one!
The entrance was off the bathroom and I never put a door on it because it was very narrow and I was utilizing every inch. Besides, I keep it pretty and organized, so it was okay that way.
Make a change, make it work for you
But closets don’t always need doors, you know? They can be removed and made into something else. Like that time in our last house I opened up a hall closet and made a built-in desk to be ‘command central’ in the house.
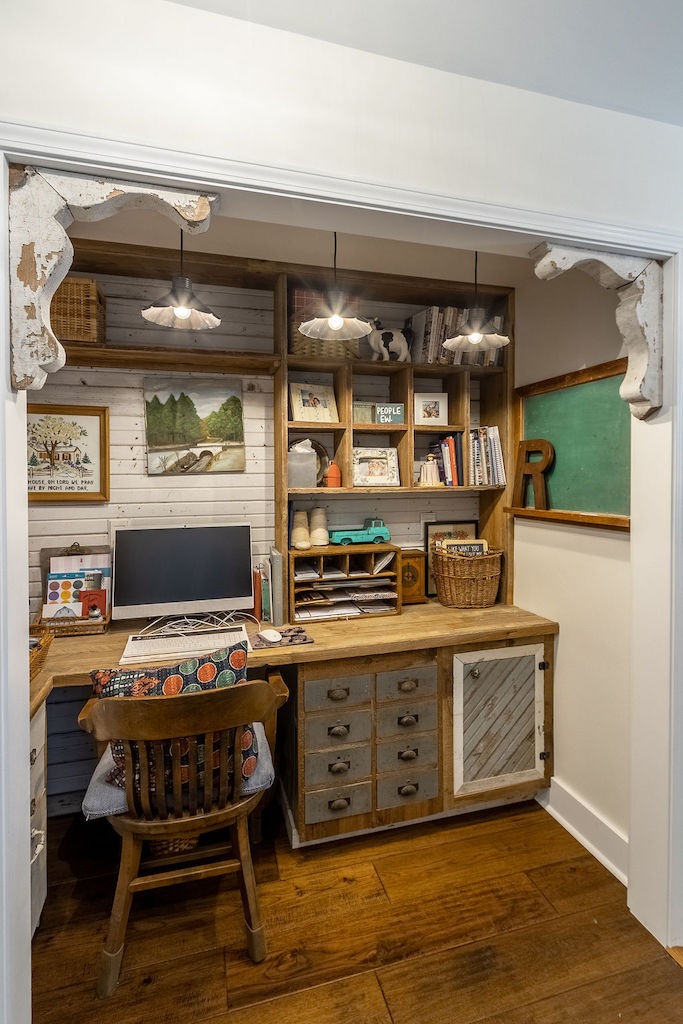
Anyway, I didn’t want a door so I opted for a drape. Good thing I finally decided to hang it. I have had it for like 3 years. Never hung it. Just sitting there in the package. I used a single panel from Pottery Barn.
I finally bought the wood rod this week at Home Depot while I was out running errands. It was easy to install, and put the drape up. I love these wood pocket rods. They match my other wood details in the room.
I even hemmed the curtain so it fit the space nicely! I’m on a roll this week!
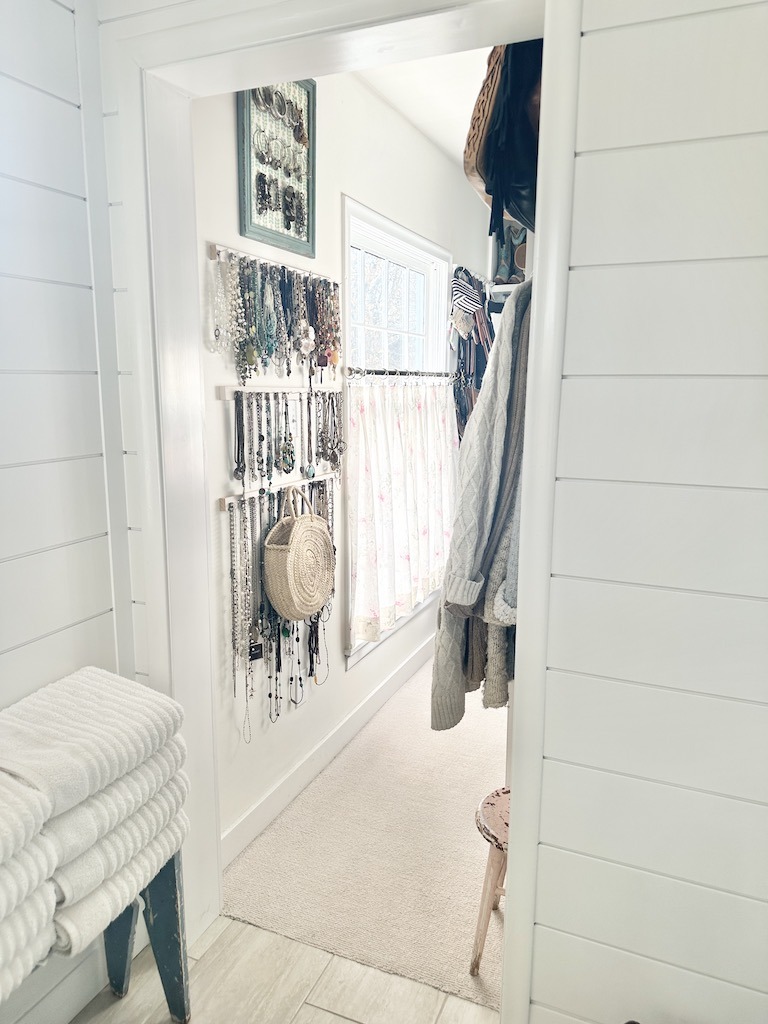
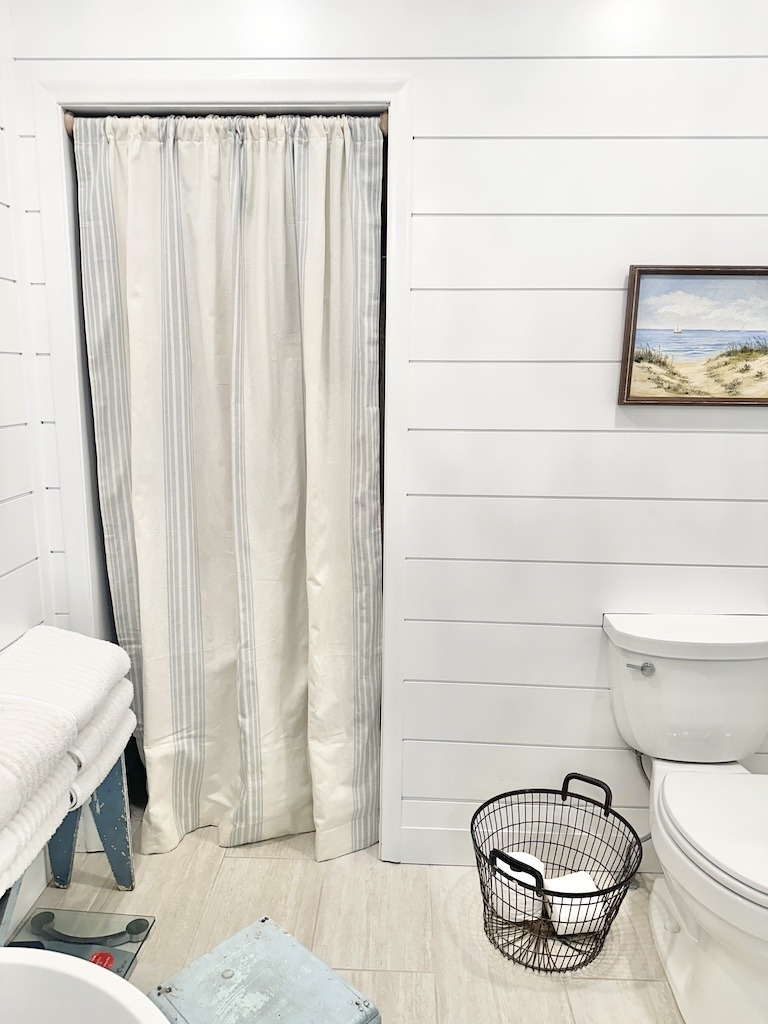
If you are ever tired of your closet doors, remove them! However, I would store them somewhere in the garage or basement or even under a bed incase you ever change your mind. Or sell your house.
Home decor decisions that take forever
Last but not least, the wallpaper I ordered for our primary bedroom showed up. Here’s where I got it.
Here’s a sneak peek of how it looked going up. I cannot even tell you how in love with it I am!
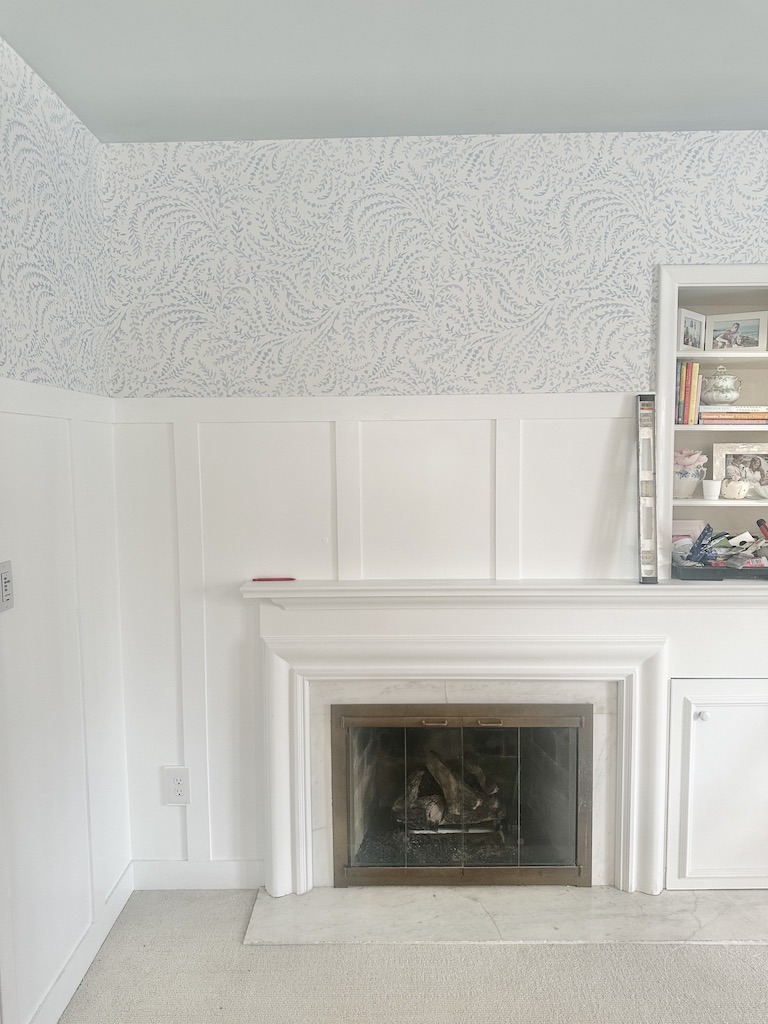
Styling the room still needs to happen. There are a few other projects to finish up, and then will show it off. Update: view the completed room here.
I realize that I am a wallpaper freak, and not everyone is. But my dude, I cannot tell you how amazing it looks. The room is sooooo happy, it was just what it needed.
Blue and white style
Since our house is a Cape Cod style and the whole entire place is decorated in blue and white, this room is no different.
It was so hideous when we bought the house. It was painted in the most depressing shade of dark peach. Yuk! Now, it’s gorgeous!
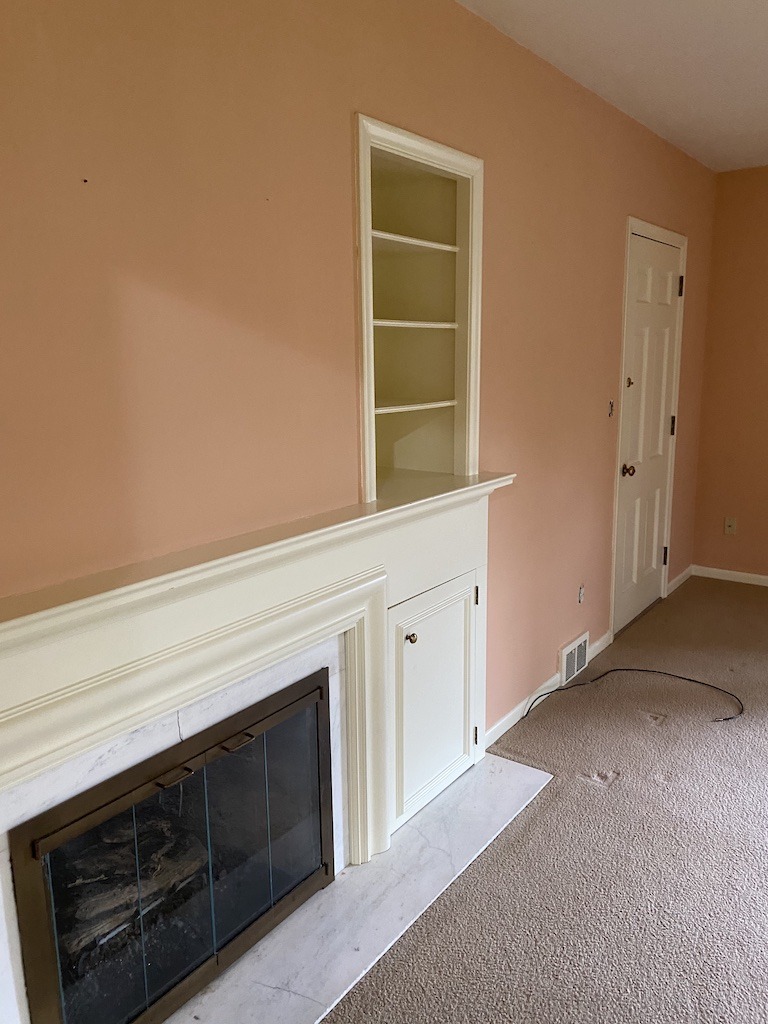
Although this project took me the longest to pull the trigger on, it is finally done! Sometimes things take a bit longer.
Don’t be afraid to take your time on something to get it right and fabulous. It’s way better than just settling for something you aren’t really excited about just to get it done. You deserve to have what you really want. Well, within budget and all that.
More change to come
I am ready to go on a sprint and get some things done before spring gets here. When it arrives, I really want to be in the yard this year and there is so much to do still.
I hope y’all had a great week and can find some inspiration here to get a few things done that have been on your list. It feels good to have completed the biggest part of my primary bedroom project finally.
Now, back to my TO DO list. Hope you have a great week.
If you need some inspiration, follow me on Pinterest. I have been pinning a lot lately, so I have my inspiration boards full of some goodness.

Love it!