Budget Decoupage Frame With Napkins
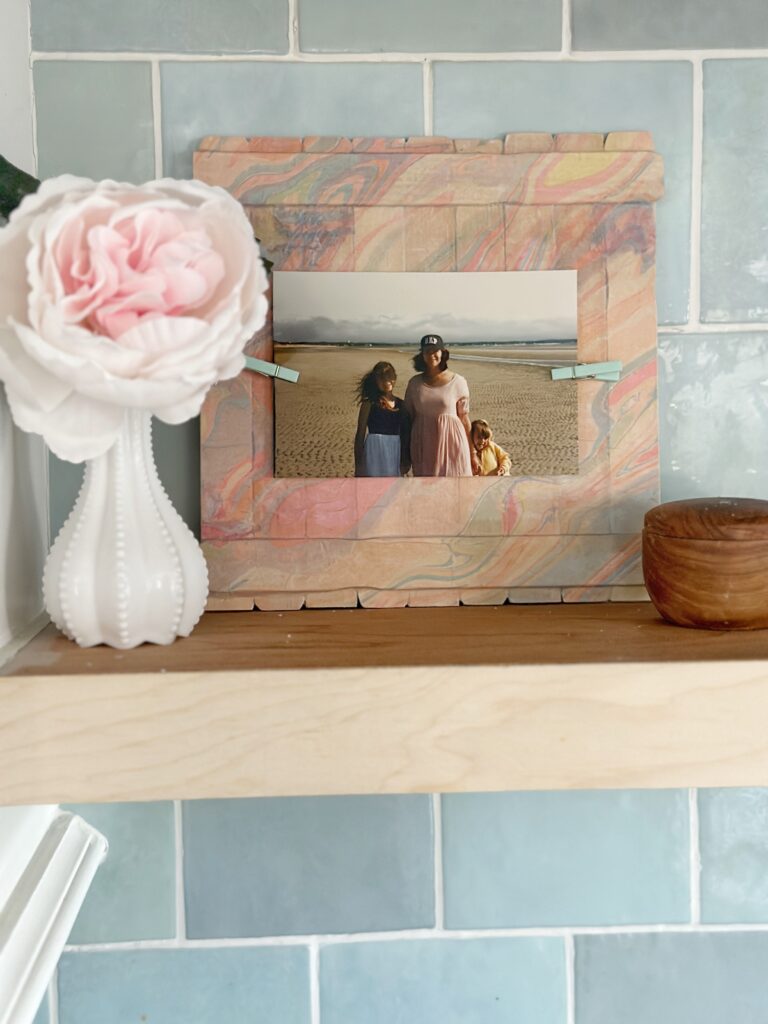
Have you ever wanted to try to decoupage with paper napkins? It’s super easy and such a cute craft. I’m going to show you how to make a budget decoupage frame with napkins and paint sticks.
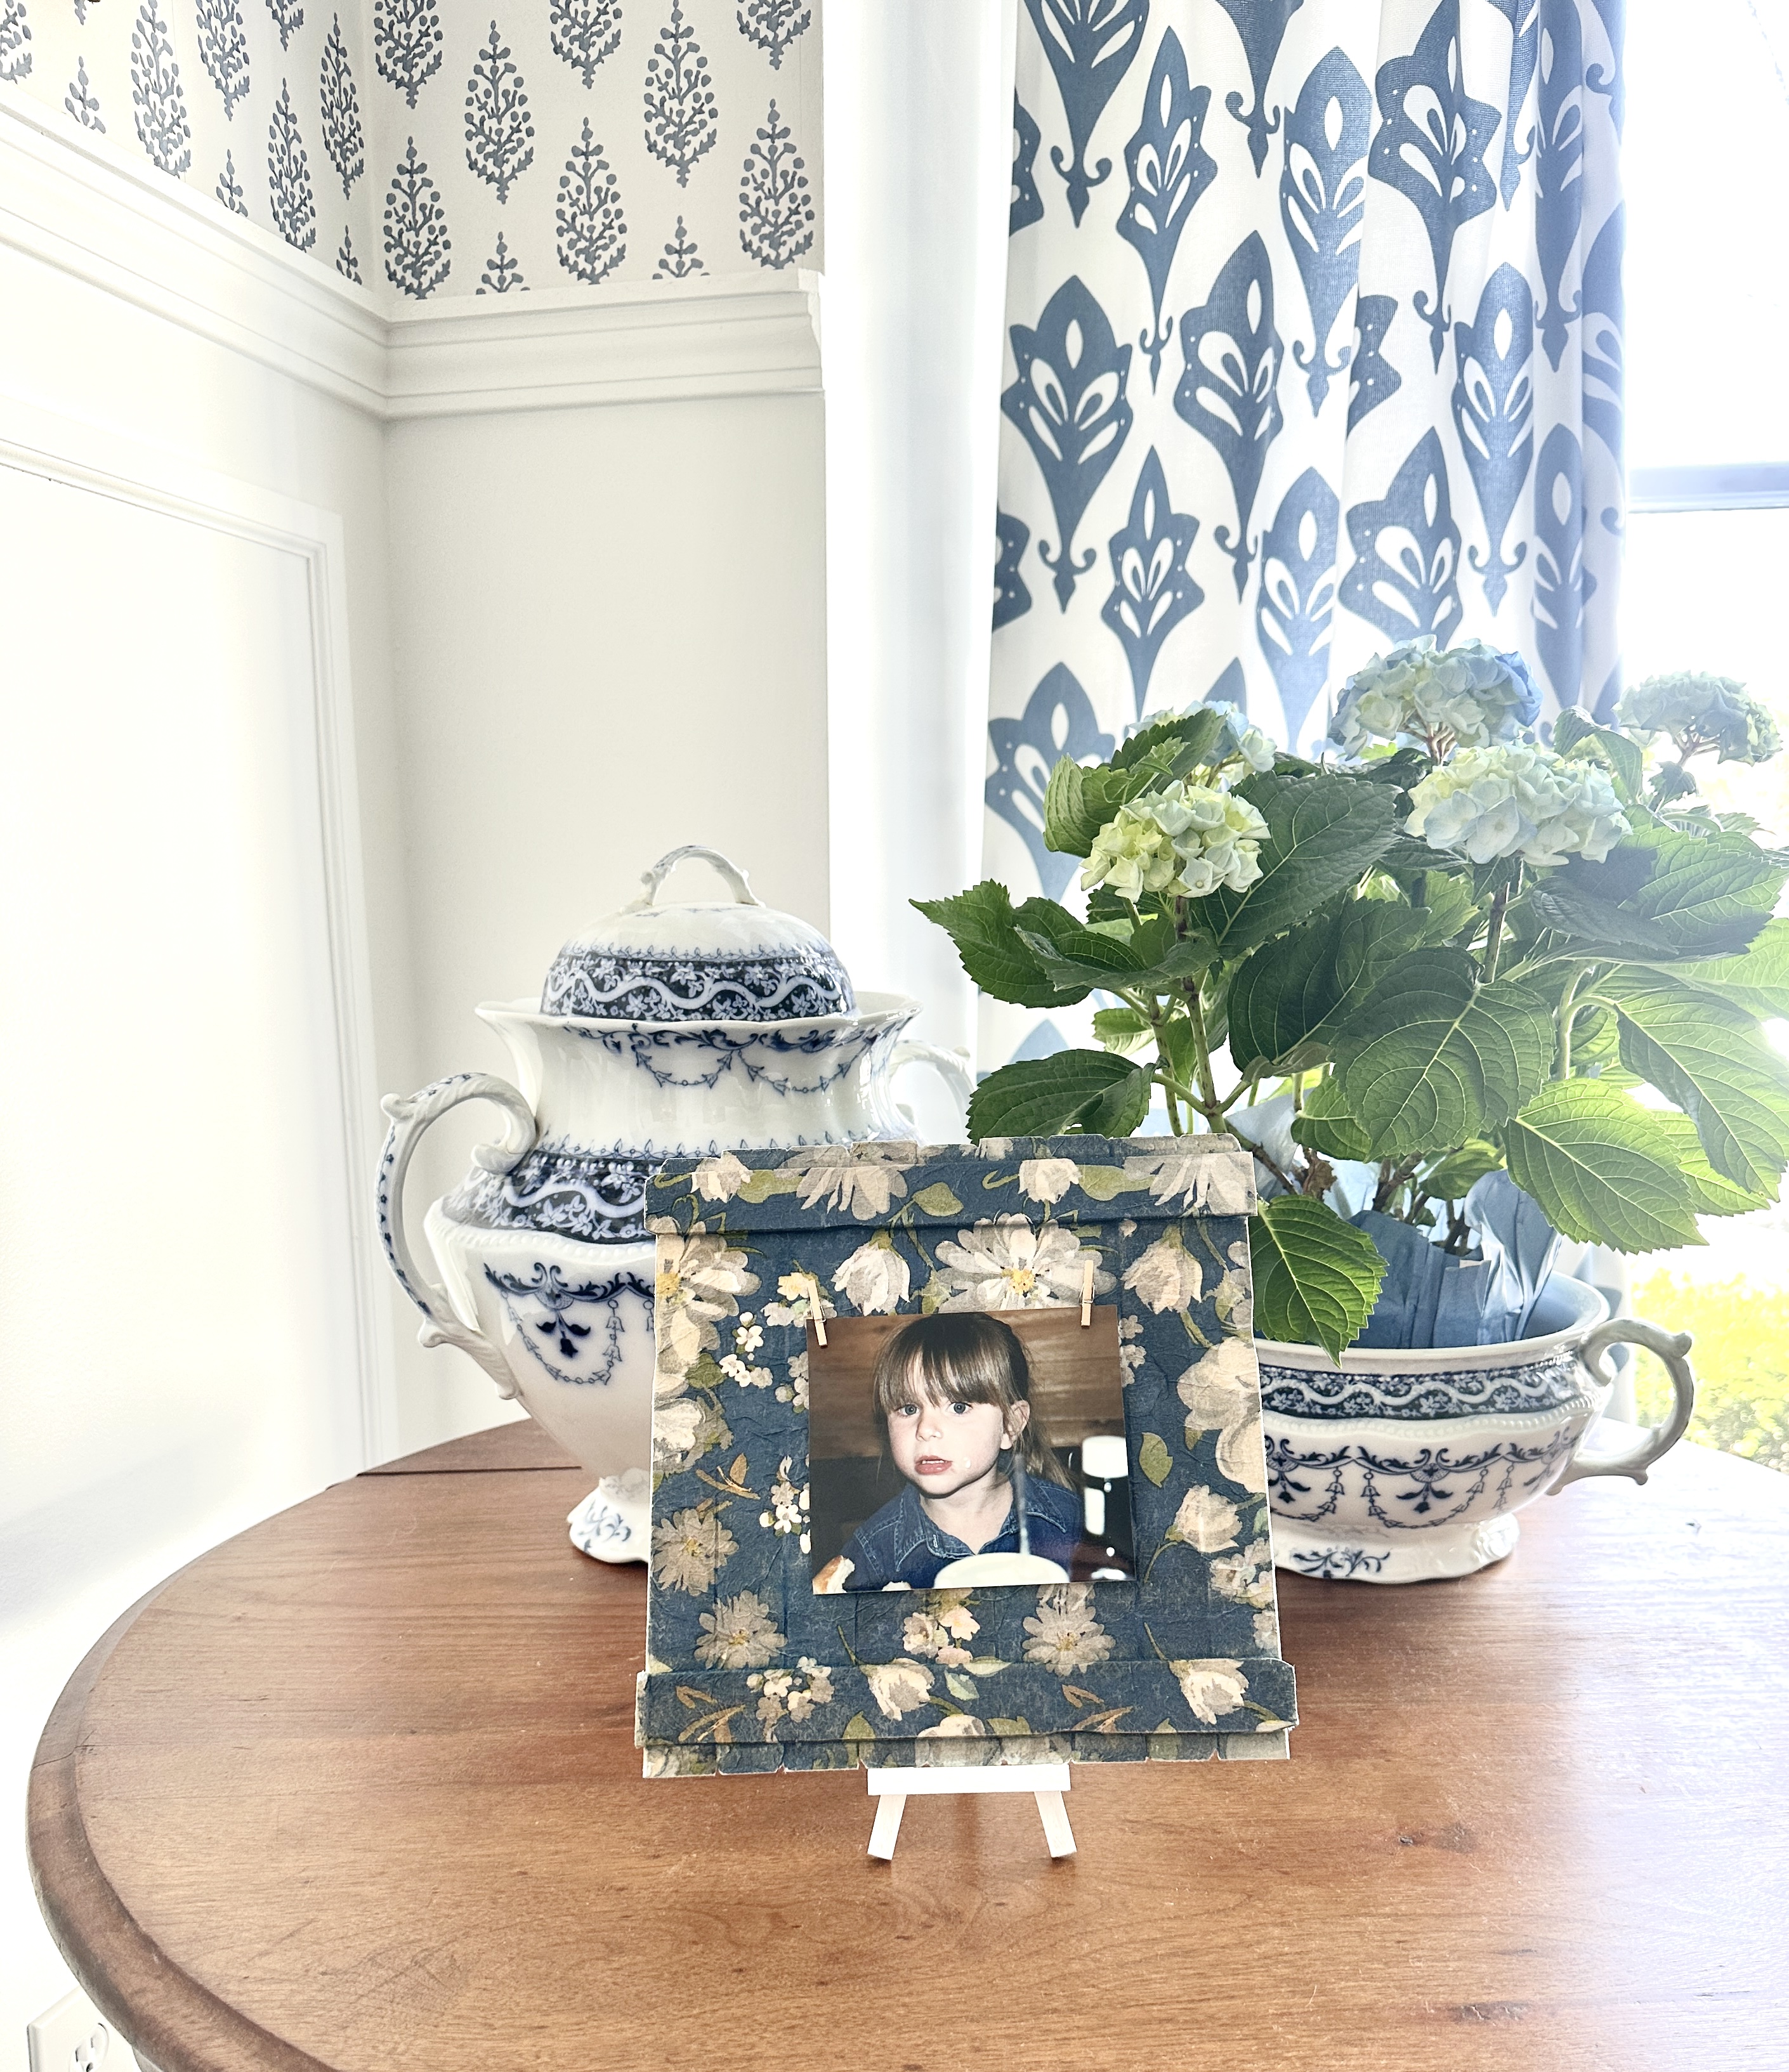
This craft would be a unique gift for Mother’s Day, a birthday, ‘just because’ for a friend, or even to keep yourself.
What Makes This Budget?
I wanted to make a cute and fun craft that could still be done if you were tight on funds (isn’t everyone these days?) This frame was constructed out of paint sticks that we had leftover from a brand collab we did.
We have tons and I thought this would be a great way to use some of them. I even have budget friendly kits available to make this frame, you can shop here.
You can also use these techniques to decoupage napkins onto wood or other surfaces. I will share some tips how to carefully decoupage with napkin layers or other thin paper.
Paper napkins are a great way to get pattern onto wood. Napkin decoupage is easier than painting a pattern, especially if you don’t possess that skill.
This week I am so happy to be a part of a blog hop called The Cozy Creative Collaborative April Blog Hop with some super talented ladies! If you’re coming from Kelly at The Tattered Pew, welcome! I am so happy you are here. If it’s your first time here, you can read more about my story here.
This week we are all working on some fun crafts that would be great for Mother’s Day or anytime. Kelly is making some beautiful framed pressed flowers! I can’t wait to try it, they look so pretty. So let’s check out these paint stick frames I did…
What You’ll Need
Here is what I used to make these cute napkin decoupage frames. If you are going to decoupage napkins onto a different surface, modify as needed.
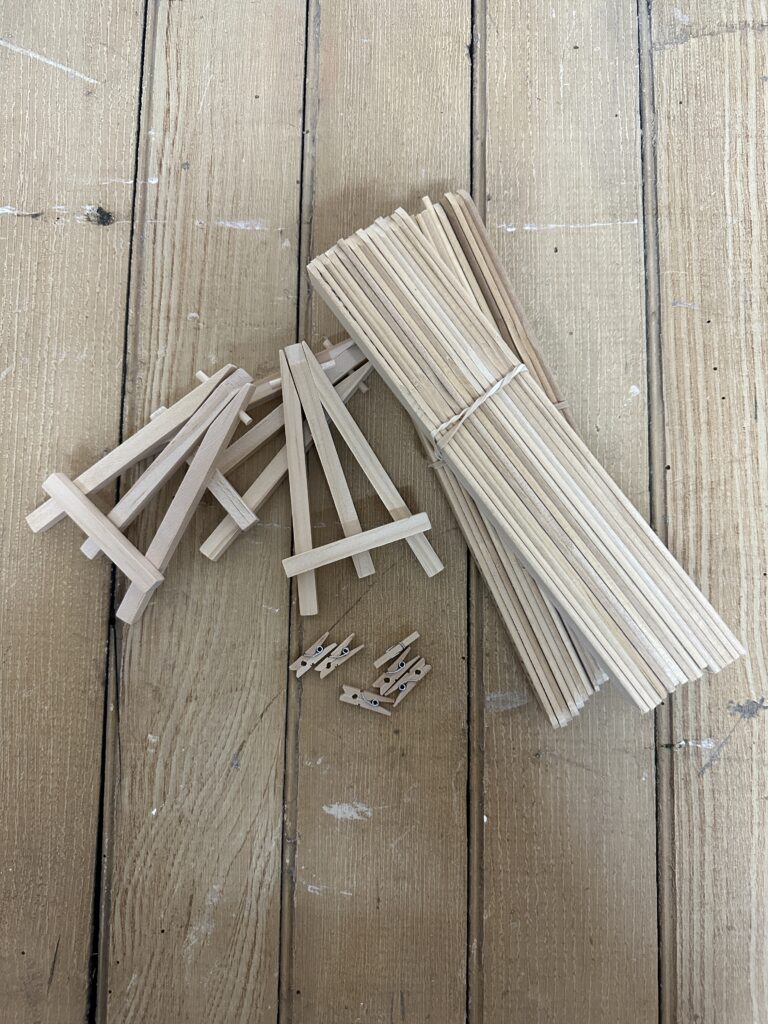
Paint sticks
I used 11 paint sticks to create this frame that can hold a 4 x 6 or 5 x 7 photo.
Wood Glue
This is used to attach the sticks together. This would not be needed if you were going to decoupage napkins onto a different surface.
Bungalow 47 Matte Finish
I use our Matte Finish for decoupaging napkins and other thin paper onto surfaces. I prefer it because it is lightweight and works easier for me than Mod Podge. Of course, Mod Podge can be used but make sure you are purchasing the finish you prefer. It comes glossy or satin.
I’m not a huge fan of the glossy look, which is why I like to use our finish because it dries matte. You can also use any brand of decoupage adhesive.
Paint
Of course, I used our Bungalow 47 chalk and clay Furniture Paint to paint the back of the frames and the mini easel. This also covered up the logo that was printed on the paint sticks, since I was essentially using free sticks to make my project budget.
You can also use acrylic paint, or other paint you have handy that matches your paper napkins.
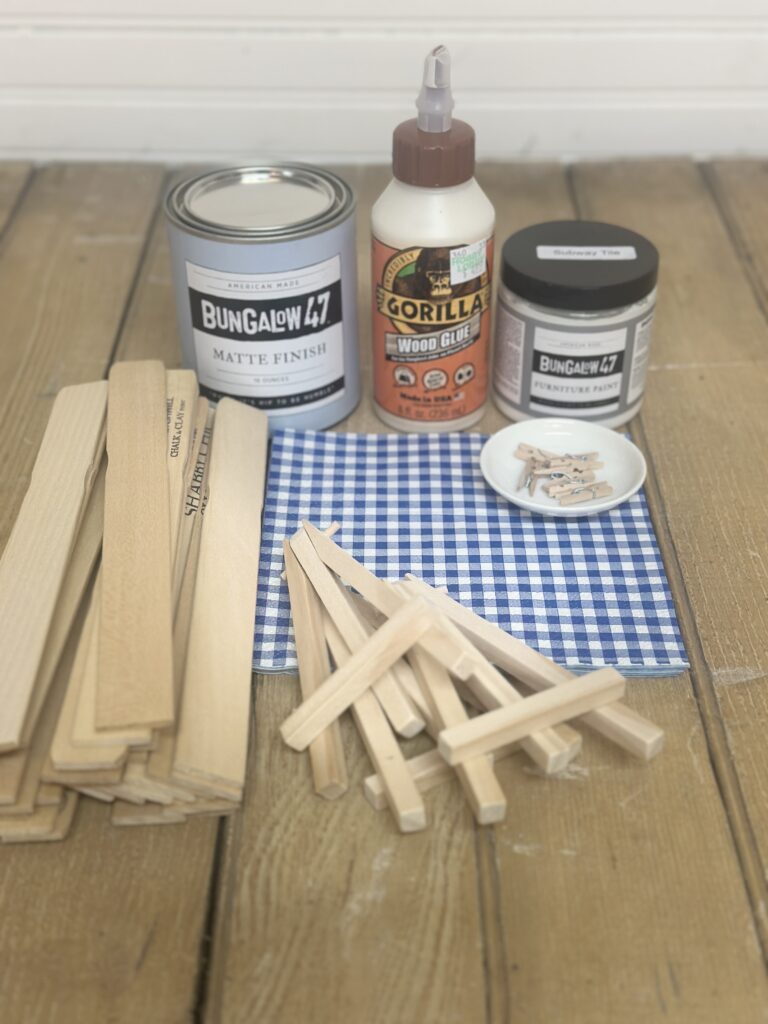
Napkins
The thing that makes these projects so cute is using a printed paper napkin. You can also use patterned tissue paper, thin fabric or scrapbook paper, or what they call paper ‘guest towels’ which are essentially paper napkins, just sized differently. If you like the ones I used, you can buy them by the piece here when you purchase a kit.
You can usually find napkins in checks, polka dots, florals, or other designs. Make sure you purchase a size that will work for your project. Many patterns can be pieced together. Check your local dollar store too, as pattern napkins can get expensive.
Other Materials for Finishing
I added mini clothes pins to hold my photo, along with a mini wood easel to have it stand on it’s own. You can also attach a small adhesive loop hanger on the back for hanging on a wall. Of course, your frame can be propped up against a wall as well.
You can also showcase something other than a photo, such as; a beloved family recipe card, printed quote, or any meaningful memento. Use a larger clothes pin to hold bigger items.
Additional Decoupage Materials Needed
You will also need handy; paint brushes or a foam brush, a glue gun, and a sanding block. I’ll explain more throughout this post.
What to Decoupage?
The fun thing about decoupaged napkins is you can seriously decorate almost anything with it. Making a frame requires a smooth surface, simply for the flat backdrop.
When using a decoupage medium, you can apply mod podge or matte finish to any surface. You are only limited by your own imagination. Think of the hundreds of decoupage projects you could do!
You can decoupage tile coasters, clay pots, plastic plant pots, watering cans, pretty much anything from the dollar tree, and more.
For something super budget friendly, look around your house. I’m sure you can find other objects you have that would make great decoupage projects with napkins.
Making the Paint Stick Frame for Your Paper Napkins
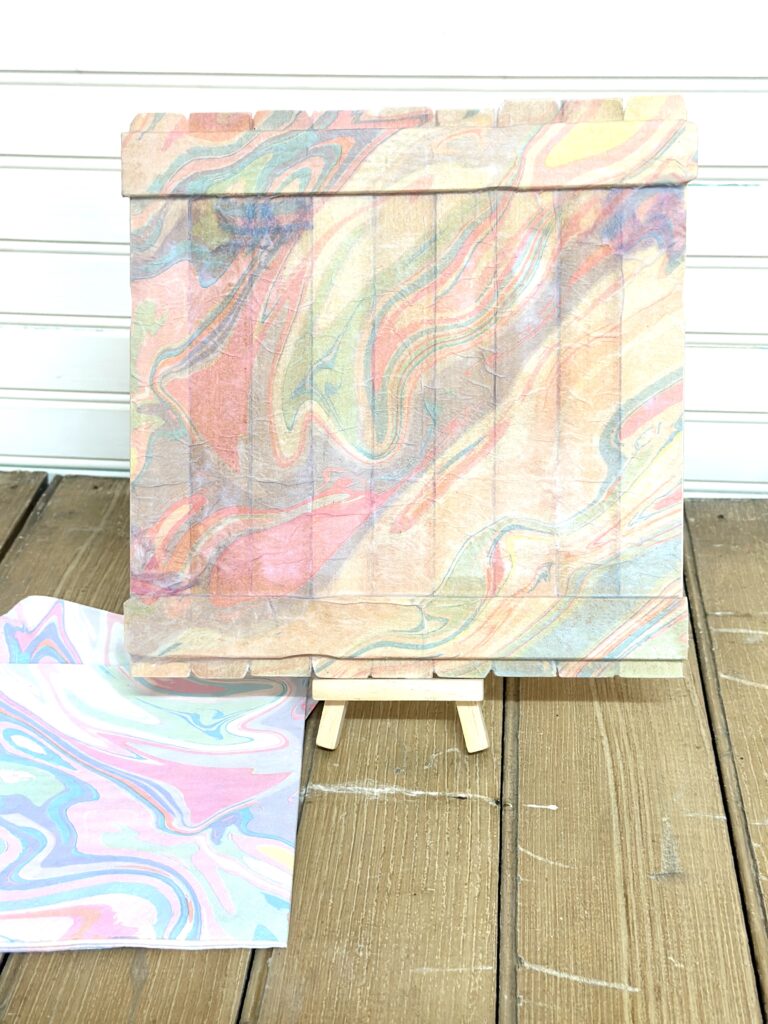
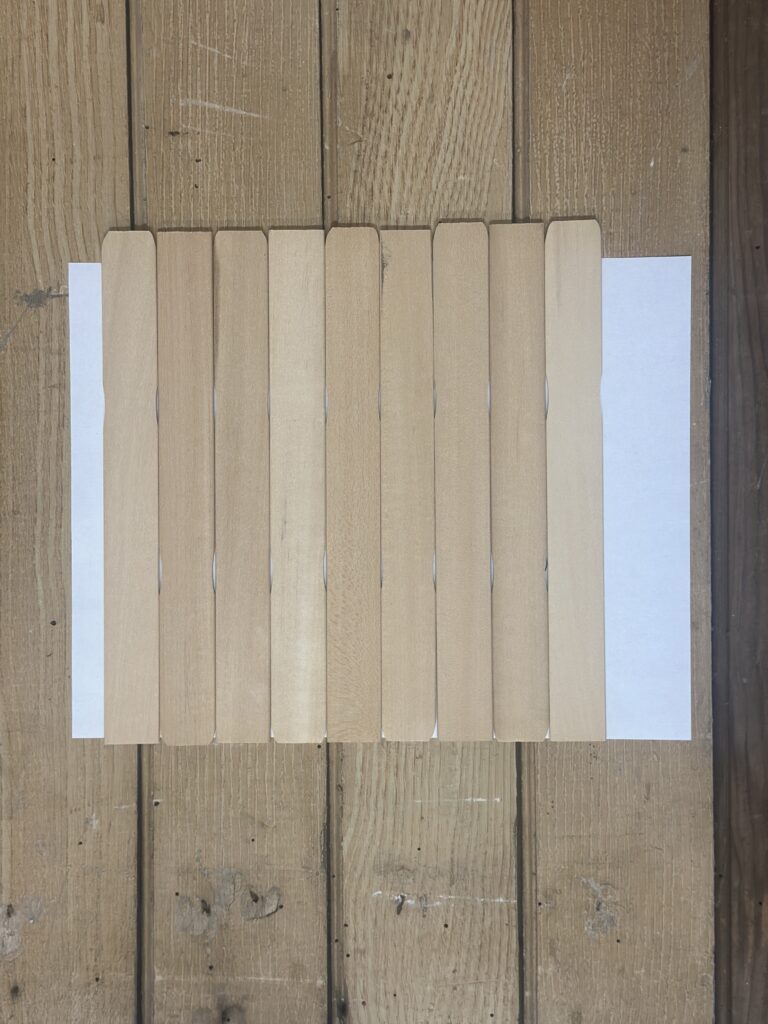
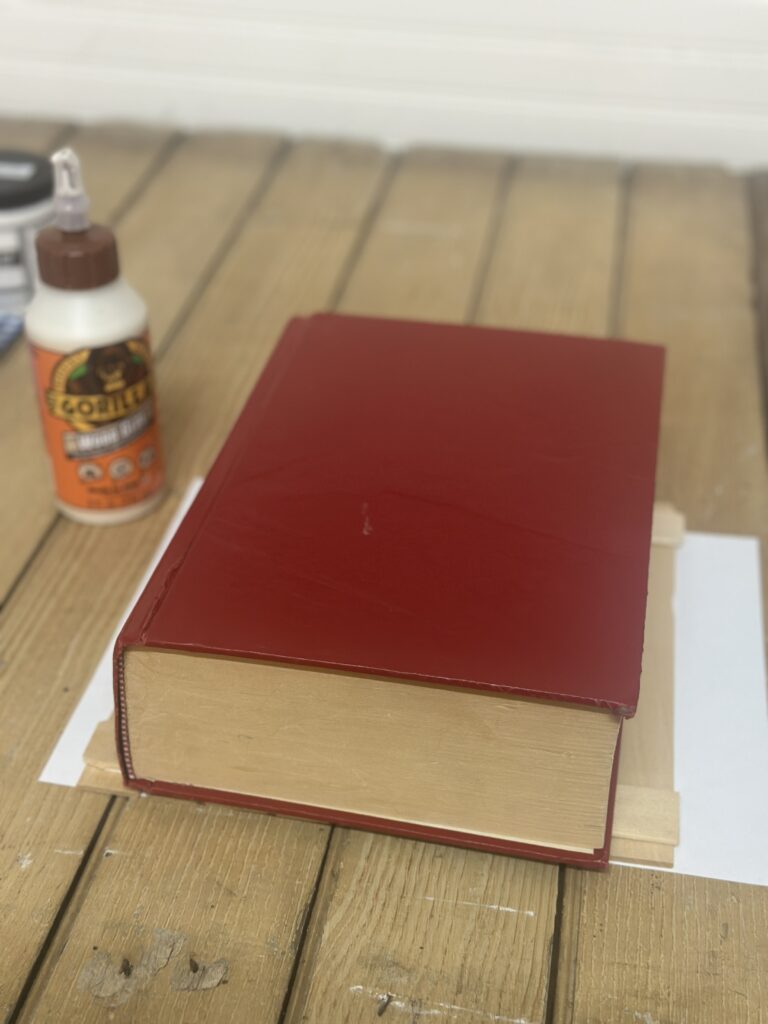
Line out 9 paint sticks, end to end, alternating the top indentation. Use a stick to straighten one bottom edge of the grouping. This will be the bottom and allow wherever your frame sits, to do so evenly.
Apply glue to the back of two sticks, and place horizontally across the top and bottom of the sticks to form a picket fence look. I placed these about 1/2″ from the top and bottom edge. Allow to dry before doing your napkin decoupage.
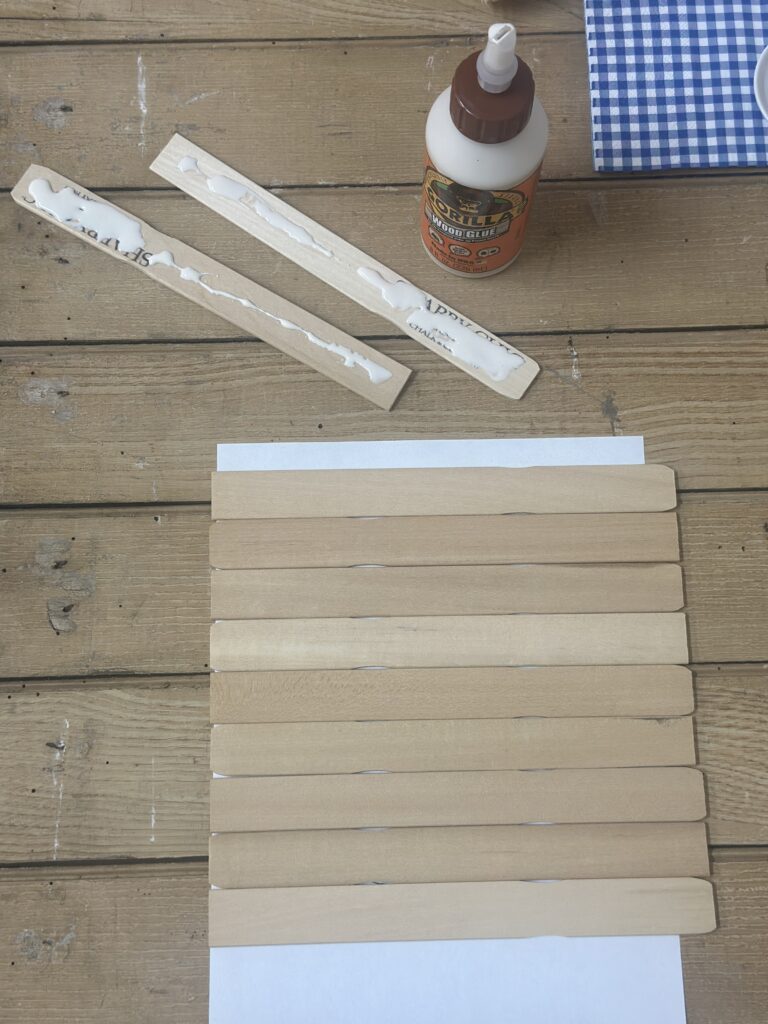
Place something a bit heavy on the frame while it dries, to keep the sticks tight together. I find this Gorilla adhesive holds tight and is sturdier than using a hot glue gun.
Learn How to Decoupage Napkins Easily
First, prepare the surface you are working on with Saran Wrap, wax paper, or other plastic wrap that your decoupage medium will not stick to.
I used paper, then immediately lifted the project off the paper surface. If not removed immediately from a paper surface, it will stick to your backing, which isn’t ideal. You want something to protect your work surface from the stickiness.
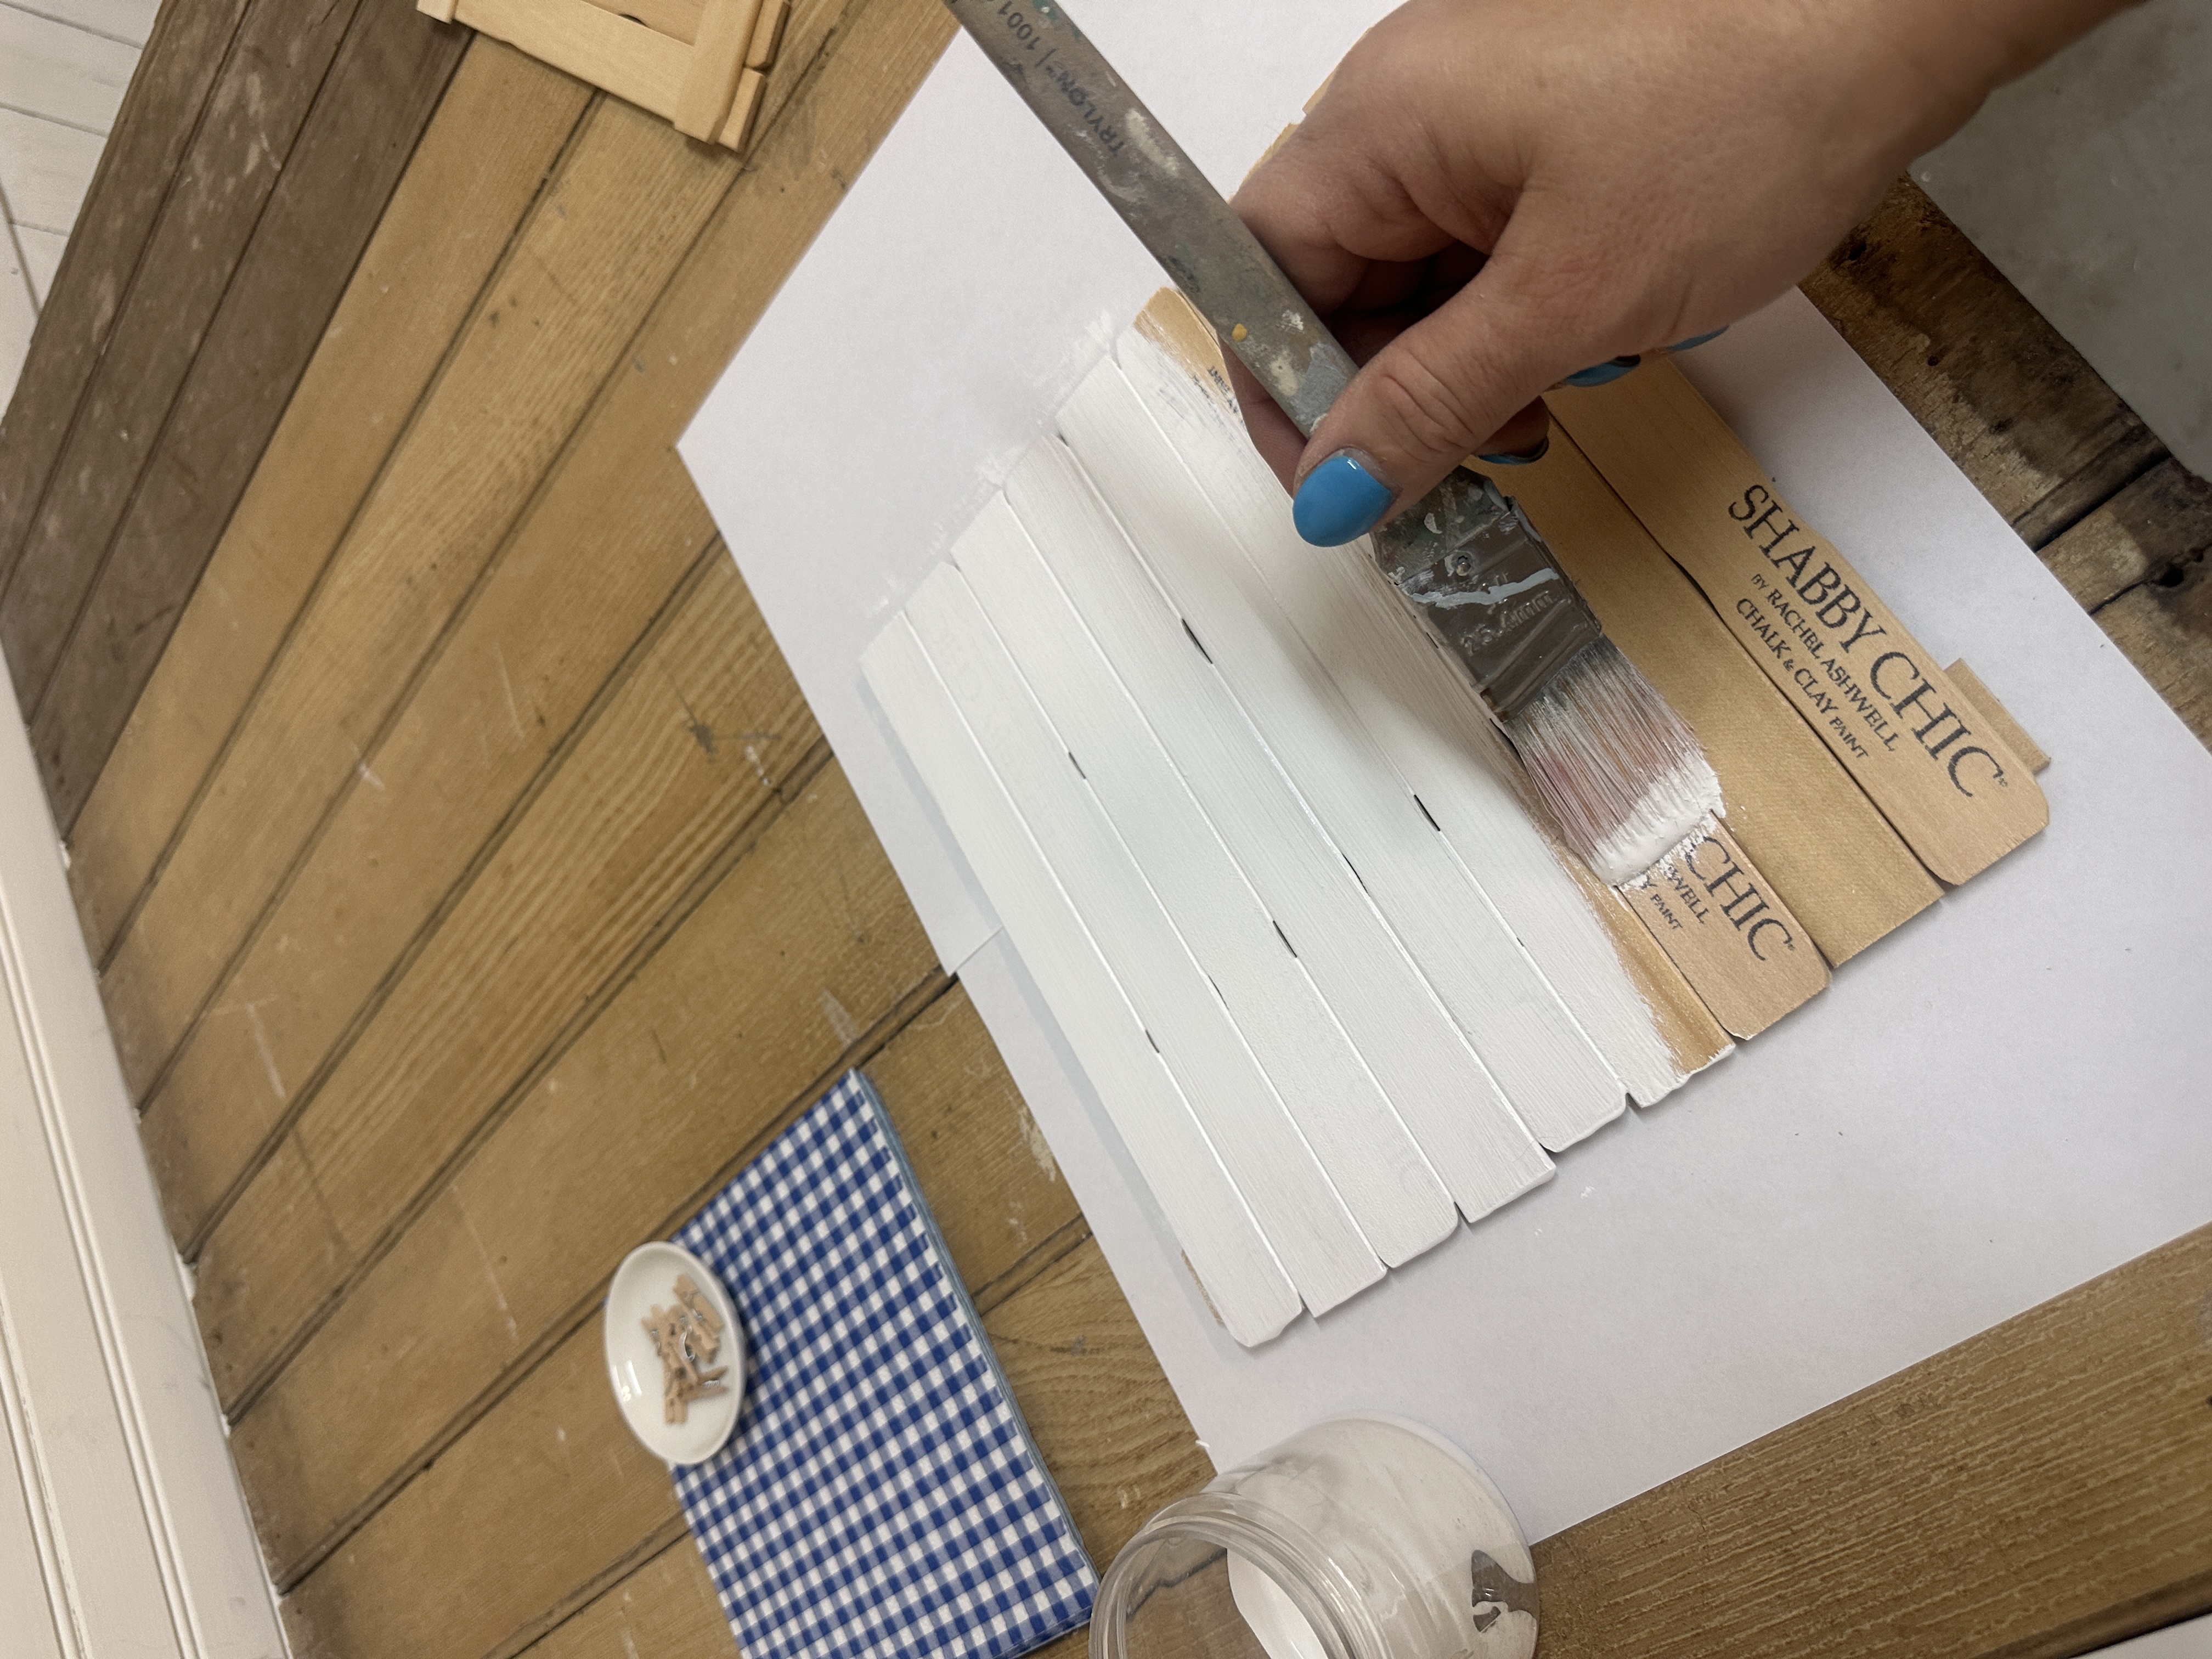
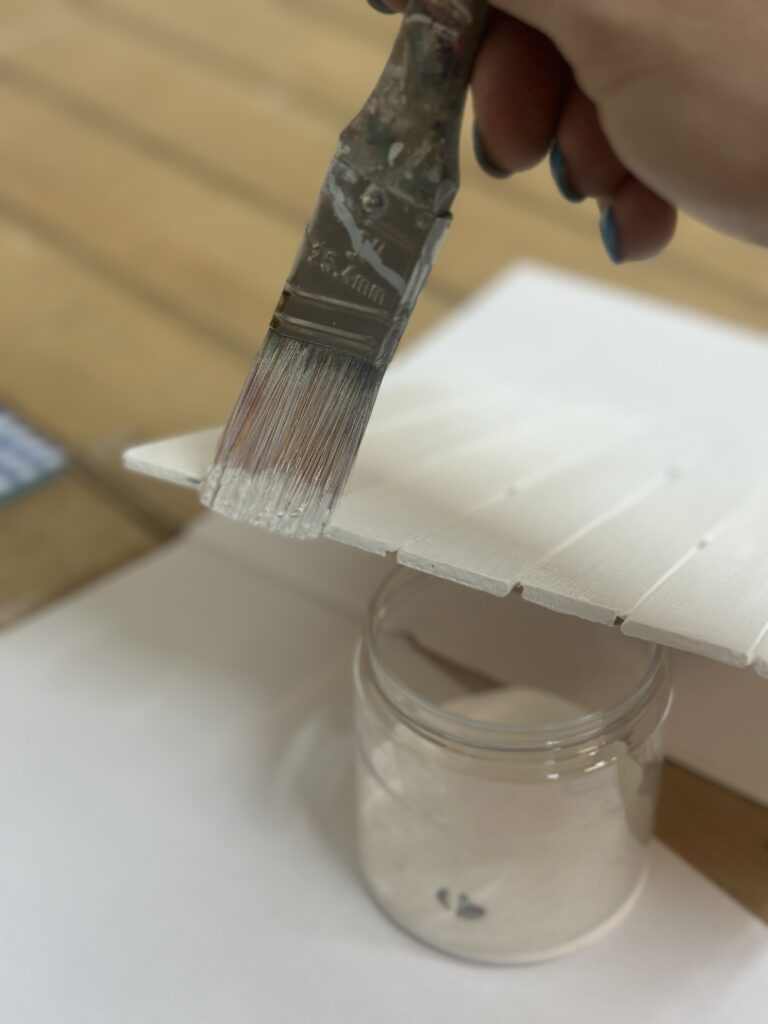
If using free sticks, paint your prepared backing first to cover the logos. DO NOT use the logo side under the napkins, because the napkins will become more transparent as you add the top coat. They will not be hidden!
You would have to paint the sticks anyway with white paint, so the decoupage technique can be covered over that white layer. If you are making them for yourself to hang on a wall, you would not need to paint the back. Make sure to paint the edges. I used the color called Farmhouse Sink.
Decoupage With Napkins
Next, unfold your napkin. If you are using a super thick napkin, you can use only the top layer, as pretty napkins are usually two ply. Fold down one corner, and gently pull the layers apart.
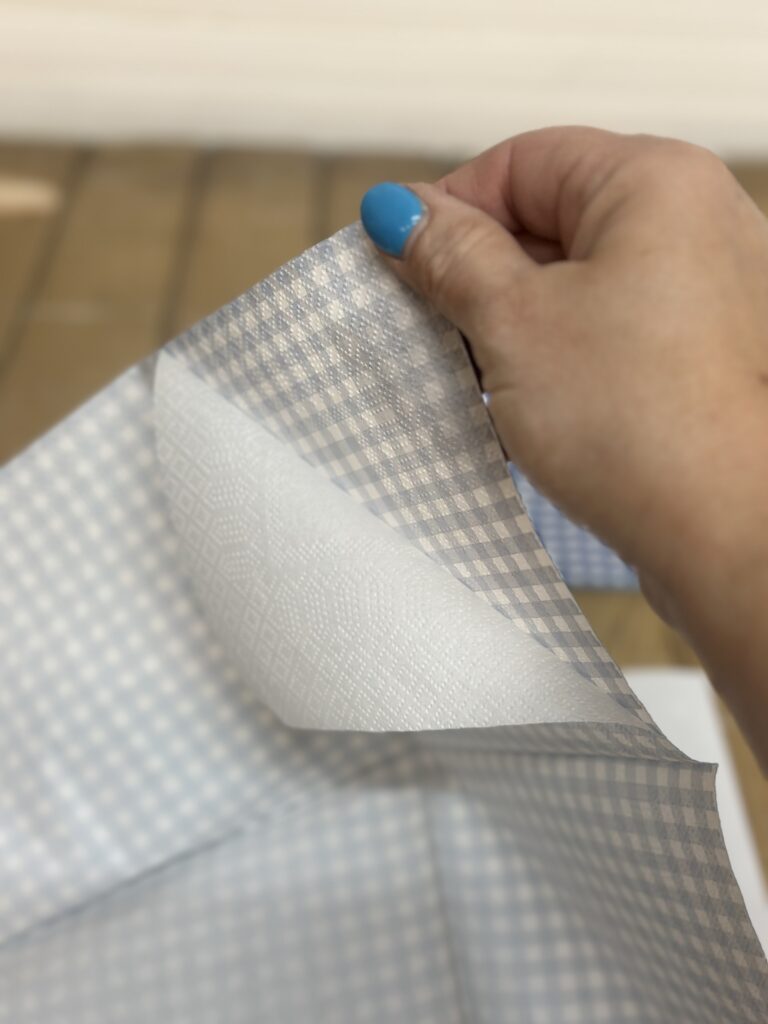
I did not do this, as my napkins weren’t too thick and working with decoupage can make the napkins tear easily. But I wanted to share the option if your paper napkin is thick.
If working with a napkin that has a straight pattern like stripes or gingham, crease your napkin on one of the lines so you can match the pattern straight to your project. On the frame, I lined my gingham up to the bottom line of the stick running horizontal at the top.
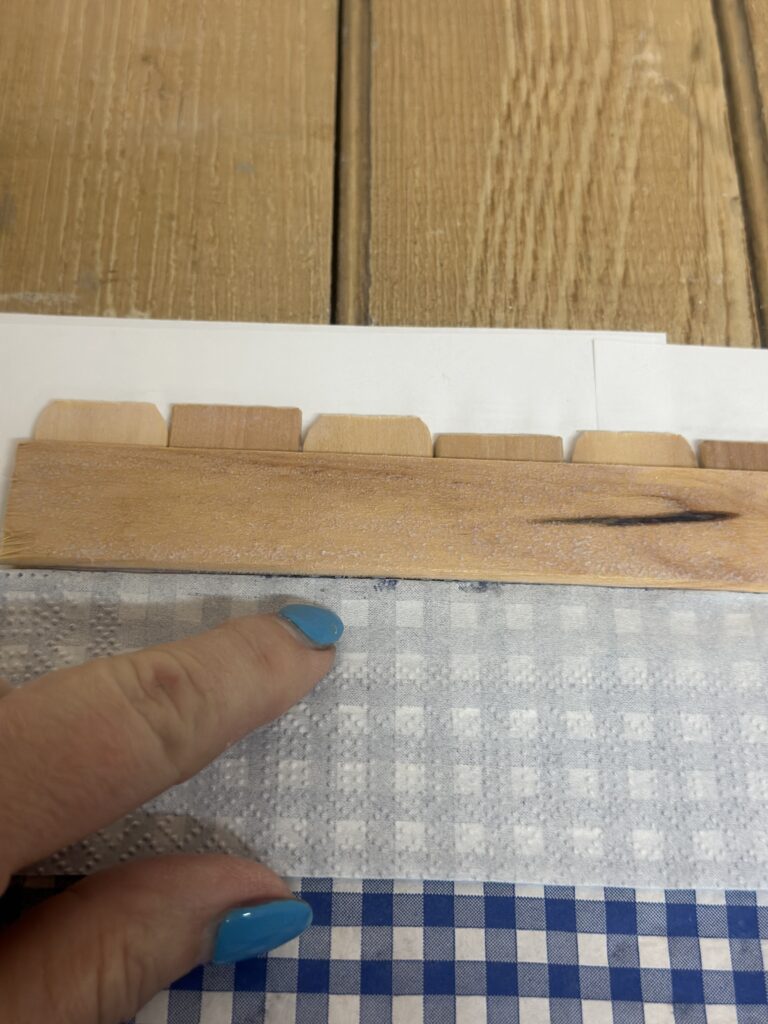
Applying the Mod Podge or Matte Finish
Begin mod podging from the top down. Work in sections, so you can prevent wrinkles along the way. You will not get it wrinkle free, and that’s okay!
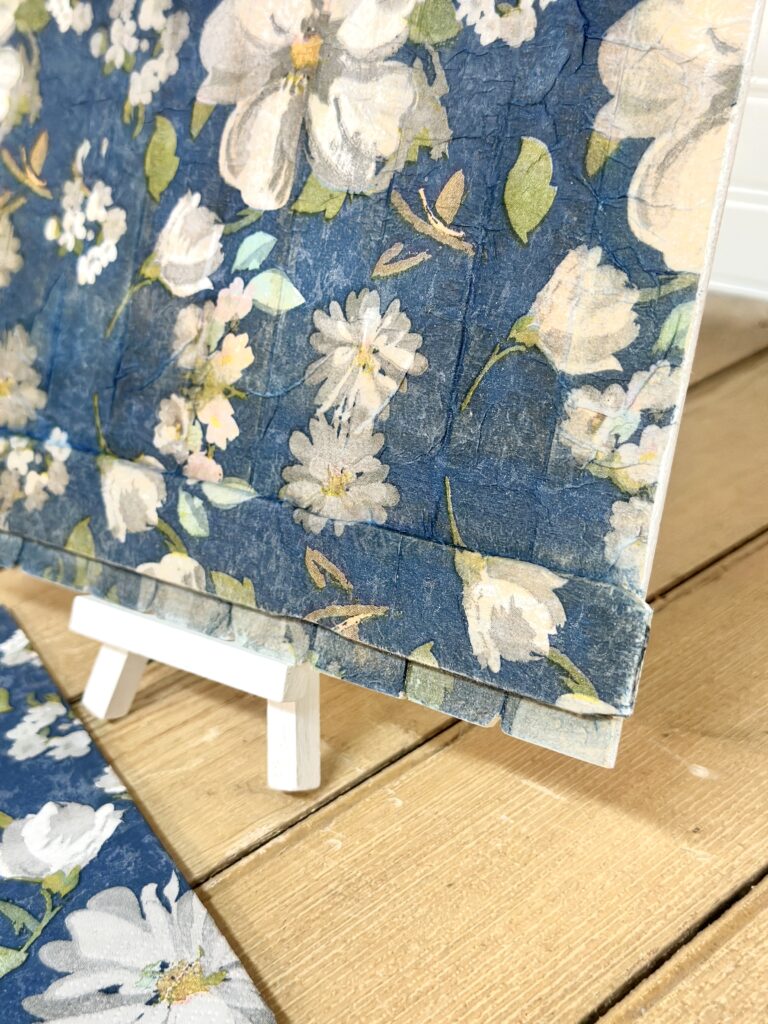
Creating a relatively smooth finish is the goal. However, I have done projects in the past where I crinkled up the napkin or tissue paper first, and decoupaged it with the wrinkles. That is a cool look for certain projects.
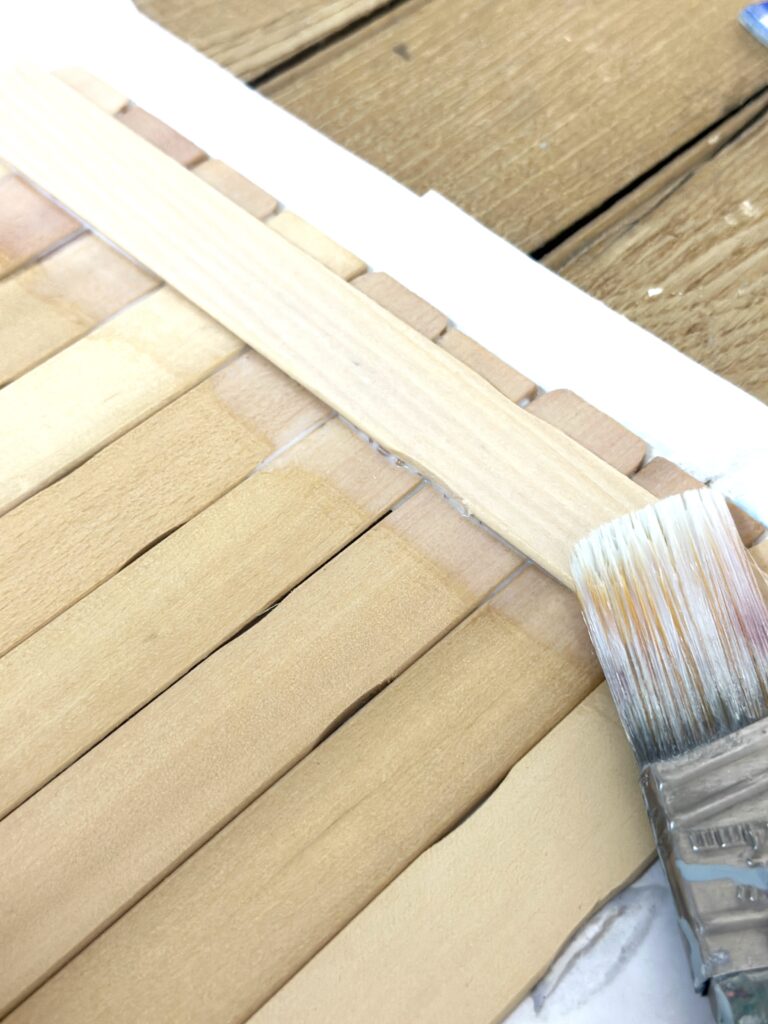
Gently rub the napkin onto your surface as you go, using your finger or the brush used to apply the matte finish. There is a slight learning curve, but you will get the hang of it super fast.
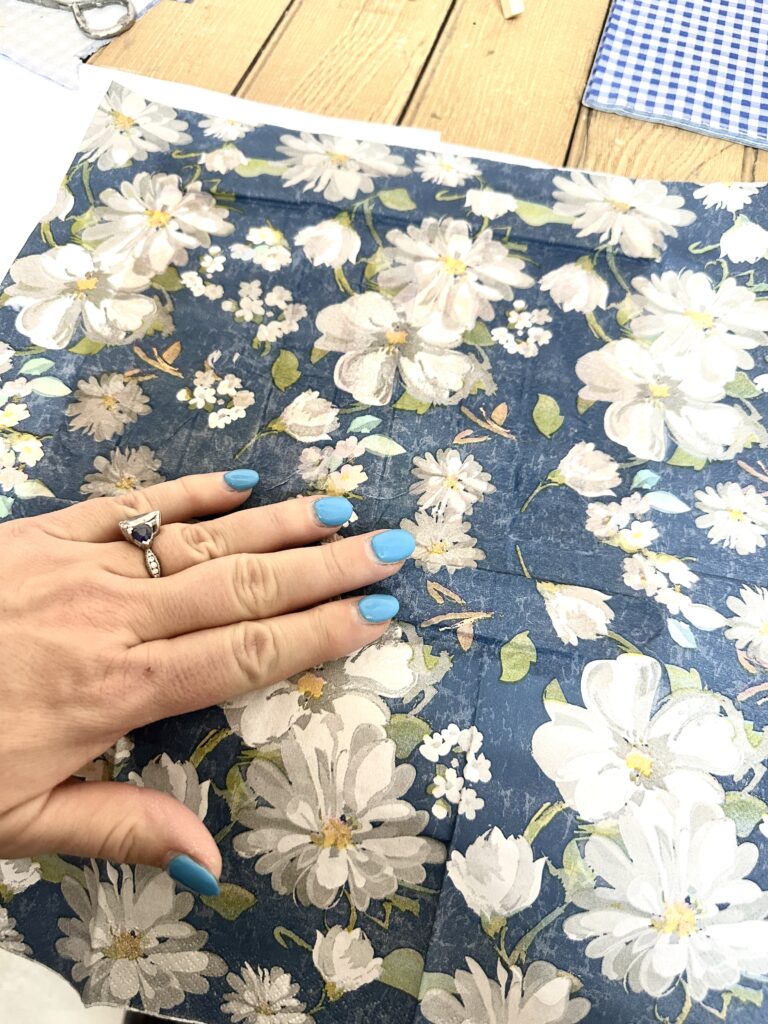
I apply the matte finish quite liberally. A thin layer will dry too fast, so apply as you go and eliminate large air bubbles. Use a tapping or pouncing motion to flatten bubbles, being careful with the napkin layers.
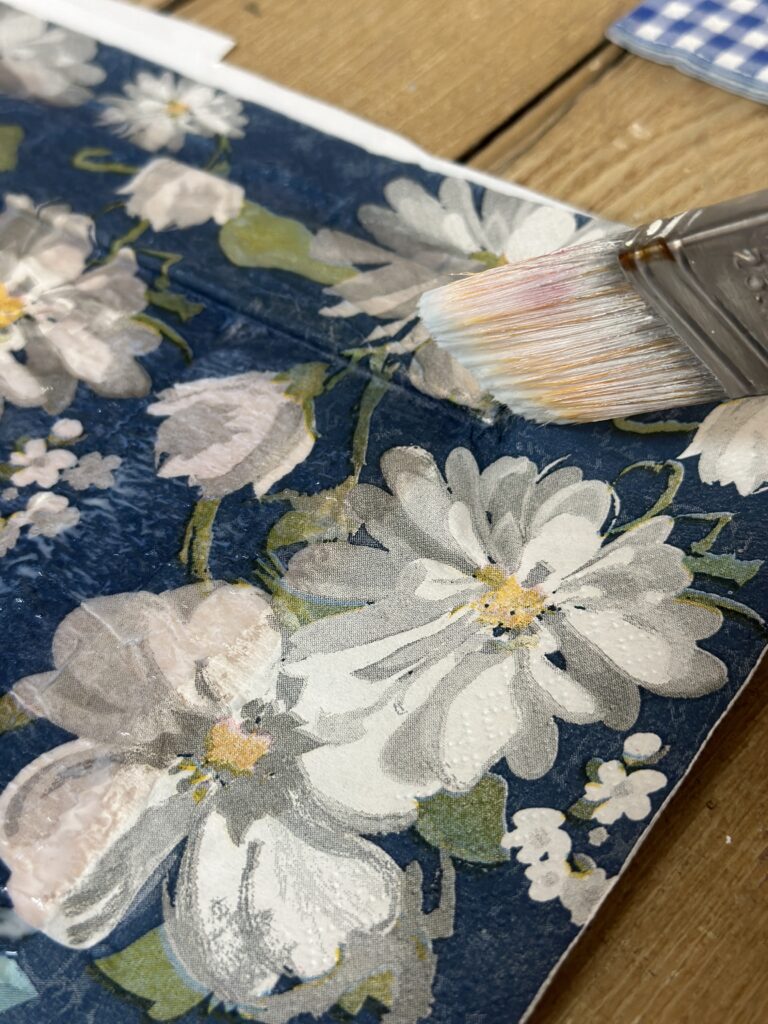
I also get a lot on the edges to help the napkin tear off easier. You can also do this using water applied with a brush or a damp cloth. I’ll share more great tips for finishing below.
Once the napkin decoupage base is done, apply a layer of mod podge or finish onto the top of your paper napkin. Make sure you get extra in the crease of the connecting paint stick.
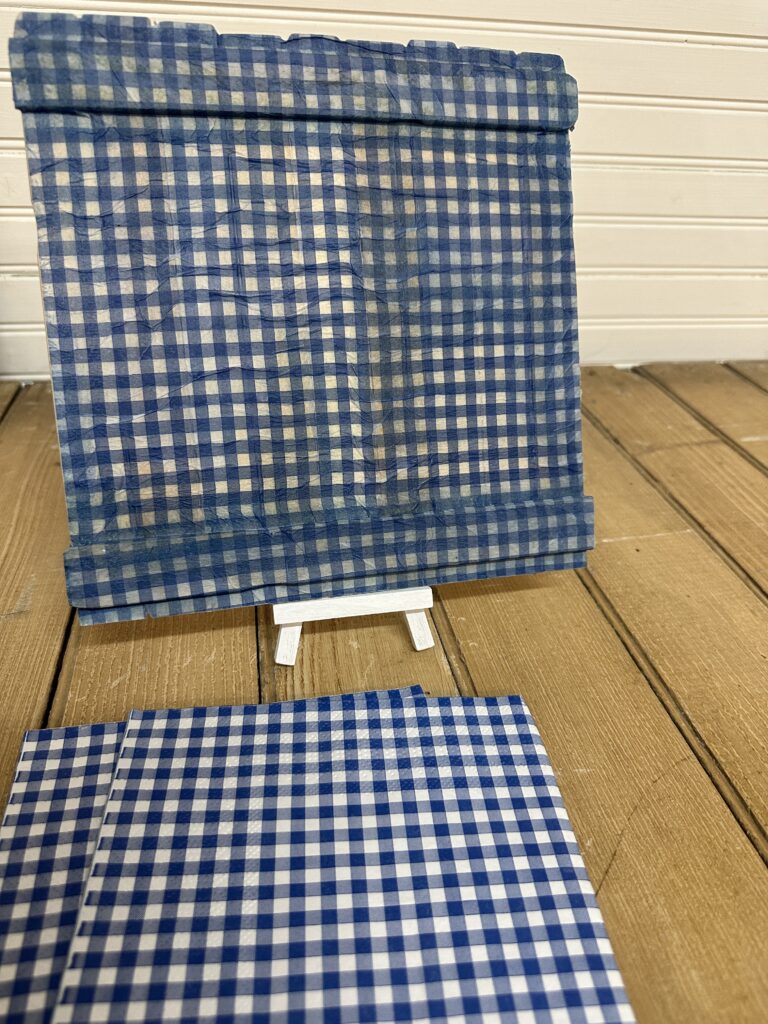
Note: Brushing too much can begin to loosen the dyes in your napkin and they can smear. Do not over brush your projects. Be careful to apply the decoupage all the way to the edges. I have heard of people ‘sealing the inks’ before using hair spray, but I have not tried this.
Napkin Decoupage Finishing
Place your project somewhere safe to dry. Check it a few times as it begins to dry, making sure the decoupage glue has adhered the entire napkin surface.
After it is completely dry, use a sanding block to lightly sand the edges to remove the rest of the napkin. You do not want to tear the napkin without wetting the edge or sanding as one layer of the napkin could end up tearing the wrong way. The sanding method works great for wood.
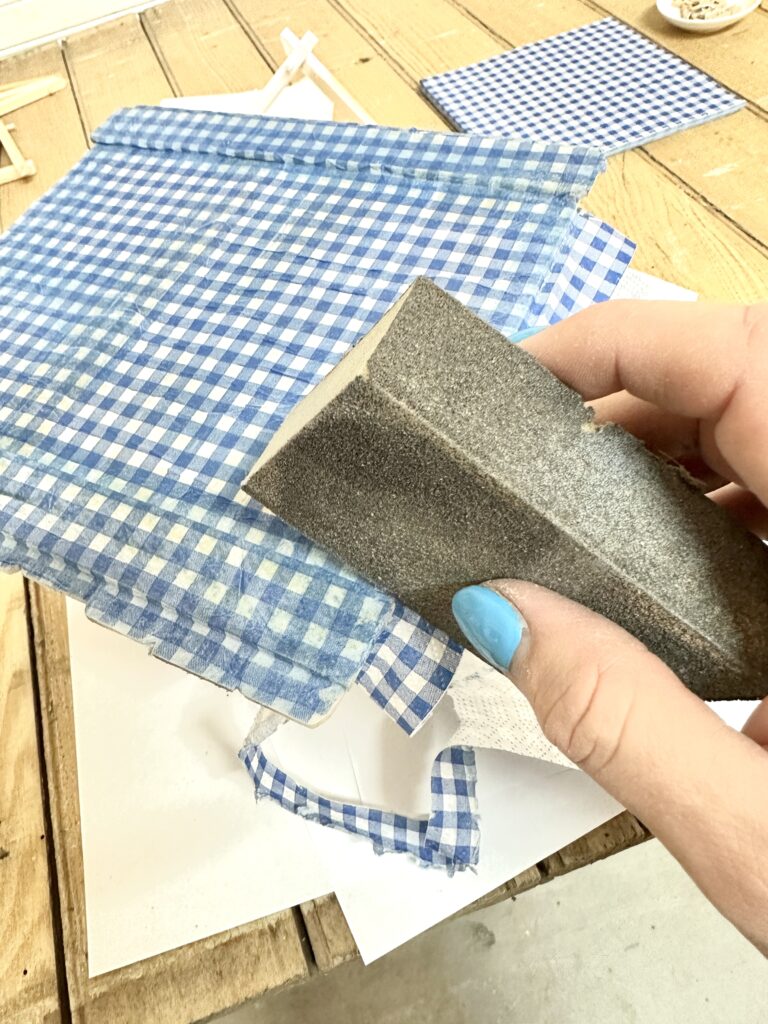
If you like a glossier finish on your napkin, begin applying mod podge glossy finish on your project. Make sure you have covered your surface with plastic wrap so you can get coverage to the edges. You don’t want to be sticking to any paper or getting the glue onto your work surface. Cover the top layer of the paper napkin completely and evenly.
To attach a photo, simply hot glue mini clothes pins in the desired spot to hold your photos. An easy way to do this is to attach the pins to the photo first, then place hot glue on the back of the pin. Quickly apply your pins to the front of your decoupaged napkin frame.
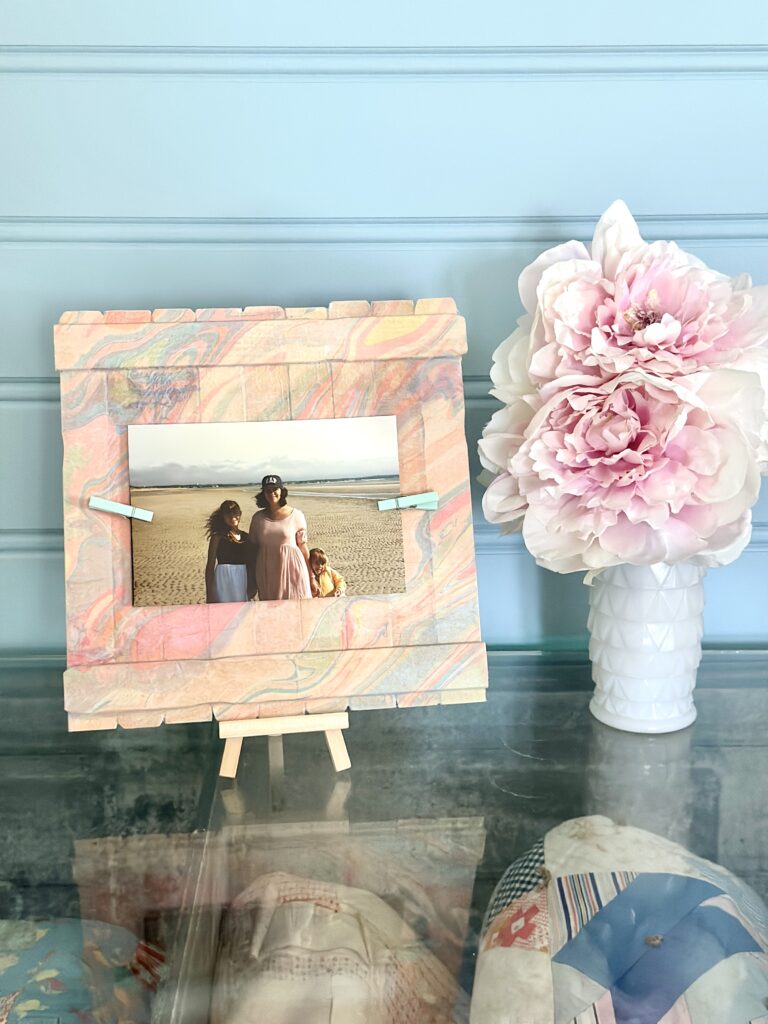
If you are using an easel, paint the wood to match your napkin, as the bottom part will show. You can even attach the easel to the back of the paint stick frame with adhesive to keep them together, if desired.
What Else Can I Decoupage With Napkins?
You can decoupage with napkins just about any wood surface. I love the look of painted furniture done as an accent. Meaning, napkin decoupage can be done on the sides of drawers or on the inside bottom. Check out this post, where we decoupaged love letters inside a buffet. You can decoupage napkins on the back of a bookcase or hutch.
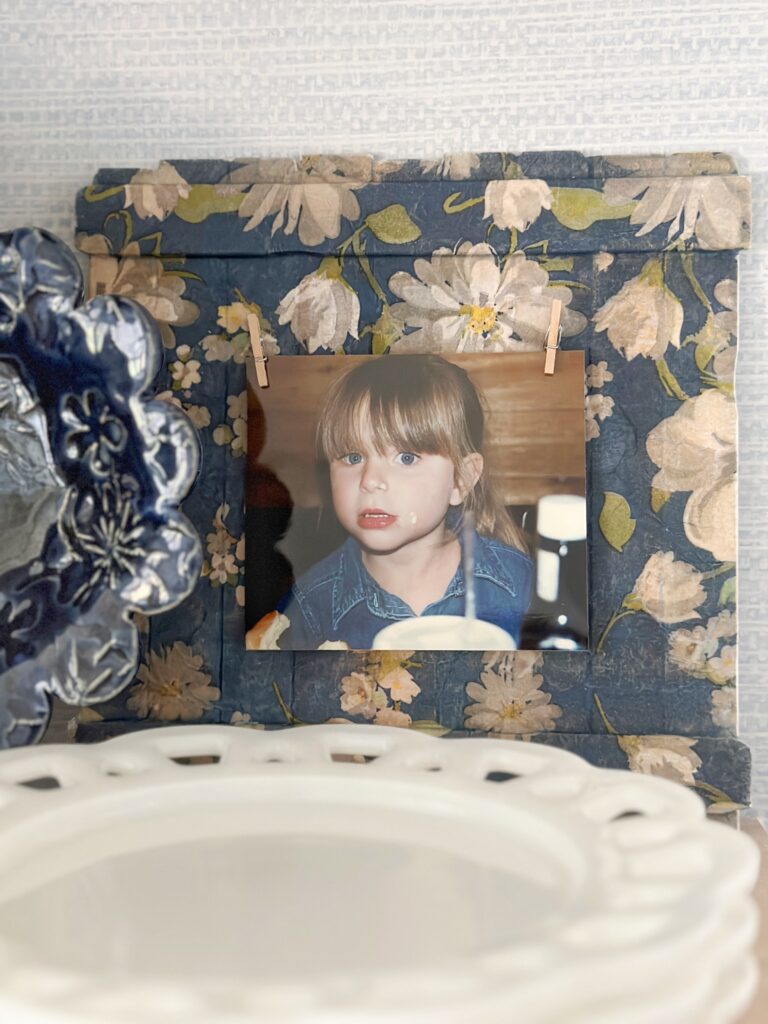
If you find a paper napkin that has a large pattern, you can always cut individual pictures from it and apply onto furniture. When you learn how to decoupage, you will find it is so fun and easy and probably find many great projects to do!
Uses for Your Paint Stick Frame
Your paint stick frame can become a fun project that is also useful. Attach a larger clothes pin where notes to family can be clipped when everyone is on the run. Clip lunch money to it, or a quick love note to your partner.
Use to hold recipes in the kitchen, or coupons you want to take to the grocery store. Clip letters that need to be mailed.
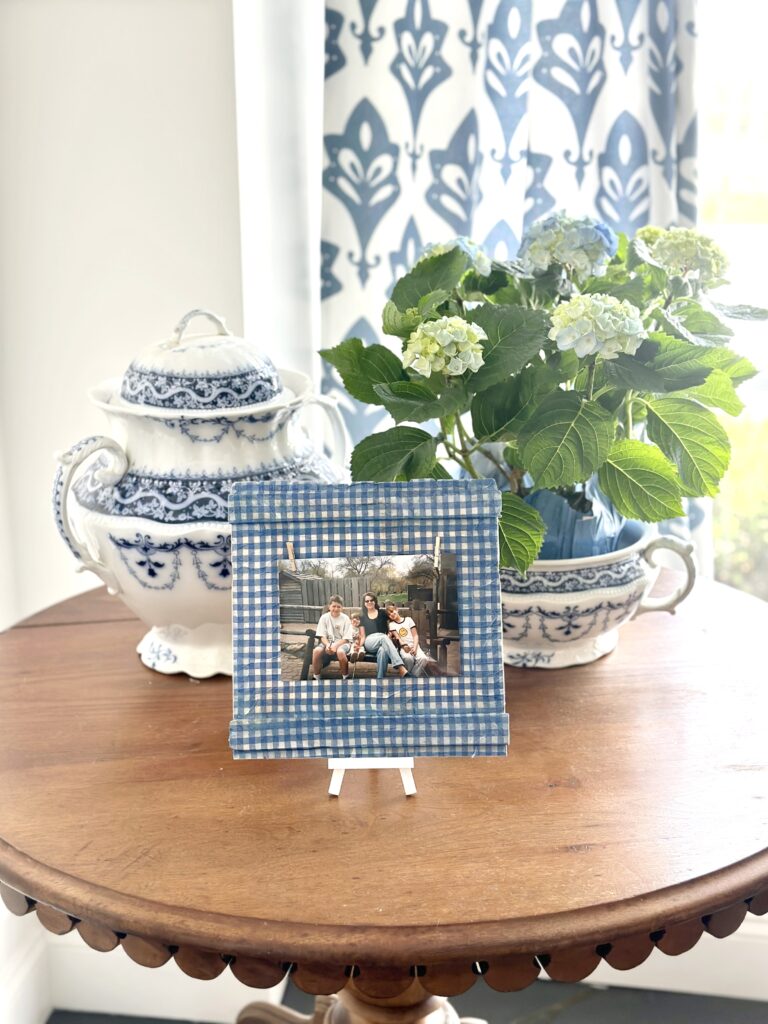
Your paint stick frame can also be a great backdrop to a cross stitch or scrapbooking project. Look for paper napkins that have simple, smaller designs that will coordinate with your latest project. It would be fun to make a pile of frames to have handy, so when you want to share a quote or photo with a friend, you would have one ready!
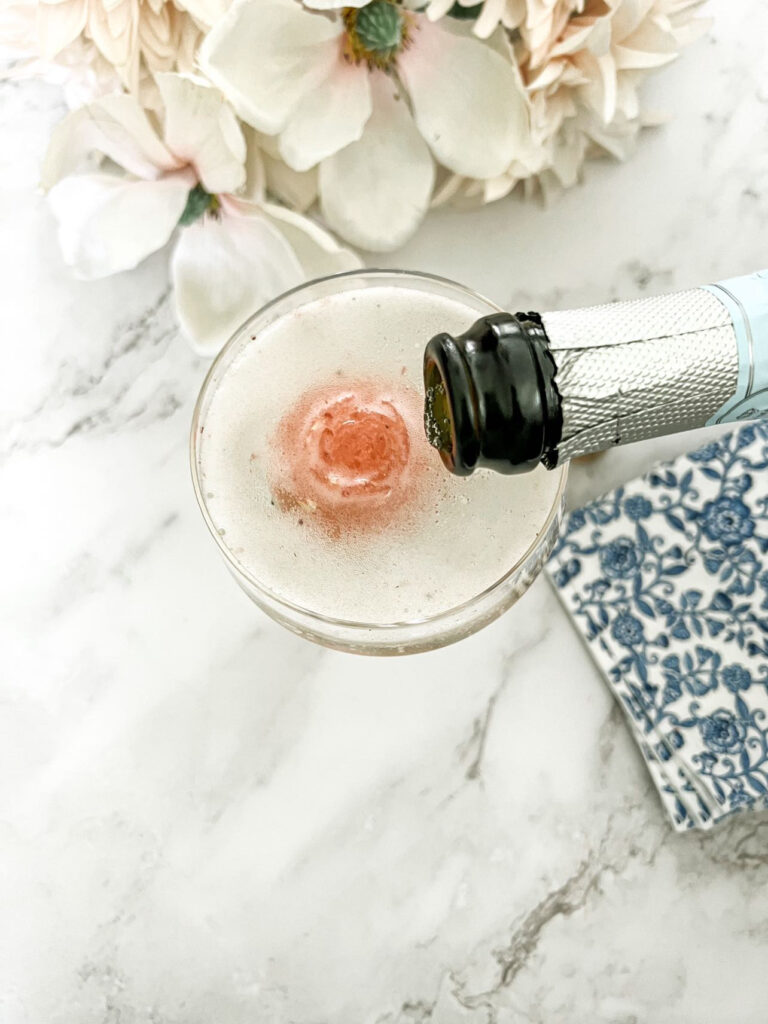
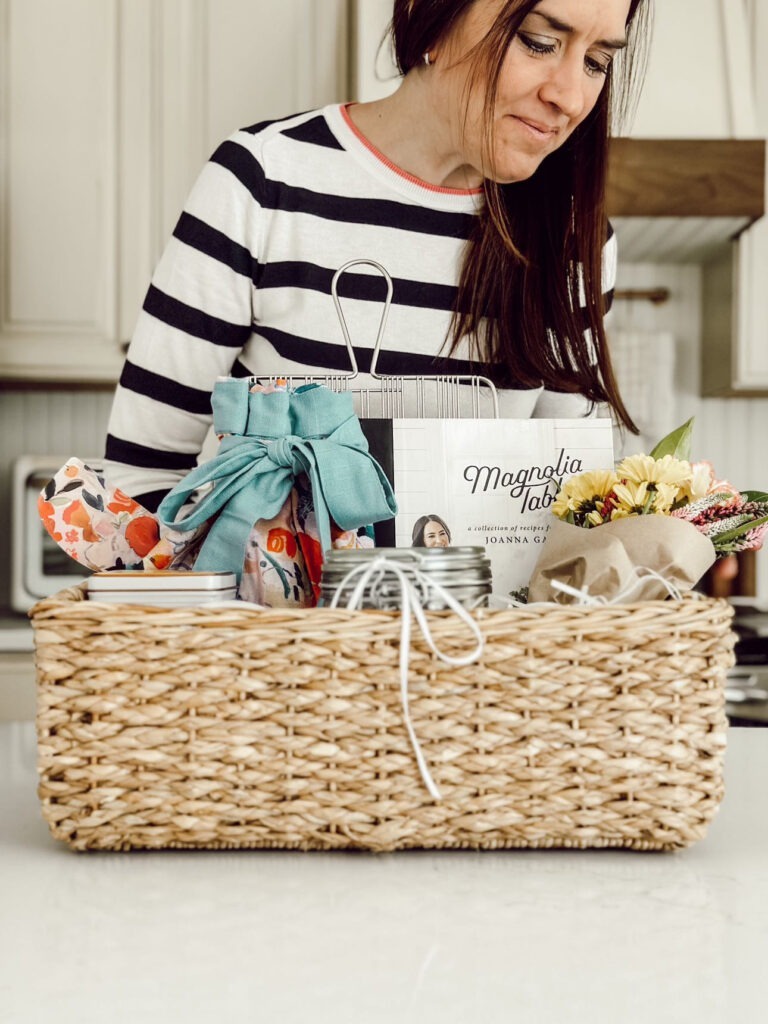
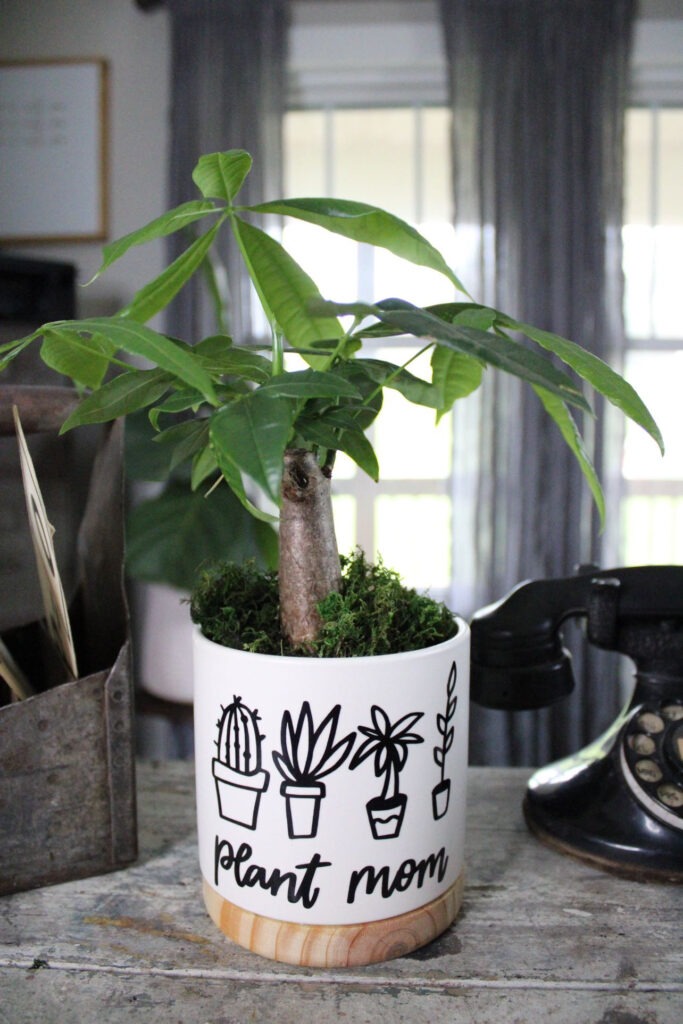
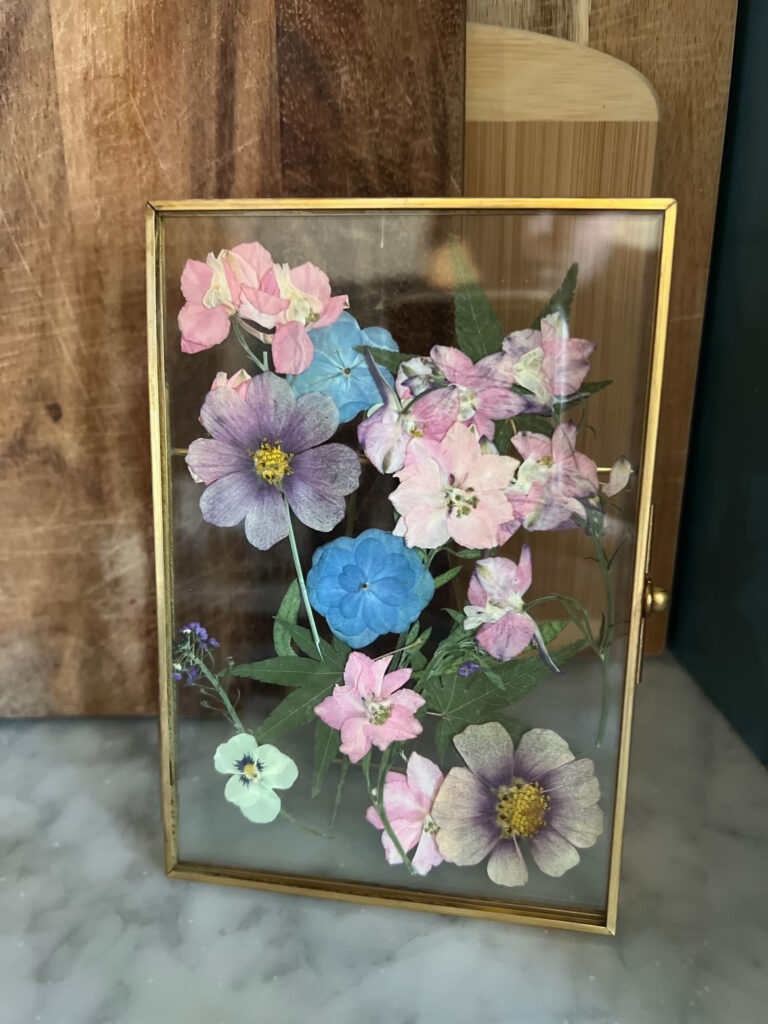
Speaking of friends, check out the projects the Creative collab team is working on this week. Heidi is doing a gift basket over at Eleanor Rose Home. Over on Mornings on Macedonia, Charity is doing a DIY flower pot idea. If you came here from the Tattered Pew, you probably already saw Kelly’s pressed flowers. And next up, you’ll want to check out Our Tiny Nest for Strawberry Lemonade Momosa’s ! Yes, that’s a Mom-osa for Mother’s Day, Nicolle is so clever! So hop over to Nicolle’s blog and see the yum she’s got going on!
Thanks so much for stopping by. For more inspiration, follow me on Pinterest, Facebook, and Instagram. I’d love to have you join our Bungalow 47 community where you can receive weekly newsletters with exclusive tips and fun each week! You can sign up here, and receive our free eBook.
The Cozy Creative Collaborative Mother’s Day DIY’s

Eleanor Rose Home | Our Tiny Nest | Mornings on Macedonia | The Tattered Pew

Thanks Charity! It was really fun to join you gals this week for the blog hop.
What a cute idea! I love decoupaging things! I’ll have to try this out. Thanks so much for sharing!
Thanks Renae! It’s a fun craft that would be super great to share pics and memories with friends. I need tangible in a world of digital! LOL
Thanks for having me! It was so fun to share a quick craft that is easy to make.
Love this Mother’s Day DIY Jill! Not only is it easy to make, budget friendly, but super cute!!! Thank you for joining the cozy creative collaborative this month, it was great having you. Pinned!
Super cute idea! I love it.