Make a Cement Pumpkin
Fall is in the air, and it’s time to get our Halloween projects going. Cement pumpkins are a fun and easy project to do that will stand the test of time, and assure that your pumpkins don’t get kicked over on Halloween!
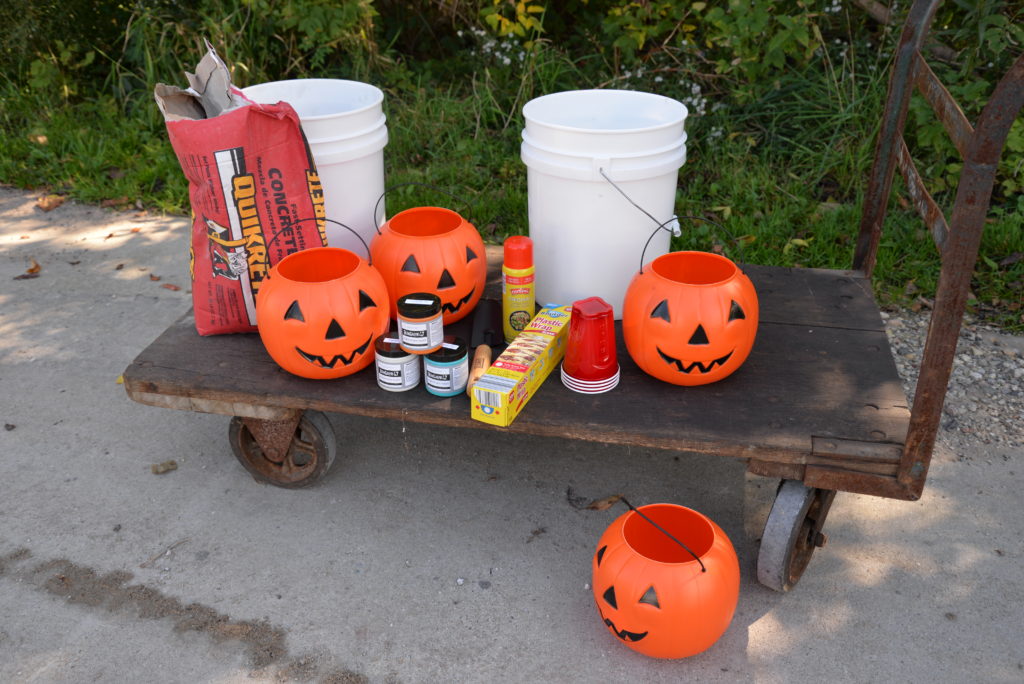
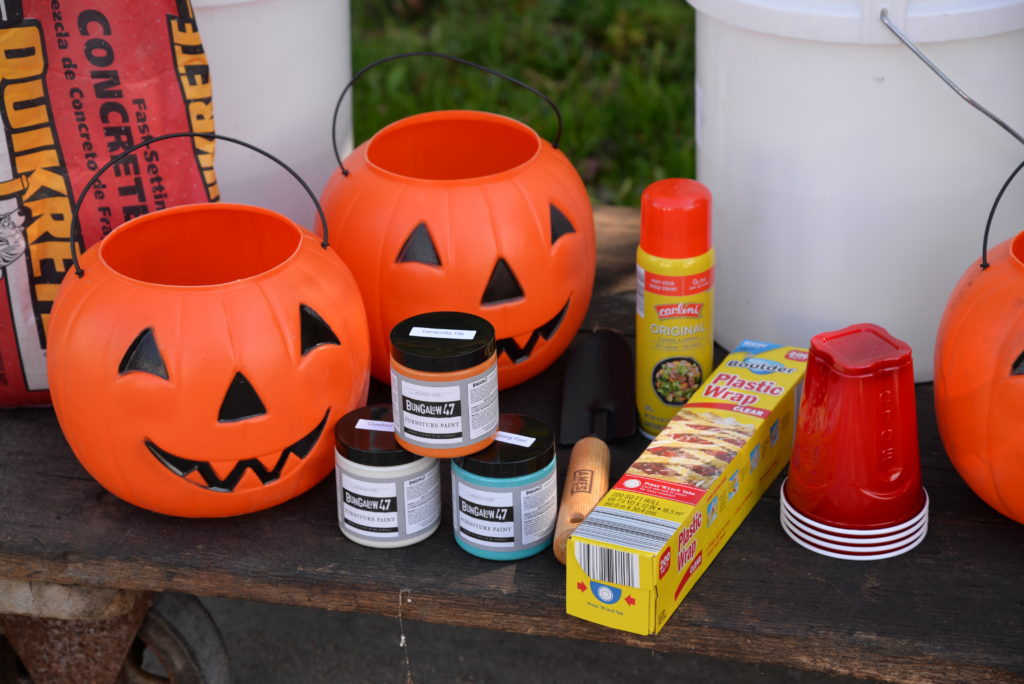
Supplies needed:
- cement mix in a bag (one bag made two pumpkins)
- a large bucket to mix cement and water
- trowel
- plastic pumpkins
- large Solo cups
- plastic wrap and cooking spray (to prevent sticking)
- Bungalow 47™ Furniture Paint in a variety of colors
- a large brick, sanding block, and a utility knife (not shown, but needed)
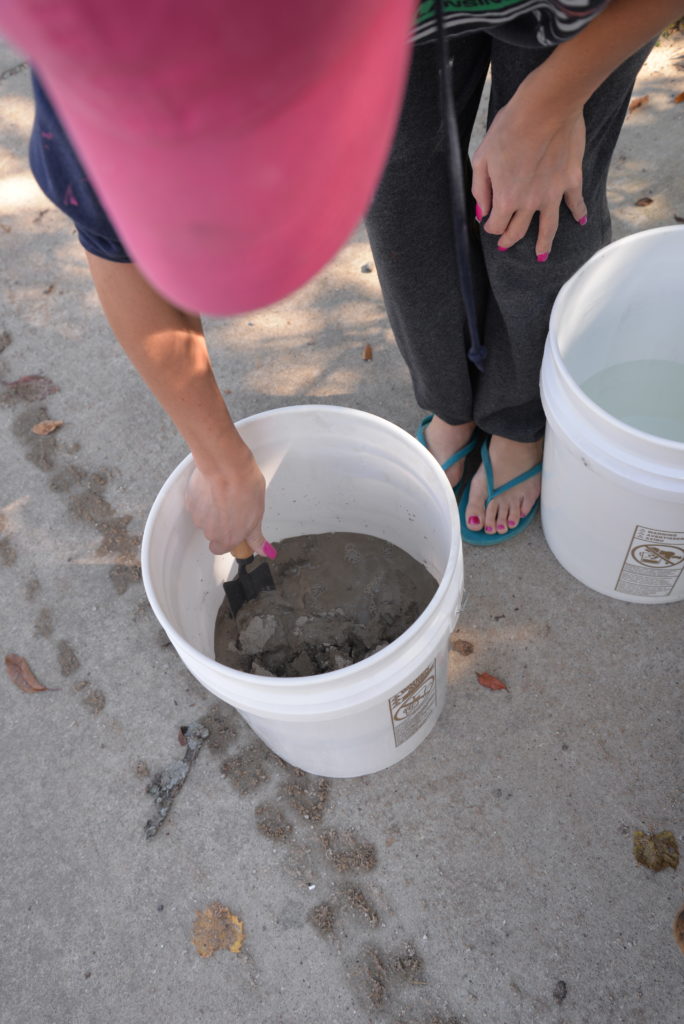
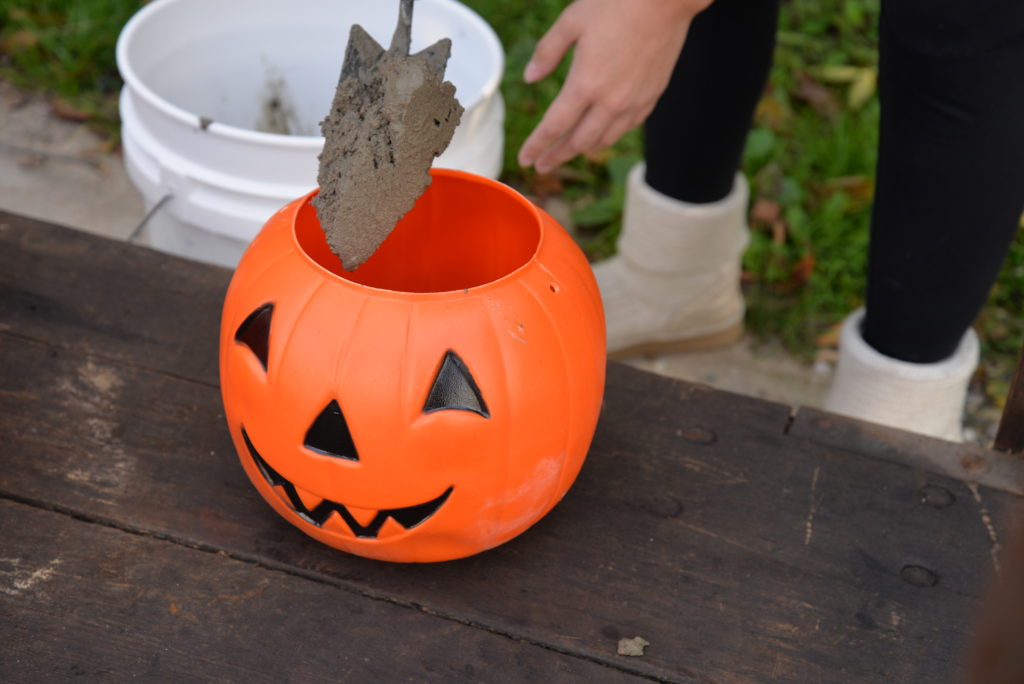
Begin by mixing the cement as directed. The texture should not be too runny.
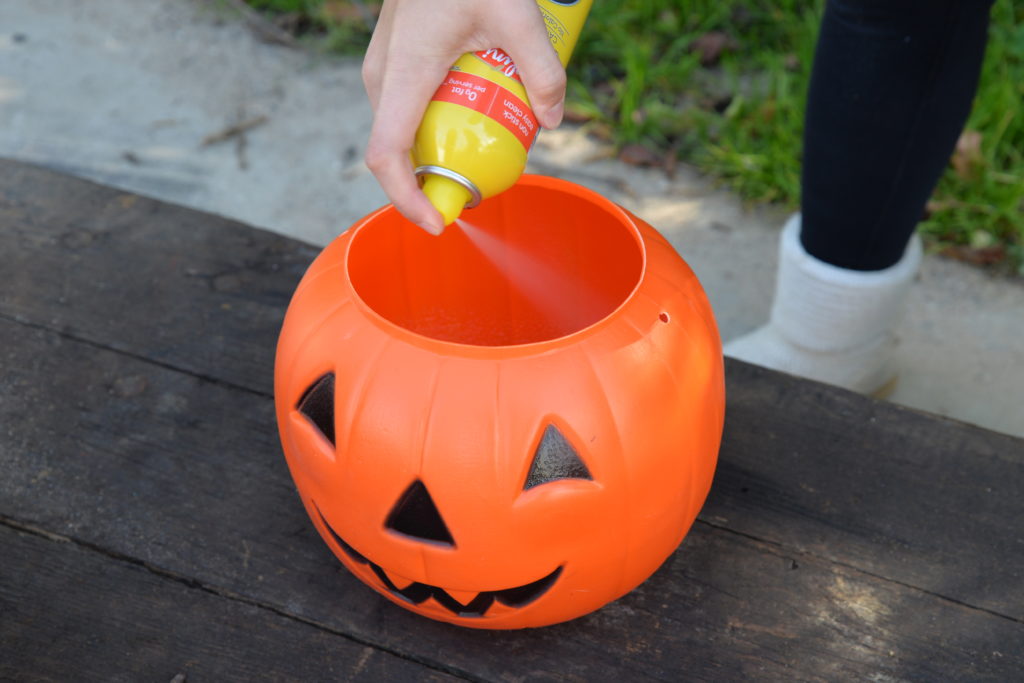
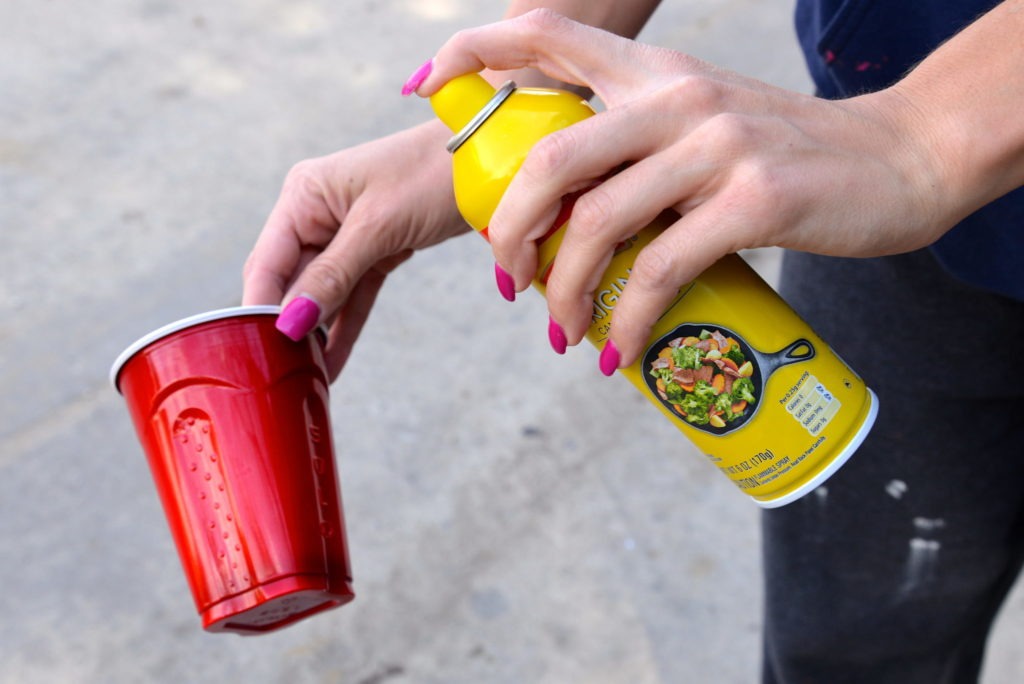
Spray the inside of the plastic pumpkins, so the cement won’t stick to the surface. Watch for thorough coverage!
Pack the cement into the pumpkin, smacking it down onto a heavy surface every now and then to minimize air pockets and make sure the cement settles evenly. This is an important step, so don’t forget! Leave a little room at the top, so the solo cup can form a center vase shape.
Spray the solo cup too!
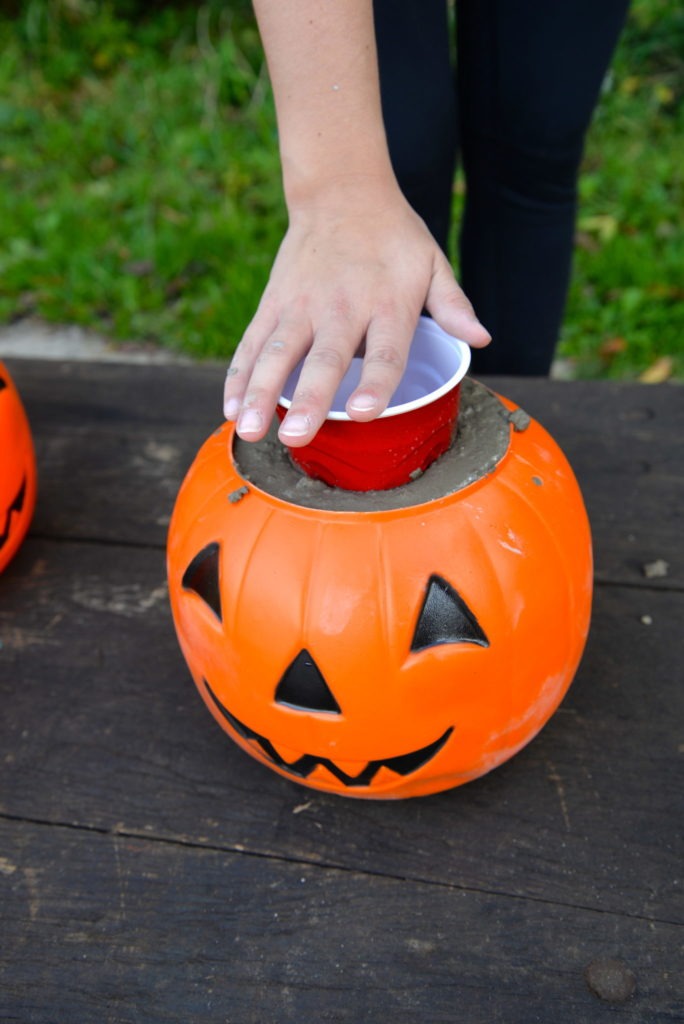
Insert the cup into the center of the cement. Push firmly down all the way, and wipe away any concrete overspill.
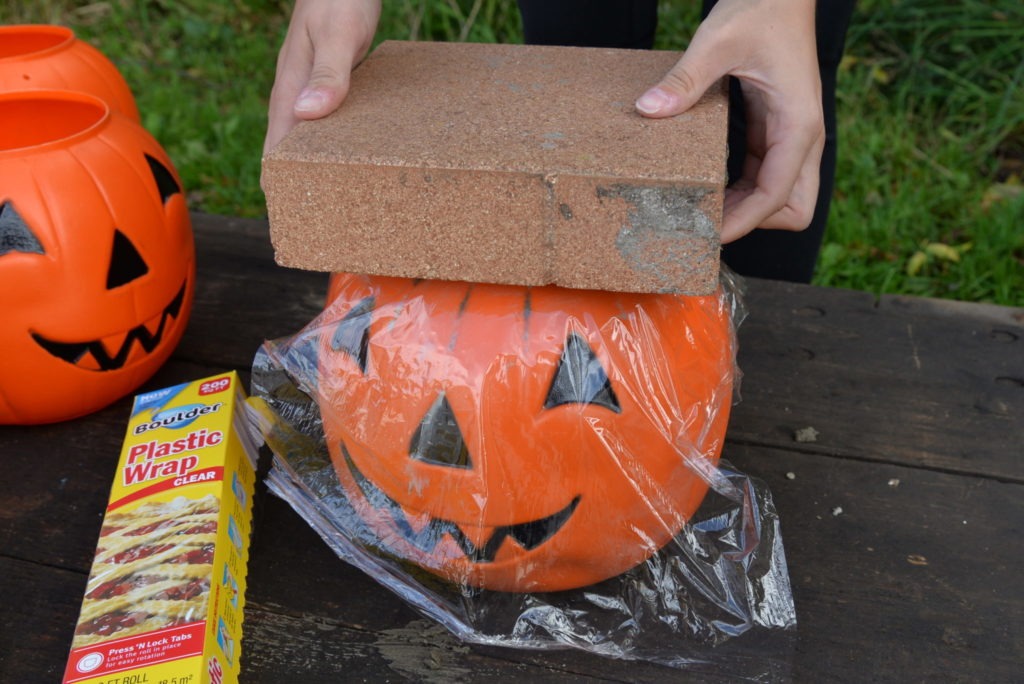
Cover with plastic wrap so you can place something heavy on it, this way the cup will stay in place. If you don’t do this, whatever you put on it to weigh it down will stick to the concrete.

Use a large brick or something heavy enough to do the job. Allow to dry for several hours or overnight.
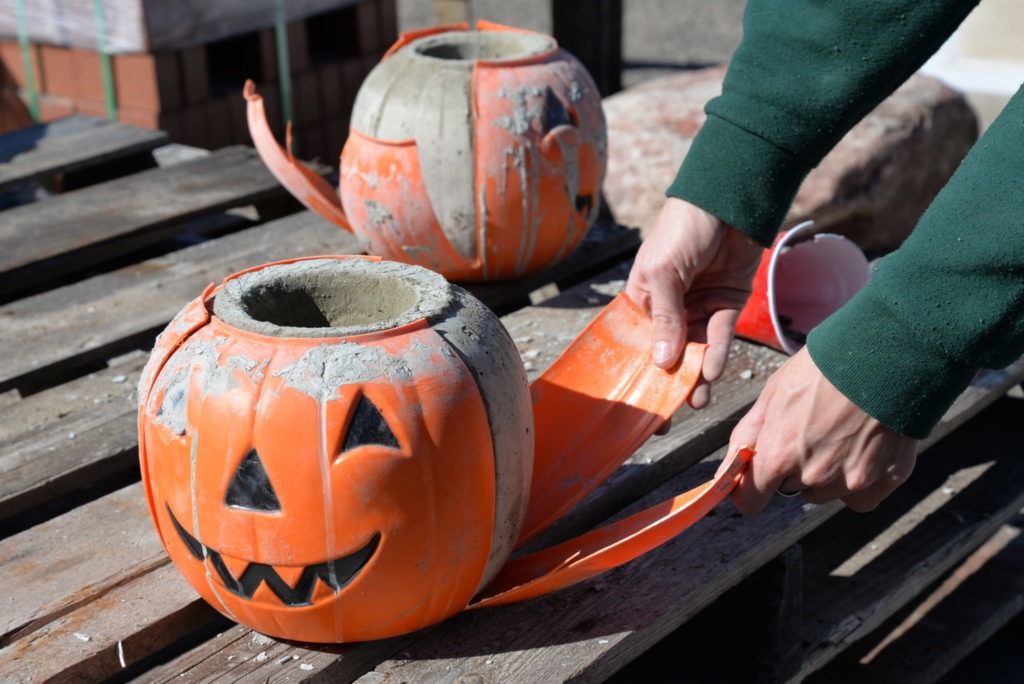
To reveal, slice the plastic pumpkin with a utility knife like an artichoke and peel back. Be careful not to cut too deep—you don’t want to scratch the cement finish.
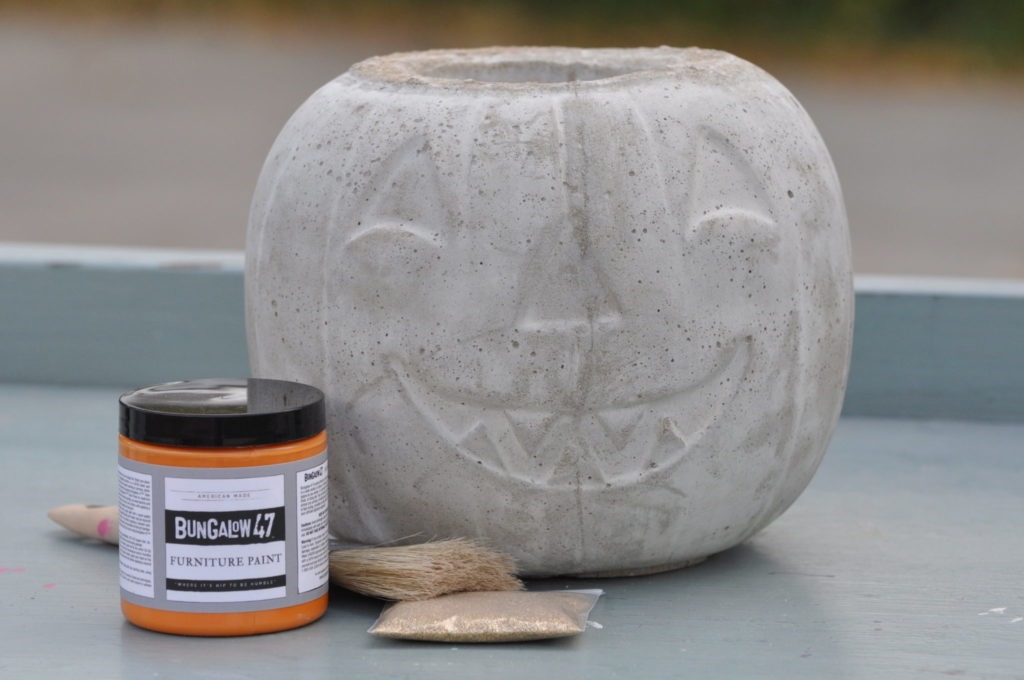
Let the exposed cement pumpkin cure a few more hours, if it still appears damp (or whatever time is needed for your current weather).

Now, it’s ready for Bungalow 47™ Furniture Paint!
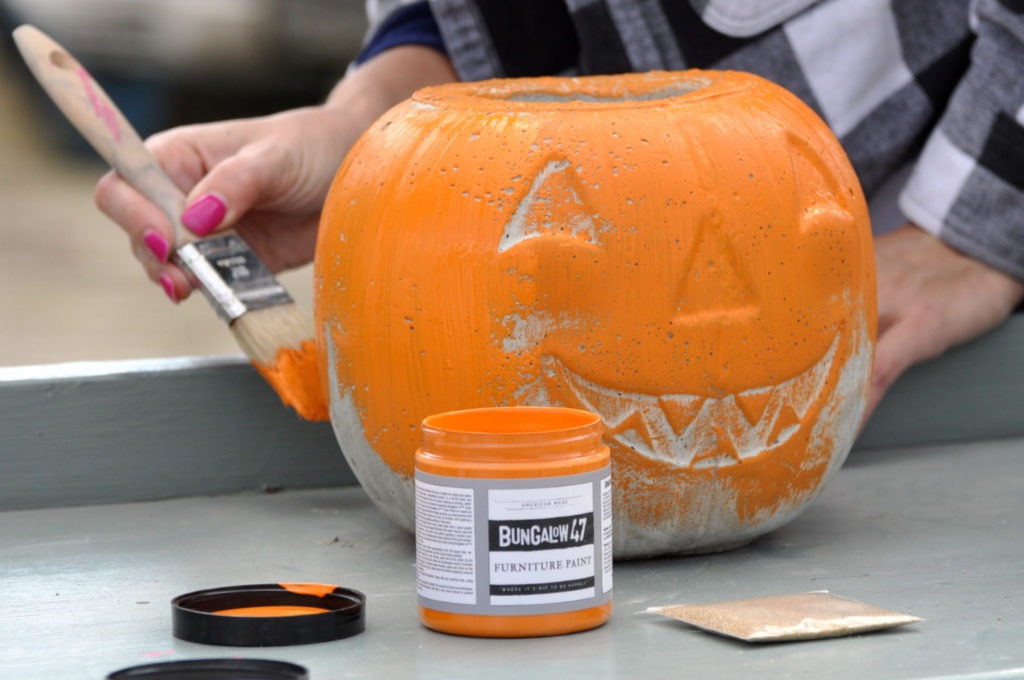
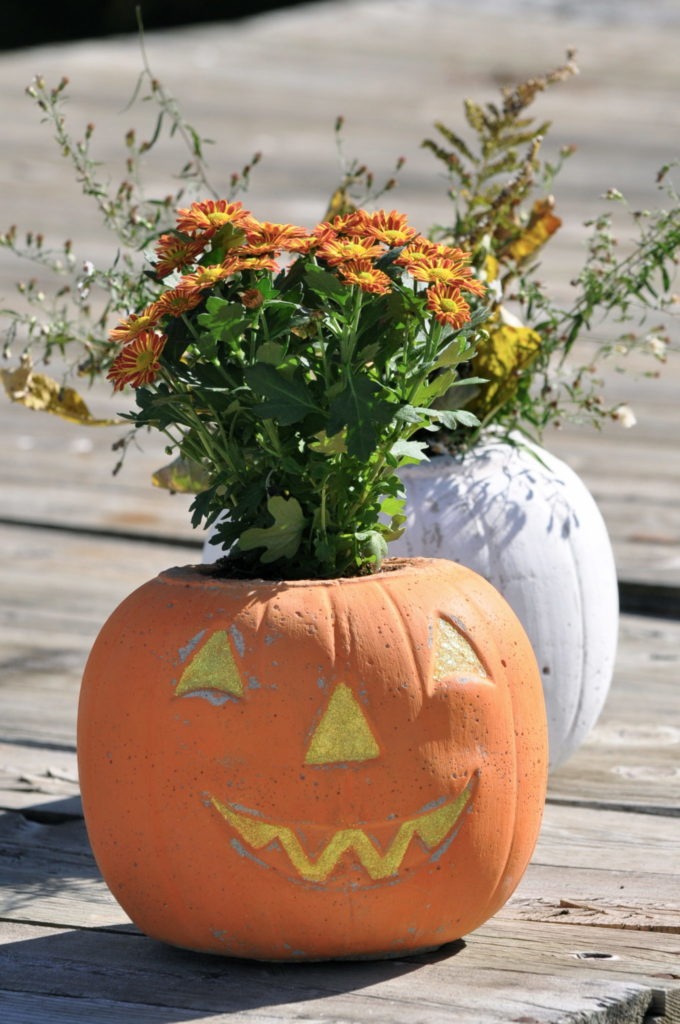
Brush on Bungalow 47™ Furniture Paint in your choice of color. Terracotta Tile is the perfect orange and classic choice, but the pumpkin can always be turned around so your front side is plain and not showing the Jack-o-lantern face if you prefer white farmhouse pumpkins!
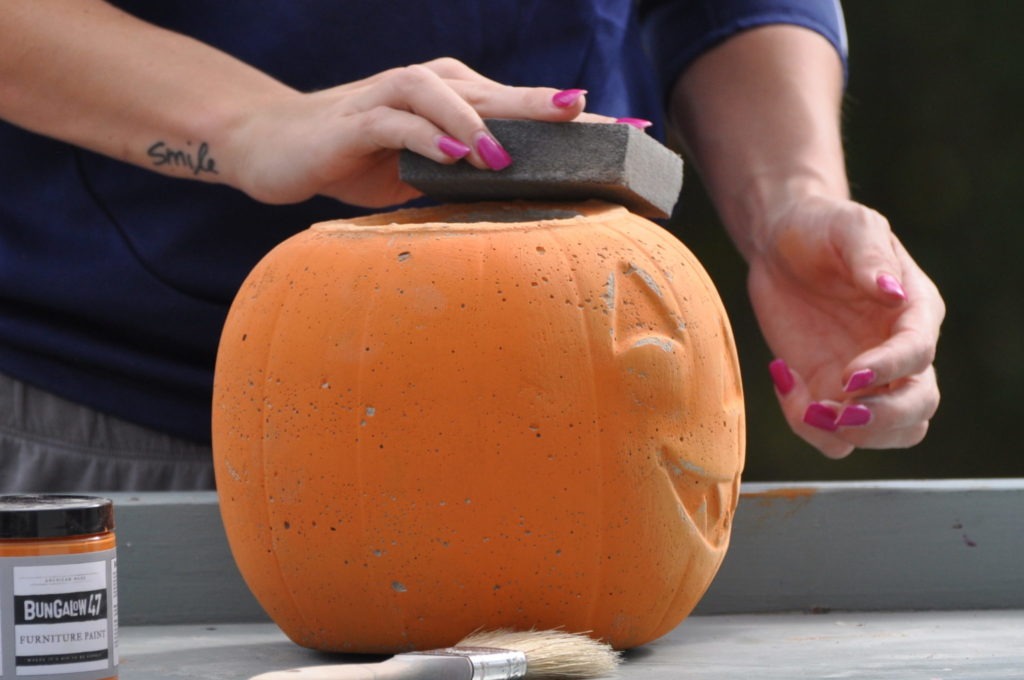
Use a sanding block and distress as desired.
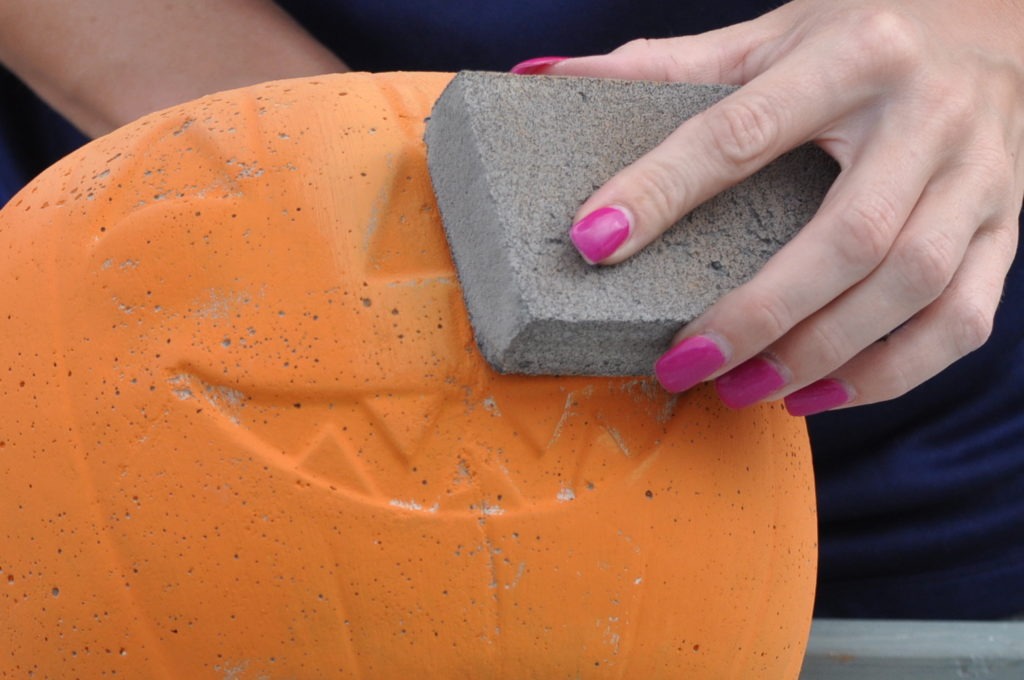
Take special care to sand the top opening as to knock off any rough spots where you will be touching when adding other decorations.
Fill your pumpkin with fresh flowers, pickings from the surrounding woods, candy, sand and a pillar candle, dried or silk flowers and leaves, or whatever your creative mind can think up!


Now this pumpkin will last forever, and no one will try to kick it off your porch!
Get inspired, and make it new: make it you!
Check out our Pinterest boards for more painting inspiration.