Faux Vintage Paper Mache Pumpkins
A few years back, we were feeling the pumpkin love and made cement pumpkins in the fall. This year, we decided to go from plastic to fantastic! This is how we made faux vintage paper mache pumpkins.
How to make a vintage paper mache pumpkin look alike
We picked up a couple of dollar store pumpkins (one black and one pumpkin orange) for this fun craft, and got to work.
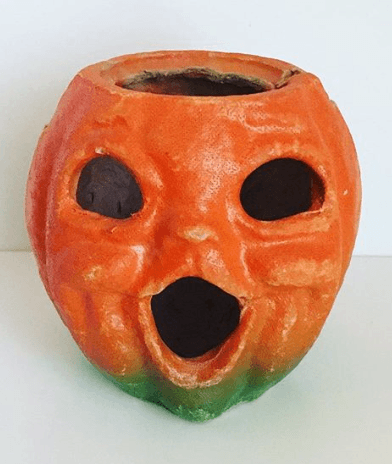
Using a plastic pumpkin is a quick, budget friendly way to make this. The inspiration for painting them came from the old paper mâché pumpkins from vintage Halloween decor (those things are scary lookin’).

Back in the day, they used to make paper mache pumpkins by blowing up a balloon for the shape and covering it with newspaper strips with a glue mixture.
These reproductions are way easier if you are wanting that vintage Halloween look! A legit paper mache pumpkin can be priced way over $100 and are hard to find. This will provide a similar style without all the shopping and spending.
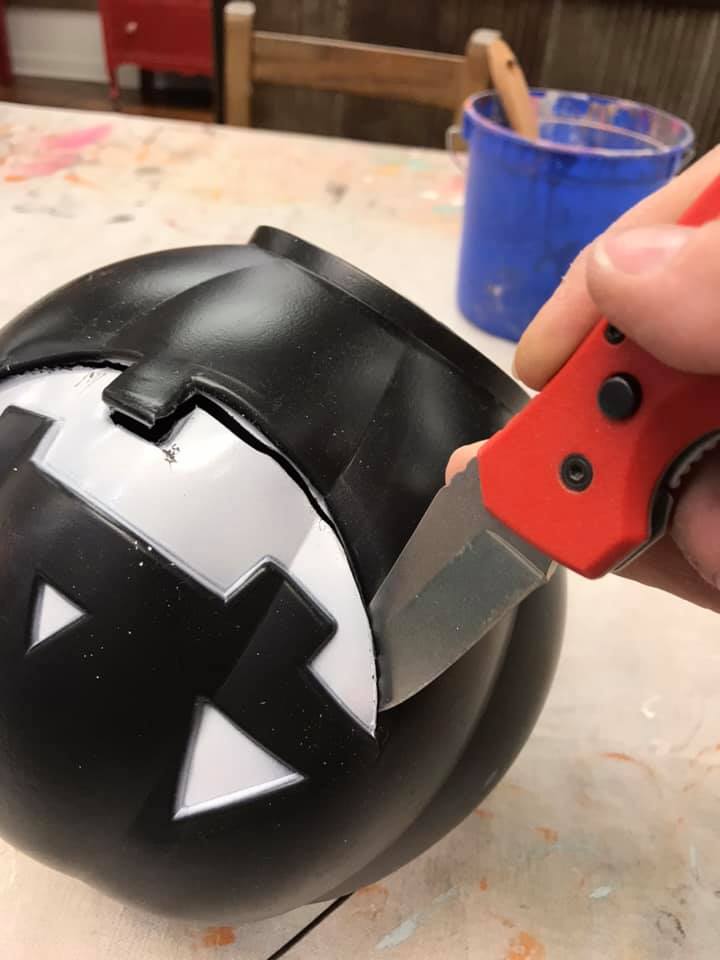
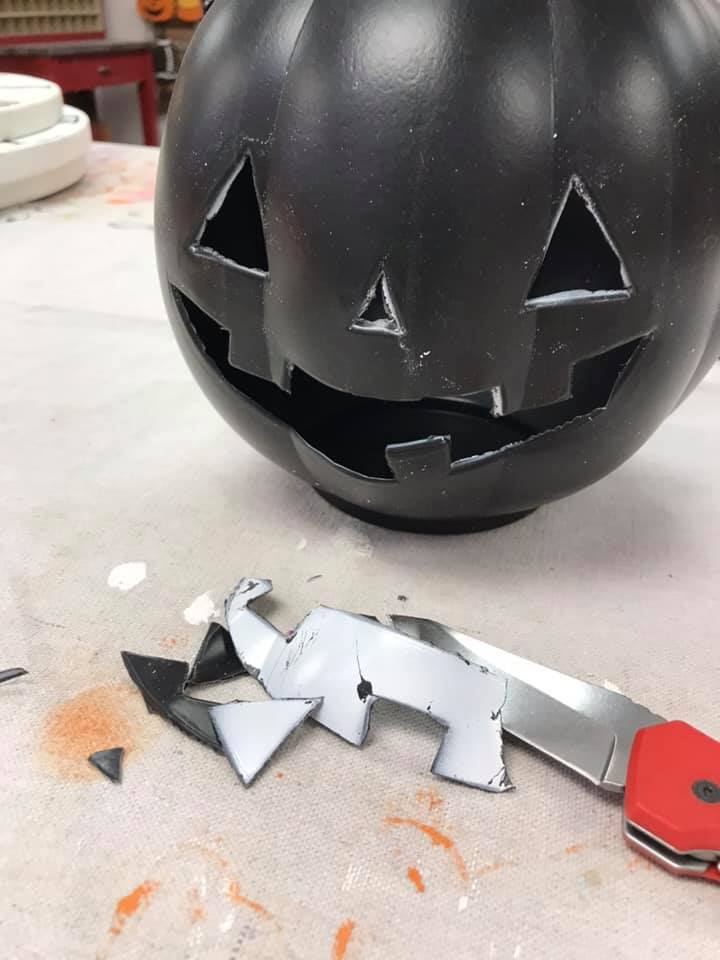
First step: cut the face out of the plastic pumpkin
We bought a black pumpkin thinking we could cut the face out and put a battery operated candle inside for a cool glow. We thought the black background would be nice for that.
Cutting the thin plastic pumpkin wasn’t as easy as we’d hoped but we managed to cut out the nose and mouth without a visit to the ER. We used a utility knife, but you can always use scissors.
When crafting, I’m always about using what supplies you have handy. I hate to have to search for everything before.
If you have your kids helping you with this project, obviously cut the shapes of the nose and mouth out for them before proceeding.
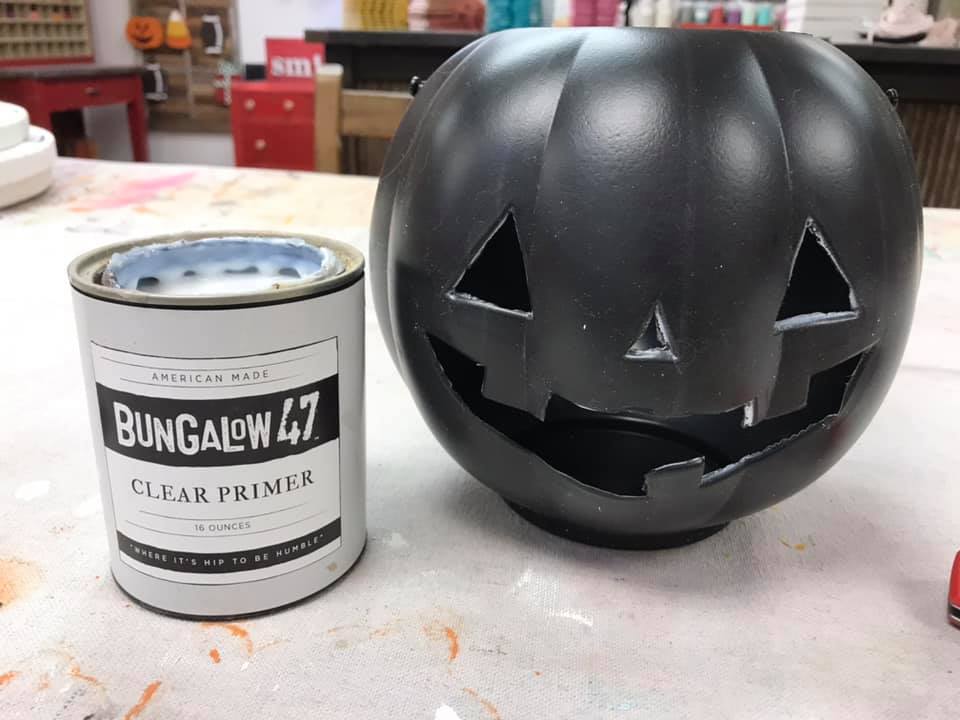
Next: proper prep for the pumpkin
We applied a coat of Bungalow 47 primer to the plastic. We knew we would be adding a pretty thick layer of paint on it and wanted to see if this would help it stick to the plastic, and it did.
You might be able to use a standard primer that you have in your stash. Just make sure that it can be painted on plastic before using it.
Trial and error in pumpkin land
We didn’t use the primer on the orange one and some of the paint is chipping off on the bottom so we think the primer was a good choice.
There is probably a bit of some sort of oil residue on the pumpkin surface from manufacturing. And since oil and water don’t mix, using a water-based paint will require a little prep. You want to remove any trace of an oily residue.
Washing it with a degreaser would have been a good idea too. Either way, before you apply a water-based product to one that has been subjected to oil in anyway, prep it to get it clean!
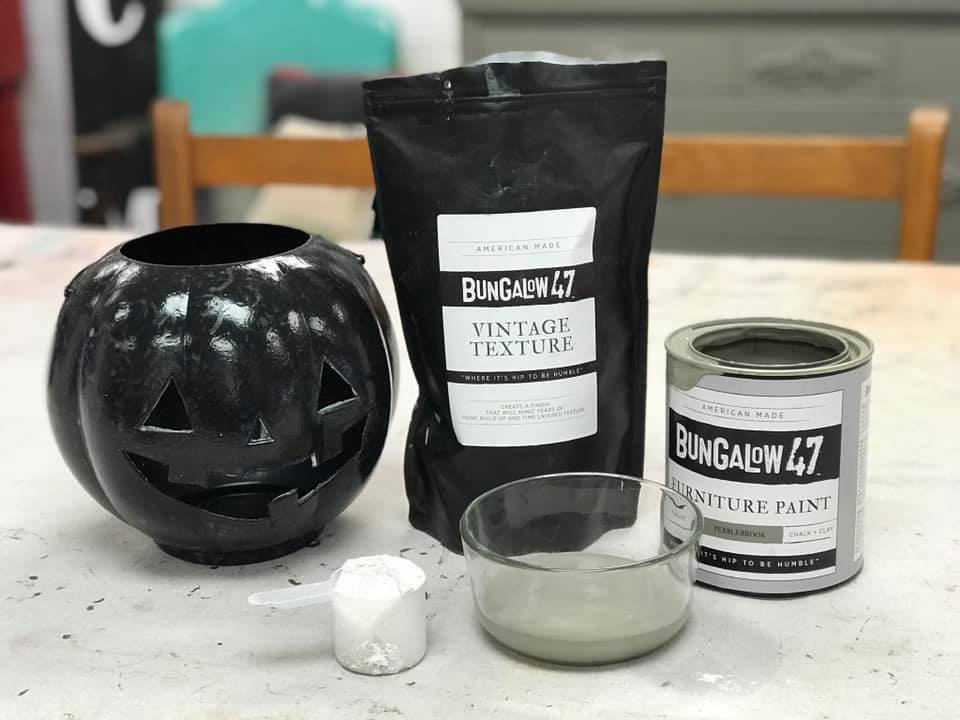
Painting the pumpkin
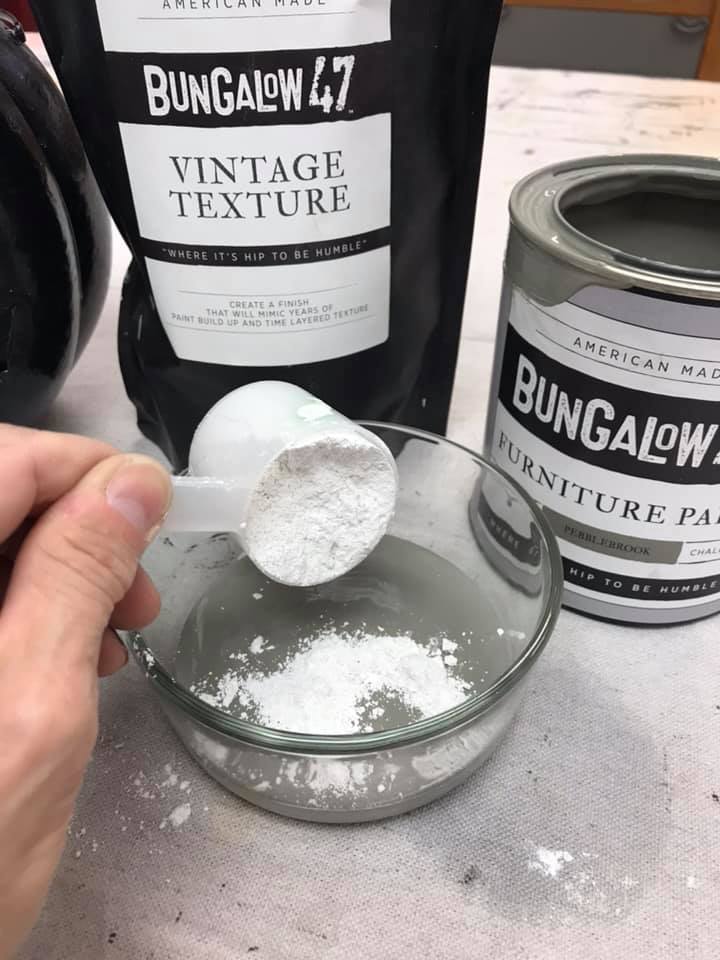
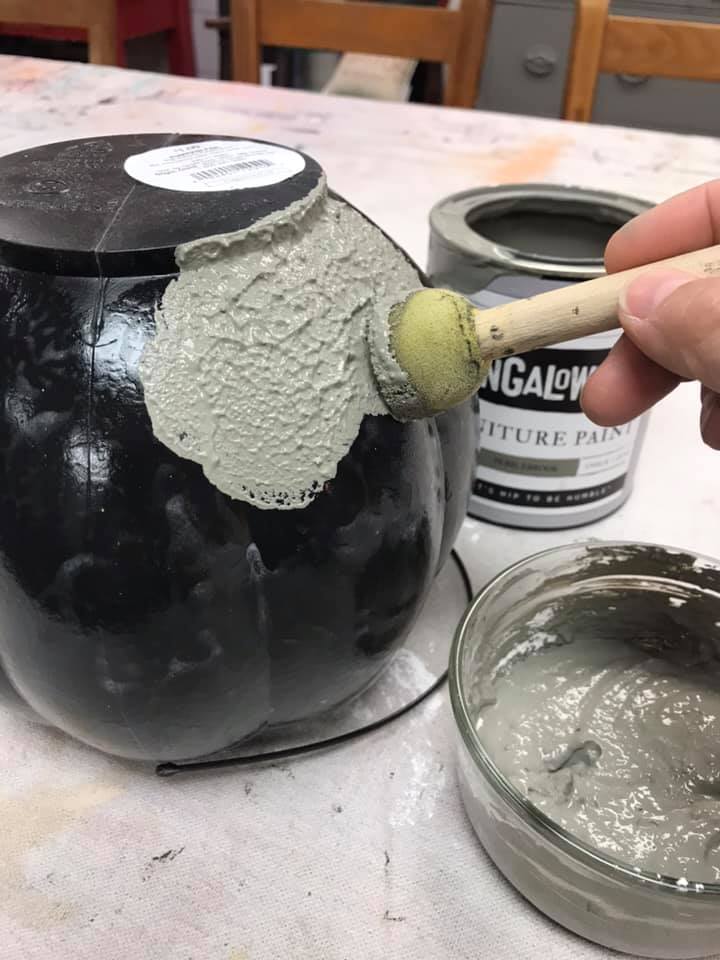
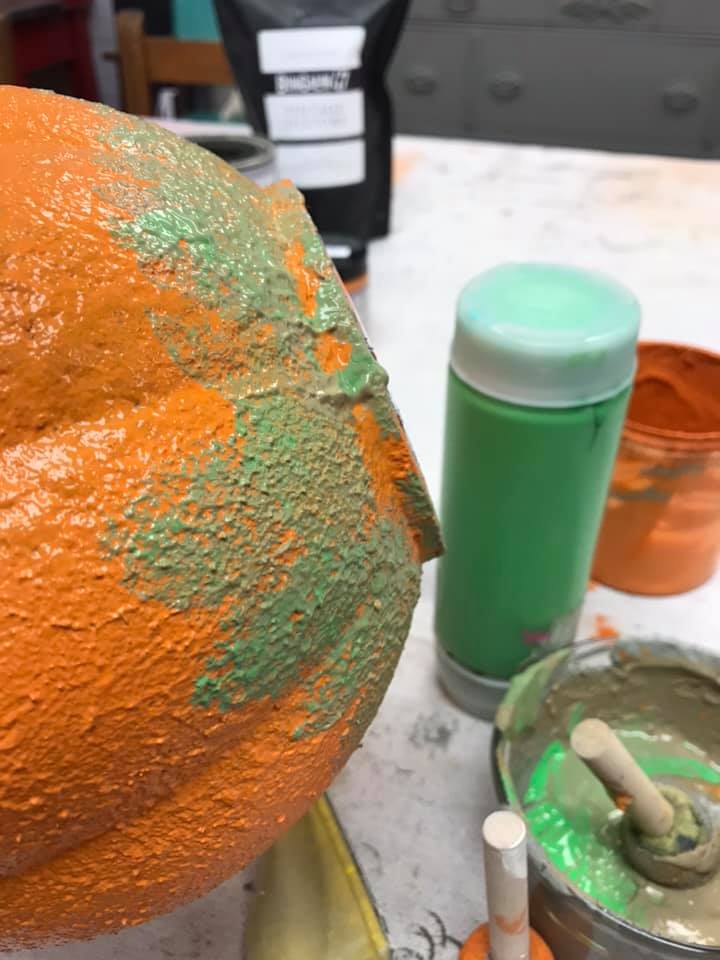
After priming the pumpkin, we mixed some Vintage Texture with the color Pebblebrook (gray) to create a super thick paint. The texture product is a key ingredient to achieving this vintage look.
You can switch out the colors to achieve a stone-like pumpkin using this same technique. Colors that work great for that look are; Wheat, Marble Island, and River Rock Hearth.
Vintage Texture is a dry powder additive that goes with our paint to make it super thick. This achieves the look of old vintage texture on layers of paint like on pieces from the past.
We pounced the thick paint on the pumpkin using a sponge brush, creating peaks and valleys. We made sure to repeat all around and cover the entire surface, then let it dry.
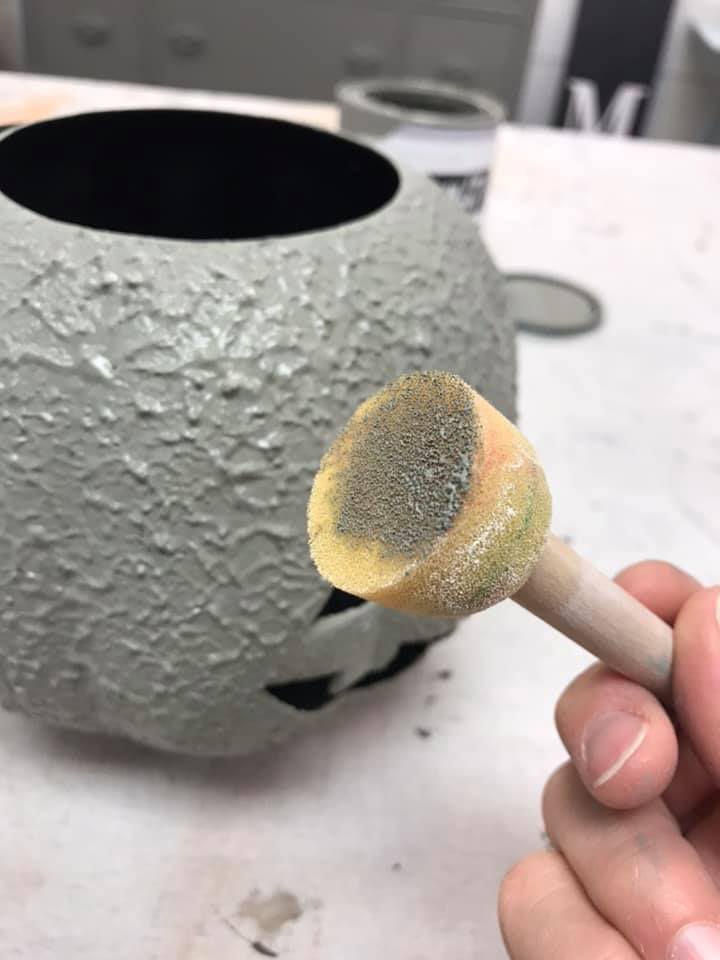
Before it completely dried, we took another foam brush and knocked the textured paint down. This gave a crusty looking finish that would make it a more authentic reproduction.
It also took away some of the high peaks from the sponging. We want some to really age it later and add our faux history, but you definitely don’t want too much that makes it look like a cheap craft.
Second layer of paint
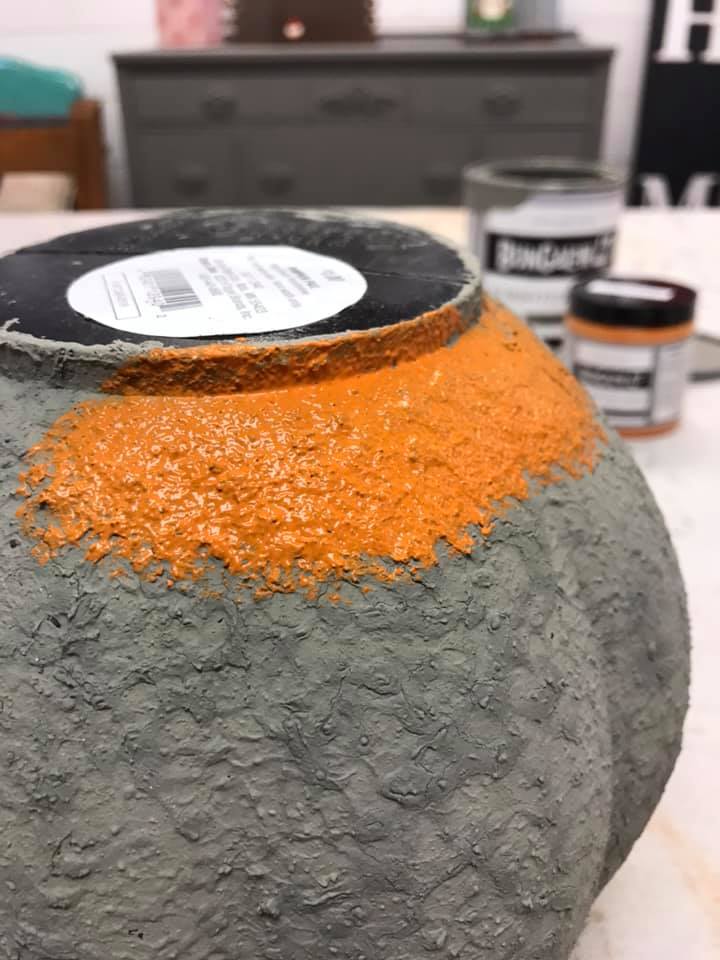
After that layer dried, we pounced the orange paint, a color called Terracotta Tile, on top of the dry textured gray paint.
Our paper mache pumpkin was already giving us vintage Halloween vibes!
Third layer of paint and sanding
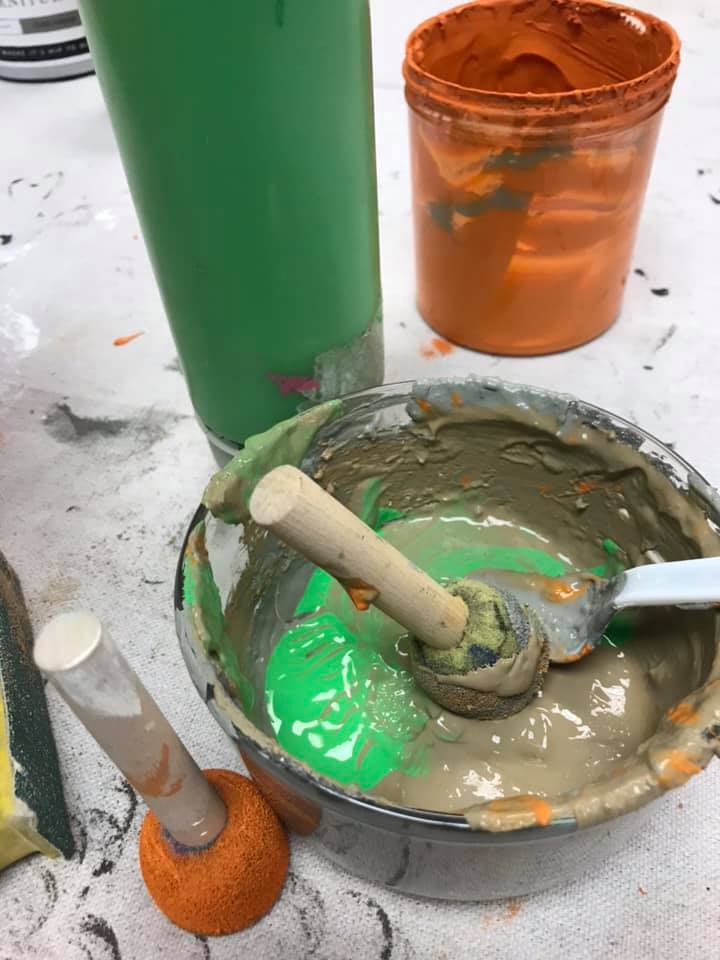
Then we mixed the orange paint in with the gray mixture (creating an olive green color) and added a bright green color called Front Lawn. We blended it around the bottom of the pumpkin, to create our vintage paper mache look.
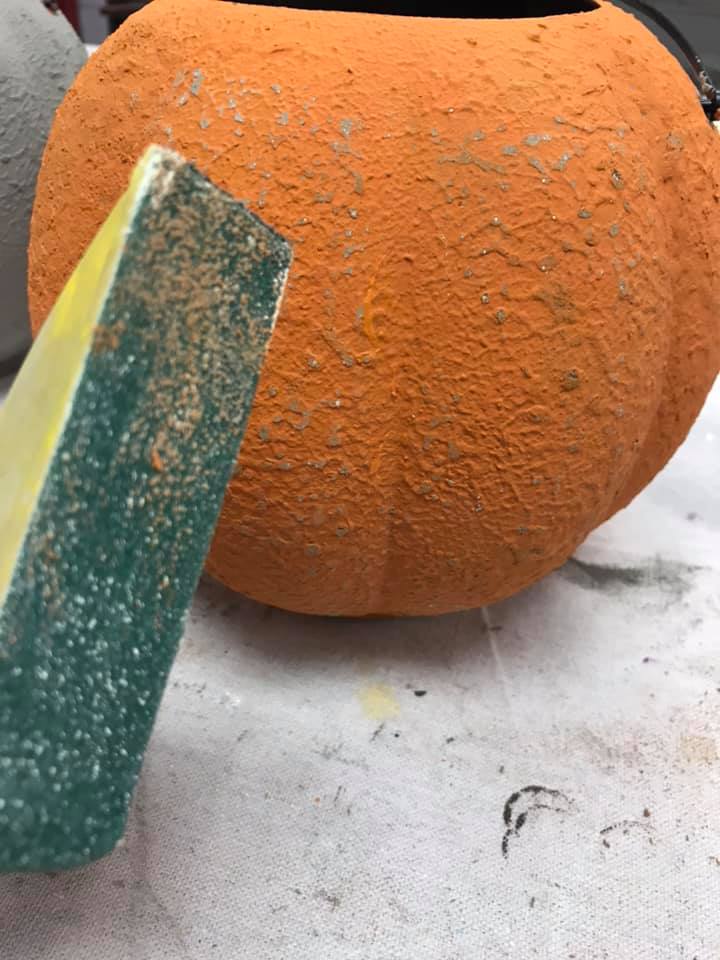
After it was completely dry, we took a sanding block and sanded the surface of the orange color. This allowed the gray texture to pop through.
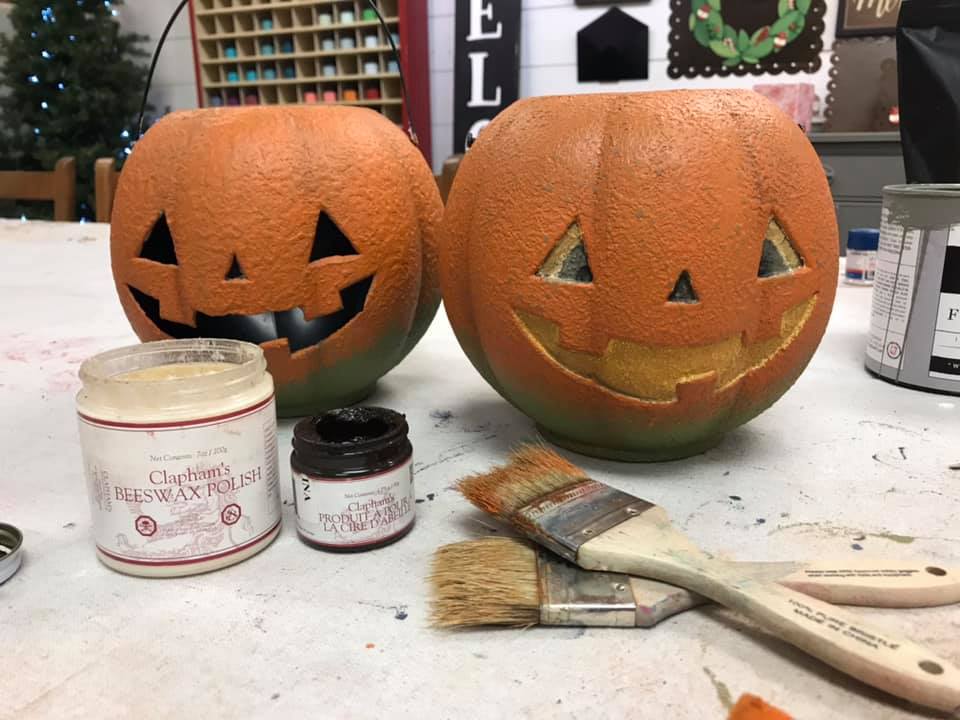
Finishing for the paper mache look
Once satisfied with the sanding, we finished it with some light and dark wax to highlight the grooves of the pumpkin and give it that aged look. Aging the finish is a really important step. It can be done with the wax, or a paint and water wash using a brown paint, like our color Wood Beam.
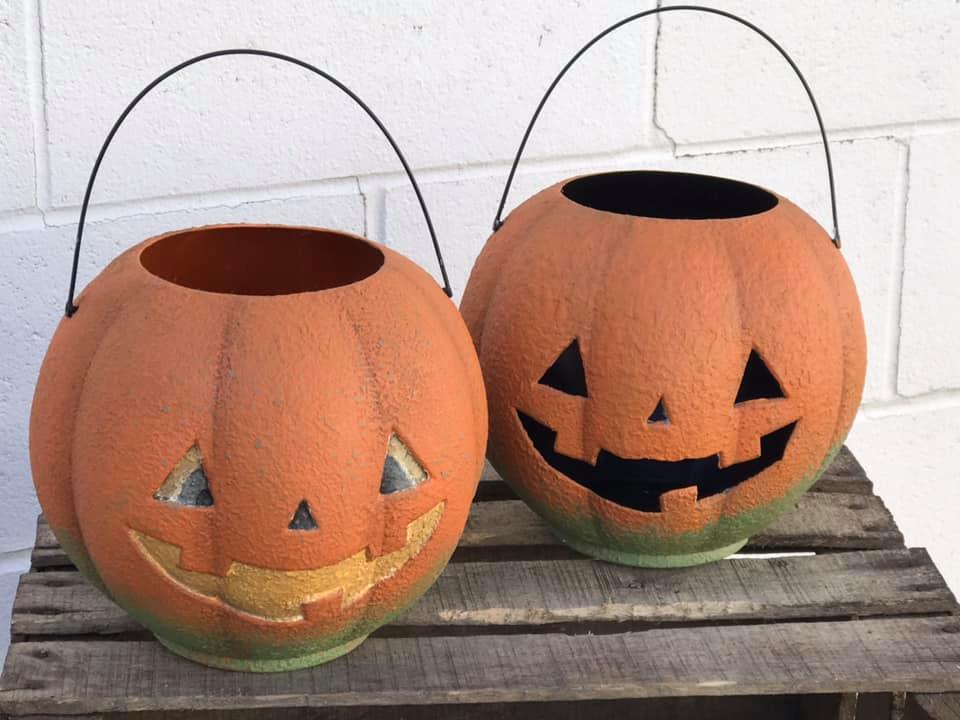
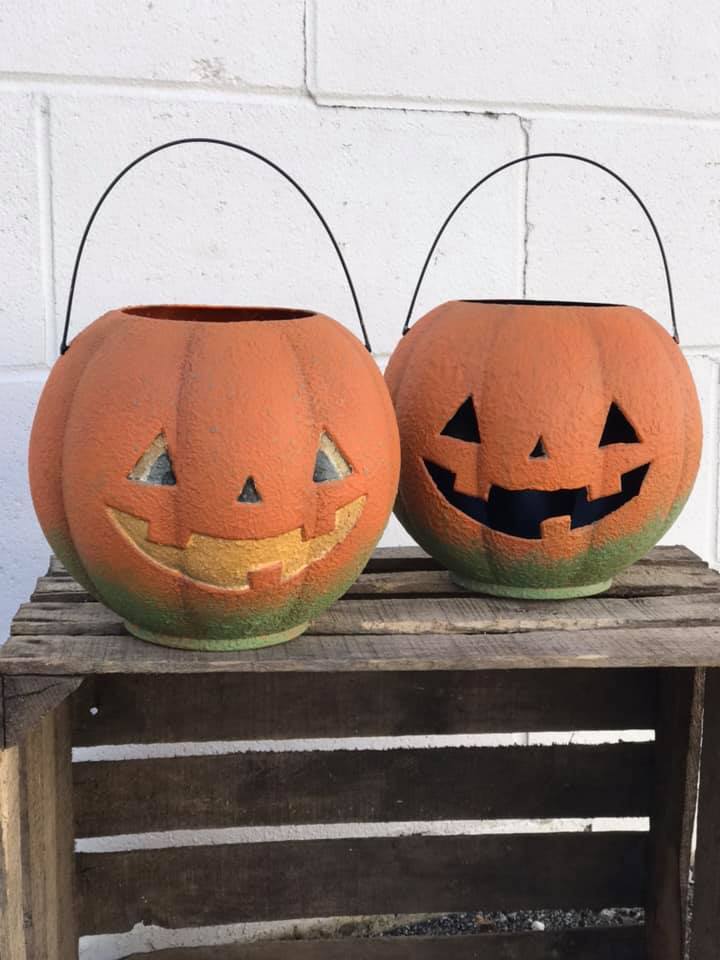
We’re pretty happy with how our painted paper mache pumpkins turned out, and love the difference between the one we kept with the face intact and the one that we can light up for that spooky vintage Halloween glow!
Shopping for supplies
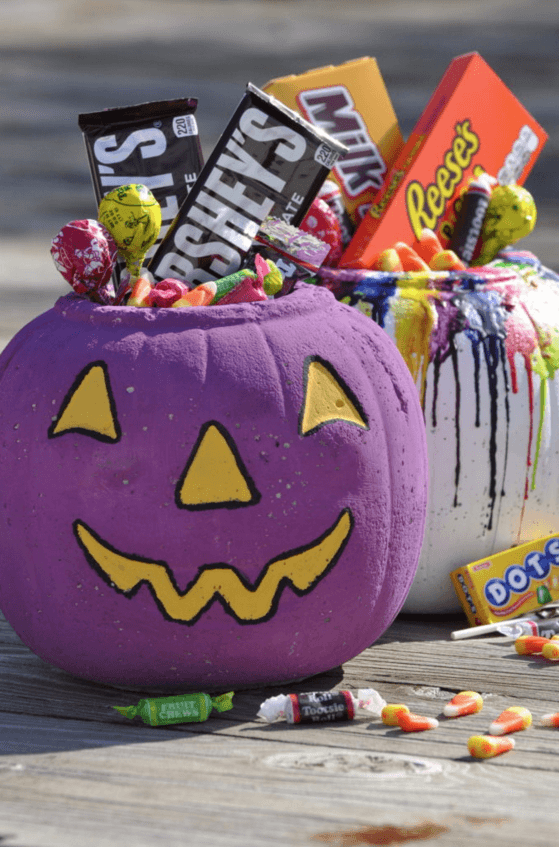
Finding the plastic pumpkins should be pretty easy, as they are sold all over, even in grocery stores. Of course, while you’re there, don’t forget to grab a bag of candy (get the good stuff) so you can fill your paper mache pumpkin when you’re done.
Since everyone is crafting crazy these days, we also made it easy for you to get your projects done with a high quality paint, and are now selling a 2 ounce size of all Bungalow 47 colors. You can shop here. The vintage texture product is also available in small bags to help you complete projects like this.
Thanks so much for joining us for this reproduction vintage Halloween pumpkin project. They were super fun to make and we hope you like them as much as we do.
Other uses for this paper mache technique
This paper mache technique can be used for a variety of projects. The texture can be added to many surfaces to make an item look like stone, or an old crusty painted finish. You can use a spackle knife to smooth the texture out a bit more on a flat surface.
Check out my Amazon store for many DIY tools to help you get your crafting done.
Thanks for visiting the blog today, I hope you enjoyed this post. It’s such a fun project to do in the fall when you’re thinking about pumpkins. Stay tuned for more Halloween fun!
Visit my Pinterest boards for extra Halloween inspiration.
We do not sell these, we only made them from plastic pumpkins purchased at a dollar store!
Do you sell these? How much for one?