Creating a Layered Boat Wood Finish
Are you loving the look of old salvage trim, but don’t love the price and availability? We had purchased this wood initial letter made from vintage woods and loved the look and texture. So when we needed some fun colored trim for a project on a vintage camper, we decided to make our own! That is how we came up with creating a layered boat wood finish.
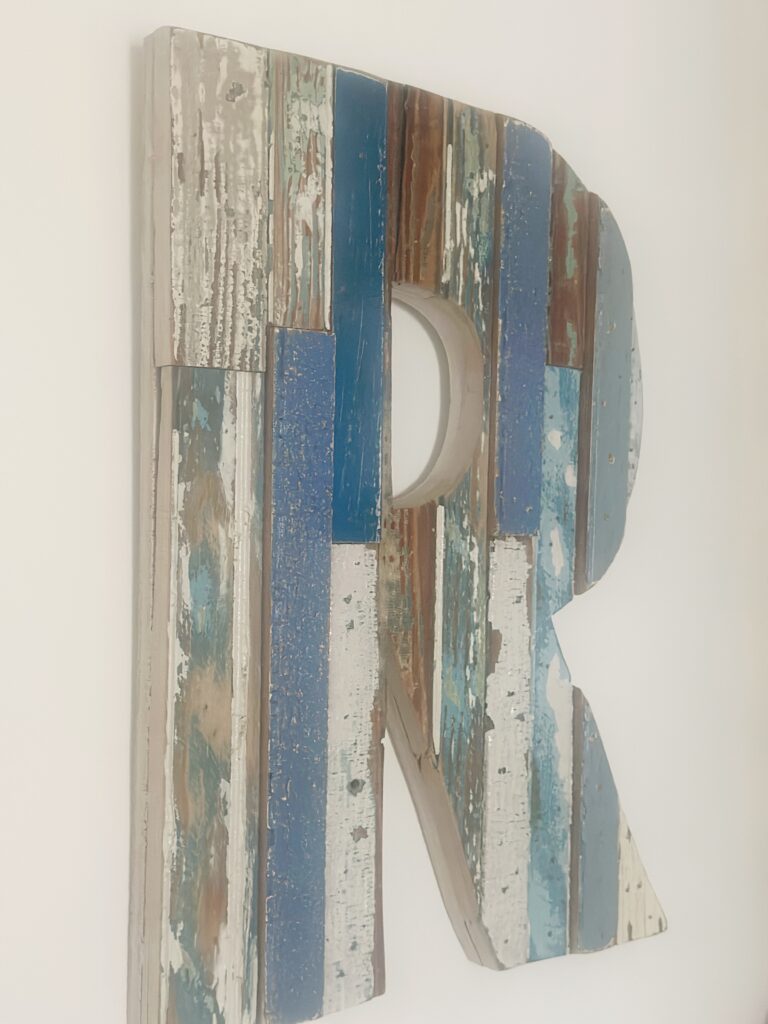
The term ‘boat wood finish hearkens back to old fishing boats. With layers upon layers of paint, the wood wears away over the years and leaves a peel chippy look. You have probably seen that look on many a vintage piece of furniture before.

Creating the Finish
We first gathered the wood we wanted to use for this project. The wood needed was actually grooved beadboard, but you can start with whatever wood you like. Even plain new pine from a big box store will work for this painting technique! If beginning with raw wood, you may want to paint a base coat for color foundation. Wood Beam, from the Bungalow 47 Furniture Paint line, is a nice dark brown and a good choice. This will give you the look of dark, aged wood underneath.
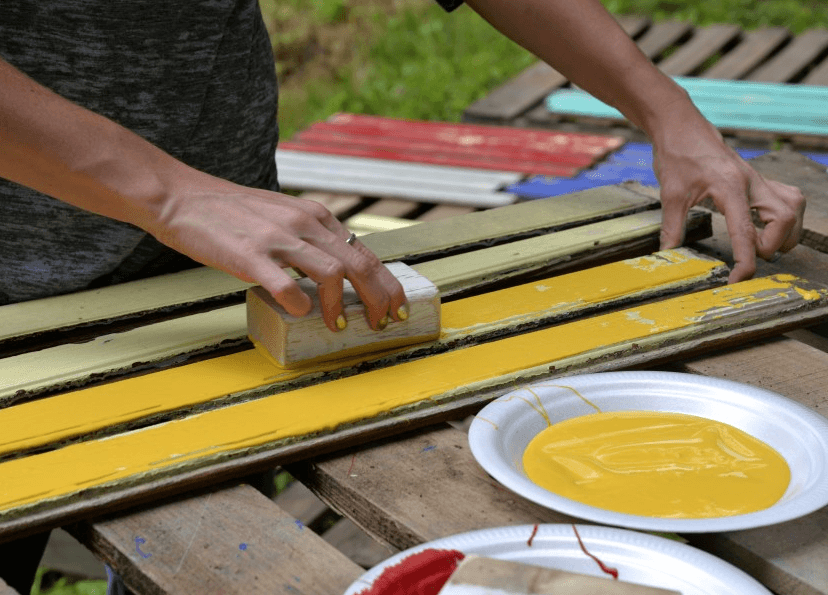
To make the salvaged boat wood trim look, you will need several colors (4–7 give a nice variety). Cut a 2 x 4 into wood blocks for your dragging tool. Styrofoam plates work great as a place to place and dip your paint.
Begin by dipping a block into a pool of paint, and dragging the block across your piece of wood to spread the paint on your board. Skip across some areas so the paint is splotchy here and there. Remember, it’s perfect when it’s not!
Continue doing this to all the wood pieces needed for your project, with all the colors. The coats of paint will need to dry before placing another color on top, so make sure your work area allows for the space you need to spread out. We worked outside, so the paint would dry quickly. Make several boards in a variety of colors because you want the look to be authentic, like you found several boards salvaged from an area on an old boat!
Getting Texture for a Boat Wood Look
Adding several different layers creates the most interest and texture on the board. Continue adding color until you get the look you want. If you want extra texture, you can add our product Vintage Texture to thicken up the paint. With one color used, it will look like this.
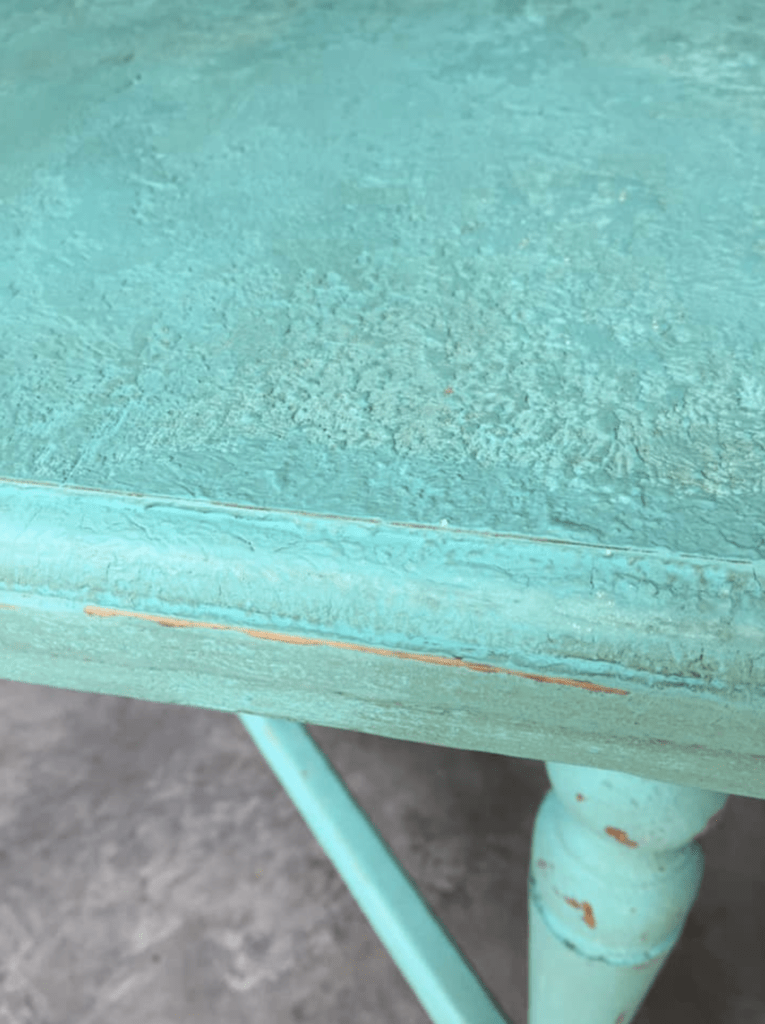
When Vintage Texture is added to the paint (it is a dry ingredient) it thickens it. It can then be punched onto your project like this. Skipping and skimming over with a sparkle knife makes for an authentic finish. Whichever you apply texture, finish off with our Matte Finish for water-resistant protection or a dark wax to create patina..
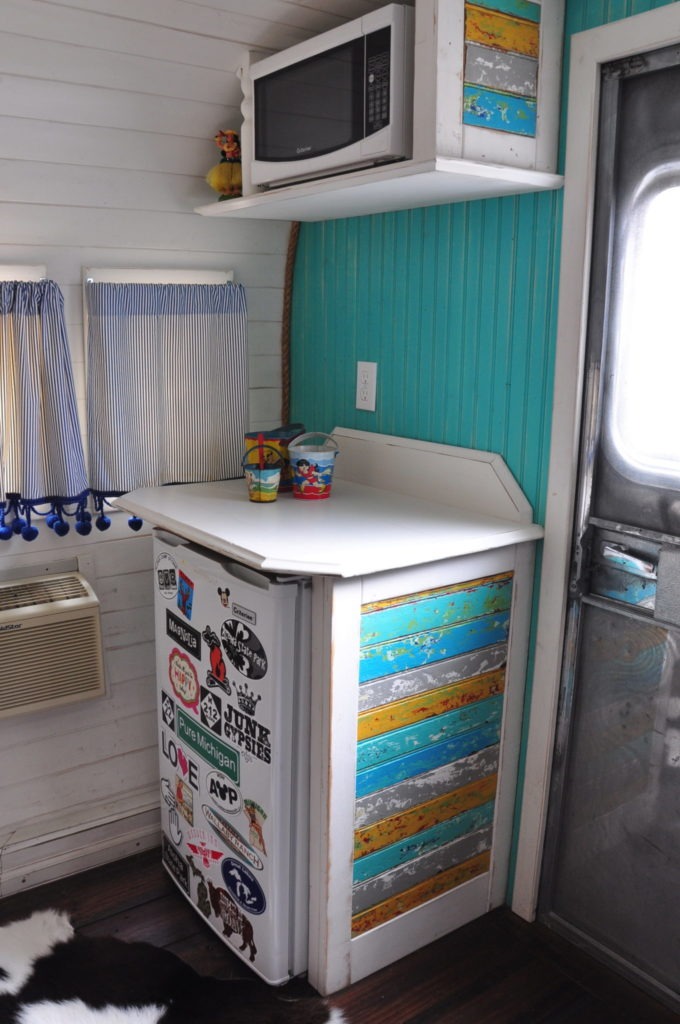
The pieces made for the panel inside a vintage camper turned out like this. You can see how layering a variety of colors really makes it look authentic. To see part one of the vintage camper makeover where this boatload finish ended up, visit here.
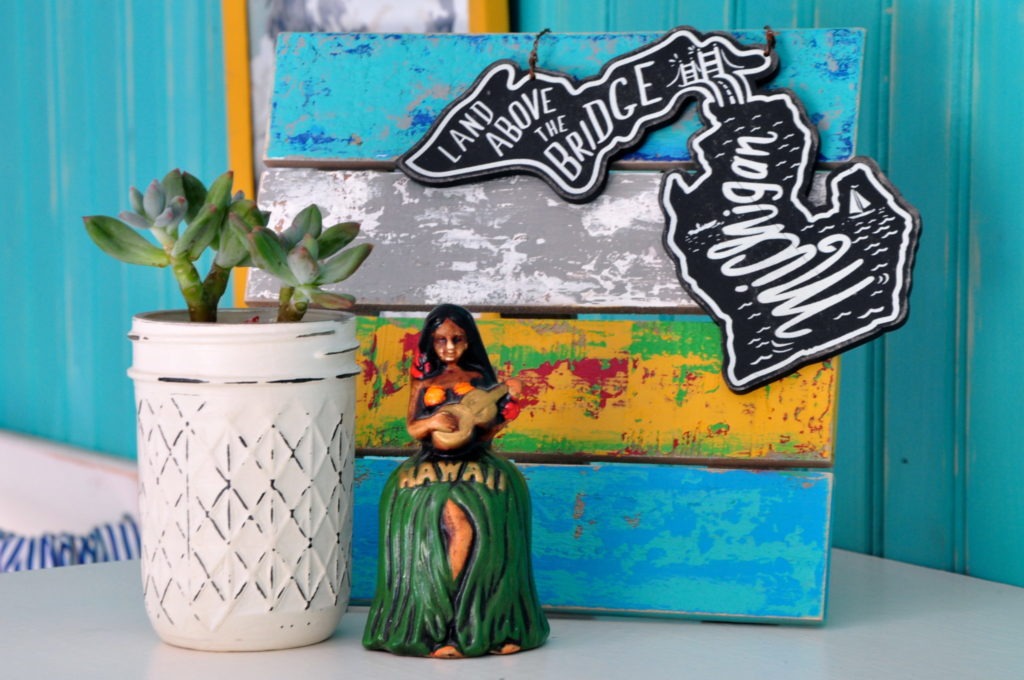
Here is the finished project inside her camper! Isn’t it adorable? Making salvage boat wood trim was just the color and texture this little nook in her vintage camper needed! You can see the entire finished camper project here.
It’s time to grab some paint for your next project! Hope you enjoyed learning about this paint technique. For more painting inspiration, check out our Pinterest boards.
Come back soon, Jill and Chantelle
Thank you for the interesting method of applying paint using the wood blocks. I ❤️ the effect you achieved.
I also ❤️ The ball fringe you used on your curtains!