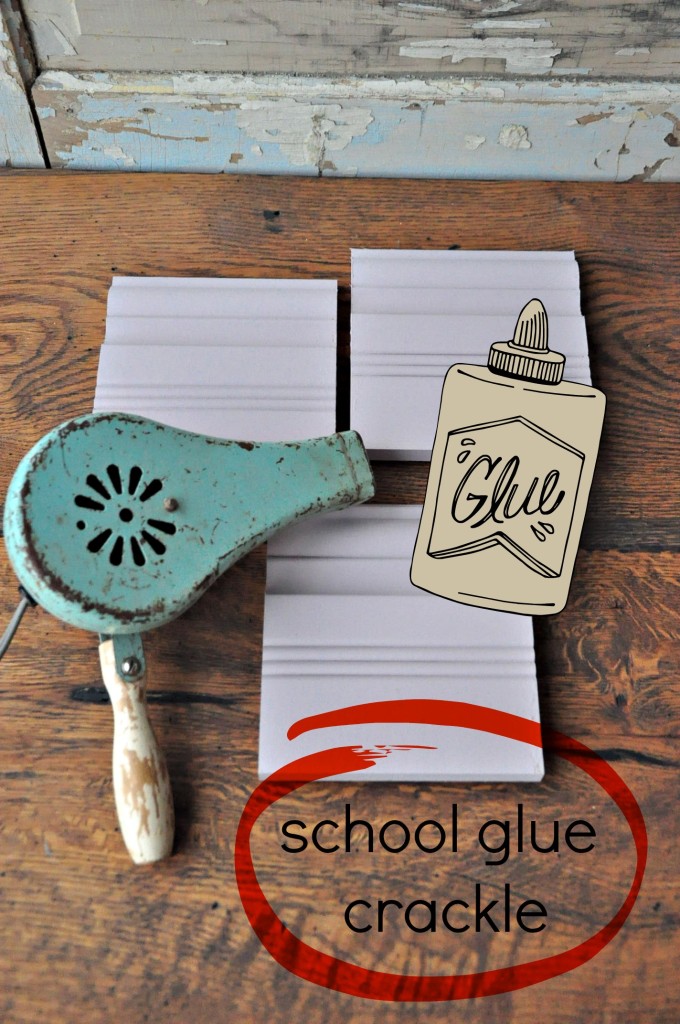
DIY Crackle Finish with School Glue
DIY Crackle Finish. Celebrating back to school with a fun DIY crackle finish with school glue and Bungalow 47 chalk type paint.
Creating a Crackle Finish
Creating a crackle finish is fun, easy and economical when using school glue and chalk and clay paint. Follow these simple steps to achieve a nice crackle every time.
1 – Paint surface with your base coat and allow to dry completely.
2 – Apply school glue on top of base coat.
3 – While glue is still tacky, apply top coat.
4 – Dry completely.
Read on for additional application techniques.
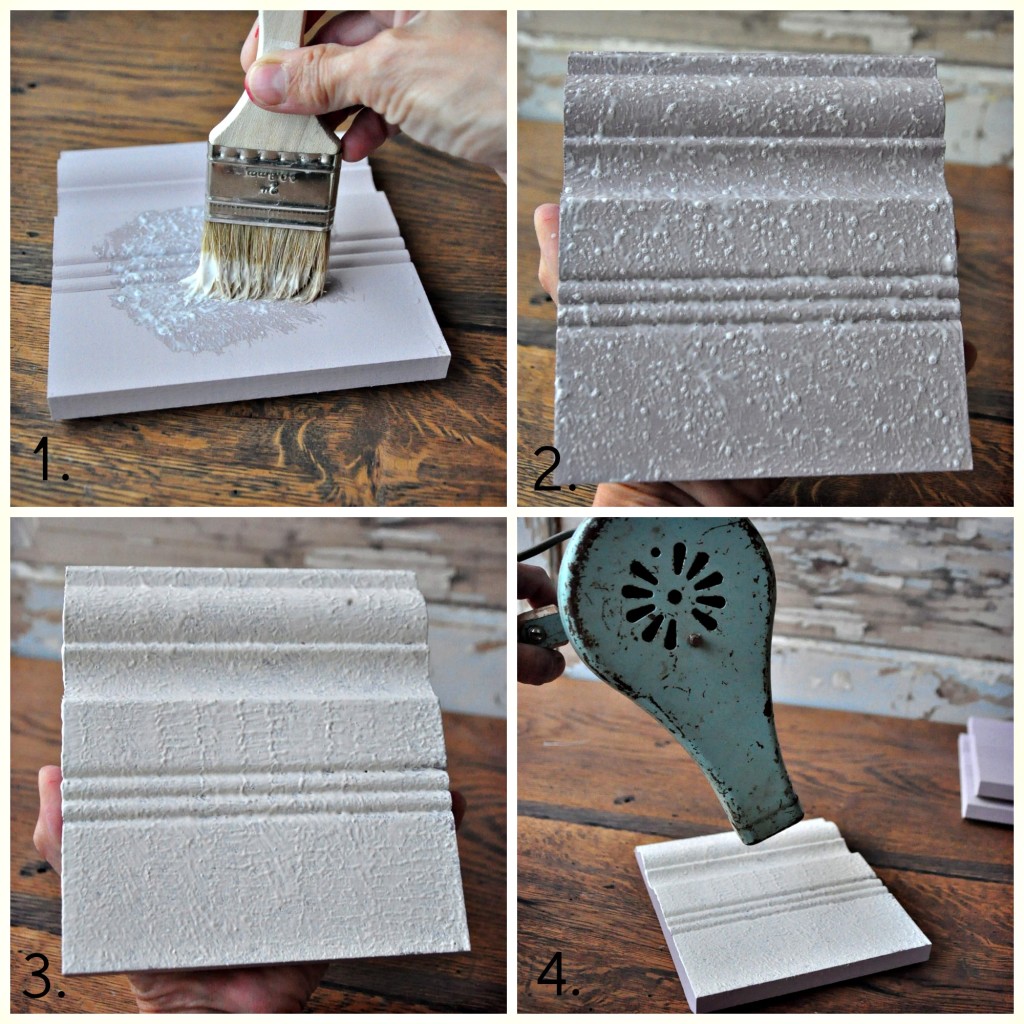
The photos above detail how to create a random crackle finish.
Attention to Crackle Detail
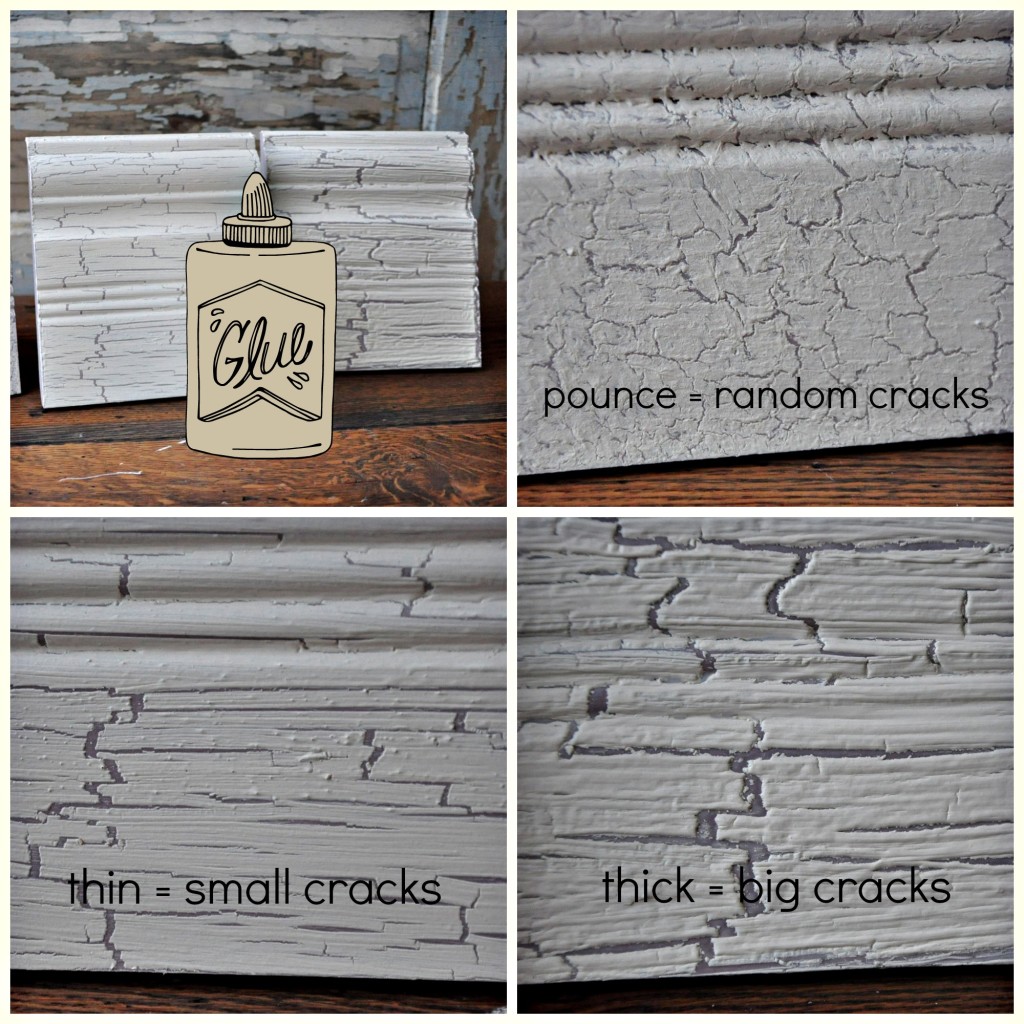
Photo 1 – Using a pouncing motion, apply glue to base coat.
Photo 2 – This shot shows the board completely covered with glue. Notice the random pattern from pouncing the glue on top of the base coat.
Photo 3 – While glue is still tacky, apply top coat. The top coat in the photo was applied with a pouncing motion as well.
Photo 4– Dry completely. Use a hair dryer to speed up your results. This is not necessary to create a crackle finish, but helpful.
When using school glue remember that a thin application of glue will result in small cracks and a thick application will result in large cracks. The glue will also need to be tacky when applying the top coat in order to achieve cracks. Be sure to work in small sections when working on a large piece.
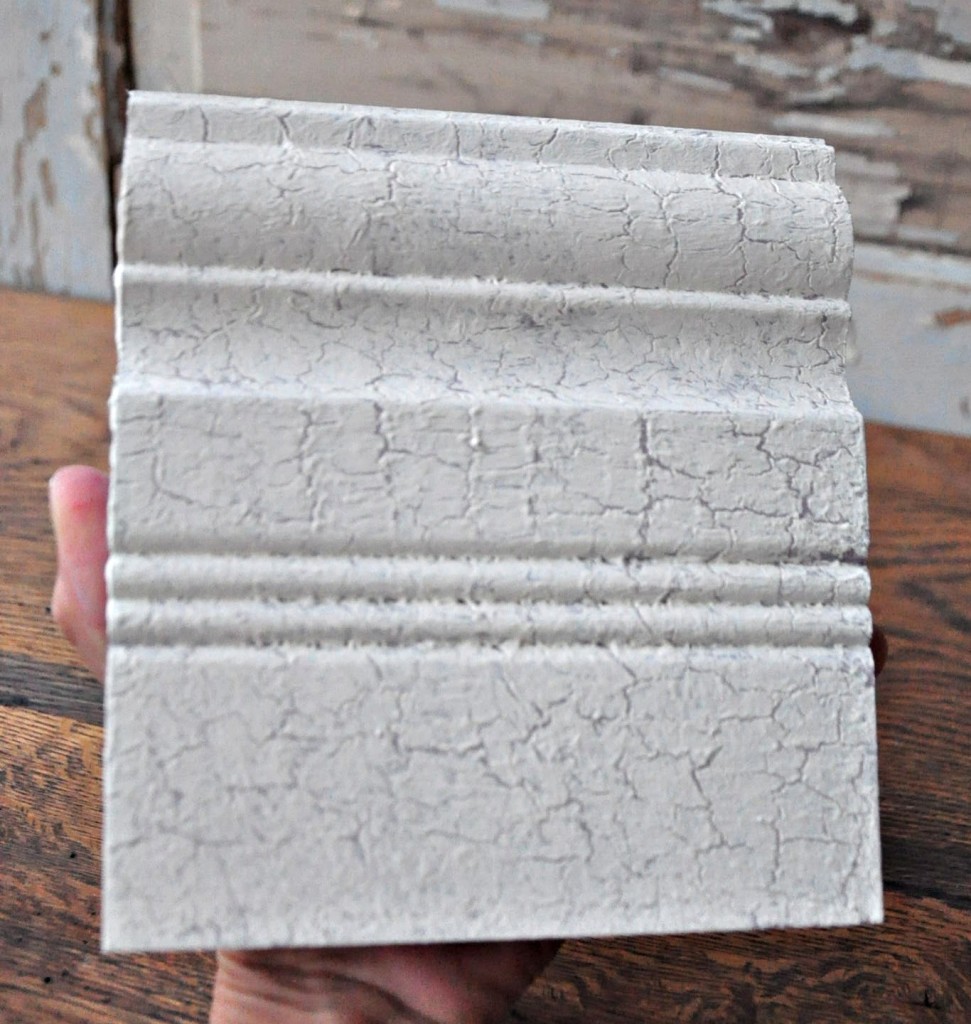
Random cracks using two different colors.
More application techniques:

Pouncing a thin coat of school glue will create a random pattern with small cracks. Results may vary.
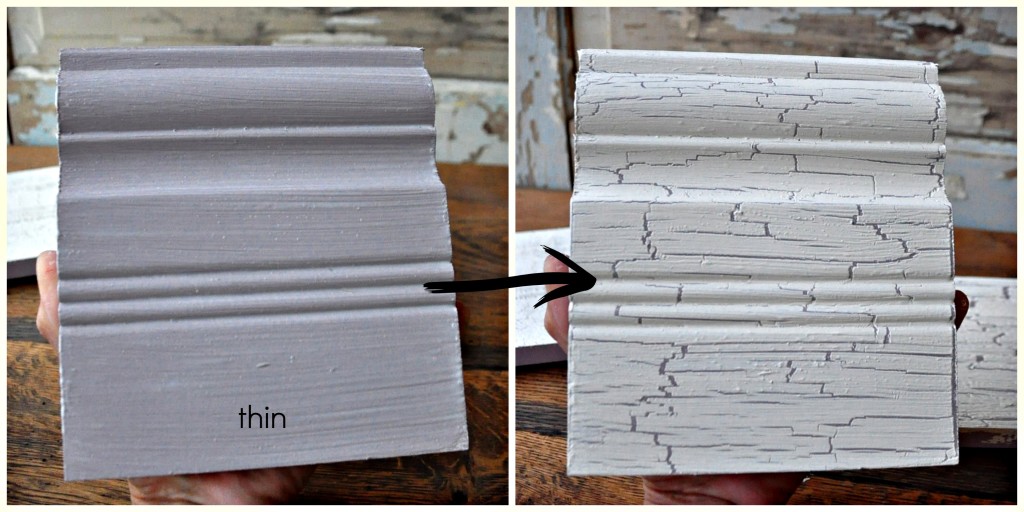
Brushing on a thin coat of glue will create small long cracks. Results may vary.
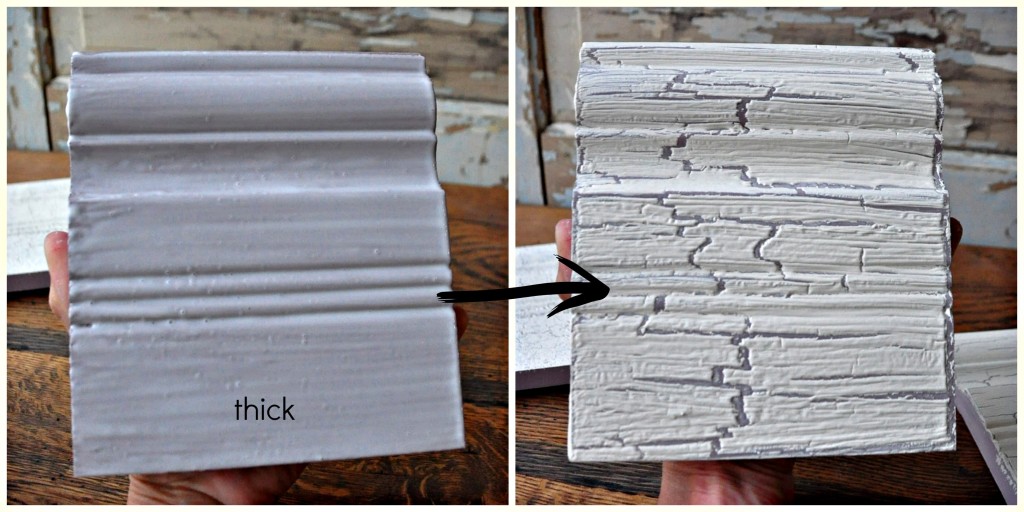
Brushing on a thick coat of school glue will create long large cracks. Results may vary.
After your paint has completely dried, finish with your choice of finishing products.
Creating Different Looks
With a little school glue and paint you can create many different colors combinations. Use contrasting colors for a dramatic look or a subtle tone on tone combination for a soft look. Avoid the ’80′s crackle’ look, by applying glue to strategic areas in varying patterns. For instance, create a heavy crackle finish on only one side of a piece to mimic where the sun or heat had been hitting it for years.
Check out this post for a boat wood finish.
Have fun creating! Get inspired and follow our boards on Pinterest.
Thanks for stopping by,
Chantelle
I believe that color is Metal Roof.
Can you please tell me what color the base coat is that you used in this tutorial? Thank you!
You may want to try using a very heavy glue application.
I can’t ever seem to get this to work! It will work a little tiny bit but I’m wanting big long cracks like the 2nd picture. I try letting it get tacky, painting thinly in one stroke, etc and it just doesn’t seem to work for me. Do you have any suggestions?
Thanks so much!!!!!!!